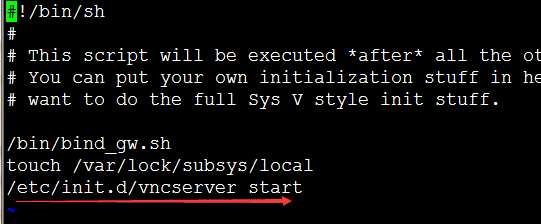
#!/bin/sh
#This script is FREE and written by www.vpsyou.com
# install yum-fastestmirror
yum -y install yum-fastestmirror
# Create new soft download dir
mkdir -p /backup/www.vpsyou.com;
cd /backup/www.vpsyou.com;
# Install x window softwares
yum -y groupinstall "X Window System"
yum -y groupinstall "GNOME Desktop Environment"
yum -y install nc expect freenx
yum -y groupinstall chinese-support
#install firefox
yum -y install firefox
# Copy client.id_dsa.key to /backup/www.vpsyou.com/
# Please use FTP or winscp to download it
cp /etc/nxserver/client.id_dsa.key /backup/www.vpsyou.com/
chmod 755 /backup/www.vpsyou.com/client.id_dsa.key
# iptables
iptables -A INPUT -i lo -s 127.0.0.1 -j ACCEPT
iptables -A INPUT -p tcp --dport 22 -j ACCEPT
iptables -A OUTPUT -p udp --sport 22 -j ACCEPT
iptables -A INPUT -p tcp --dport 5000 -j ACCEPT
iptables -A OUTPUT -p udp --sport 5000 -j ACCEPT
sed -i ‘s#SELINUX=enforcing#SELINUX=disabled‘# /etc/selinux/config
echo "==========================="
get_char()
{
SAVEDSTTY=`stty -g`
stty -echo
stty cbreak
dd if=/dev/tty bs=1 count=1 2> /dev/null
stty -raw
stty echo
stty $SAVEDSTTY
}
echo ""
echo "======= Download FreeNX Windows software : ======= "
echo ""
echo "http://www.nomachine.com/download-client-windows.php"
echo ""
echo ""
echo "======= How to use FreeNX connect to your Linux X Window System: ======= "
echo "http://www.vpsyou.com/centos-install-desktop/"
echo ""
echo "Install X Window System Successful,Press any key to end..."
char=`get_char`
#!/bin/sh
# Add the following line to ensure you always have an xterm available.
# Uncomment the following two lines for normal desktop:
unset SESSION_MANAGER
exec /etc/X11/xinit/xinitrc
[ -x /etc/vnc/xstartup ] && exec /etc/vnc/xstartup
[ -r $HOME/.Xresources ] && xrdb $HOME/.Xresources
xsetroot -solid grey
vncconfig -iconic &
xterm -geometry 80x24+10+10 -ls -title "$VNCDESKTOP Desktop" &
#twm &
gnome-session &