标签:
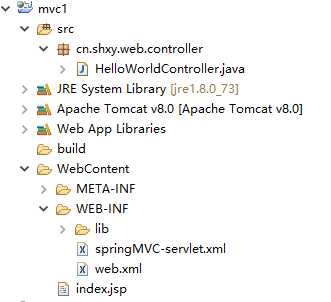
一、程序结构
二、设置步骤
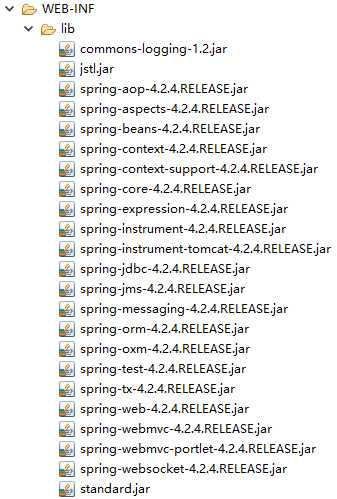
1、创建一个web项目mvc1,拷贝jar包到lib文件夹中。下载地址:http://pan.baidu.com/s/1i4ty2UT
2、配置web.xml文件:
<?xml version="1.0" encoding="UTF-8"?>
<web-app xmlns:xsi="http://www.w3.org/2001/XMLSchema-instance" xmlns="http://xmlns.jcp.org/xml/ns/javaee" xsi:schemaLocation="http://xmlns.jcp.org/xml/ns/javaee http://xmlns.jcp.org/xml/ns/javaee/web-app_3_1.xsd" id="WebApp_ID" version="3.1">
  <display-name>mvc1</display-name>
  <welcome-file-list>
    <welcome-file>default.jsp</welcome-file>
  </welcome-file-list>
  <!--配置servlet  -->
  <servlet>
      <servlet-name>springMVC</servlet-name>
      <servlet-class>org.springframework.web.servlet.DispatcherServlet</servlet-class>
      <load-on-startup>1</load-on-startup>
  </servlet>
  <!-- 配置servlet映射 -->
  <servlet-mapping>
      <servlet-name>springMVC</servlet-name>
      <url-pattern>/</url-pattern>
  </servlet-mapping>
</web-app>
3、配置springMVC-servlet.xml文件:
<?xml version="1.0" encoding="UTF-8"?>
<beans xmlns="http://www.springframework.org/schema/beans"
       xmlns:mvc="http://www.springframework.org/schema/mvc"
       xmlns:context="http://www.springframework.org/schema/context"
       xmlns:xsi="http://www.w3.org/2001/XMLSchema-instance"
       xsi:schemaLocation="http://www.springframework.org/schema/beans
            http://www.springframework.org/schema/beans/spring-beans-4.2.xsd
            http://www.springframework.org/schema/context
            http://www.springframework.org/schema/context/spring-context-4.2.xsd
            http://www.springframework.org/schema/mvc
            http://www.springframework.org/schema/mvc/spring-mvc-4.2.xsd">
      <!-- 视图解析器 -->
      <bean id="viewResolver" class="org.springframework.web.servlet.view.InternalResourceViewResolver">
          <property name="viewClass" value="org.springframework.web.servlet.view.JstlView" />
          <property name="prefix" value="/" />
        <property name="suffix" value=".jsp" />
      </bean>
</beans>
4、编写代码HelloWorldController:
package cn.shxy.web.controller;

import javax.servlet.http.HttpServletRequest;
import javax.servlet.http.HttpServletResponse;

import org.springframework.web.servlet.ModelAndView;
import org.springframework.web.servlet.mvc.Controller;

/**
 * controller
 * @author John
 *
 */
public class HelloWorldController implements Controller{

    @Override
    public ModelAndView handleRequest(HttpServletRequest arg0, HttpServletResponse arg1) throws Exception {
        System.out.println("---Hello World!---");
        return new ModelAndView("/index");
    }

}
5、创建index.jsp文件:
<%@ page language="java" contentType="text/html; charset=UTF-8"
    pageEncoding="UTF-8"%>
<!DOCTYPE html PUBLIC "-//W3C//DTD HTML 4.01 Transitional//EN" "http://www.w3.org/TR/html4/loose.dtd">
<html>
<head>
<meta http-equiv="Content-Type" content="text/html; charset=UTF-8">
<title>主页</title>
</head>
<body>
    欢迎使用SpringMVC!
</body>
</html>
6、在springMVC-servlet.xml文件中配置controller到springmvc:
<!-- 配置controller -->
      <bean name="/test/helloworld" class="cn.shxy.web.controller.HelloWorldController" />
7、测试,地址:http://localhost:8080/mvc1/test/helloworld

标签:
原文地址:http://www.cnblogs.com/tanhao/p/5207287.html