标签:rom 功能 erro for 文件名 1.0 自己的 删除文件 base
昨天下午花了三四个小时在Linux centos 6 上搭建了一个分布式文件系统。纯粹是搭建来做自己的文件备份。所以把一些自己在其中遇到的一些问题给总结出来,免得更多人走错路。
FastDFS 的一些介绍(英文来自官方github):
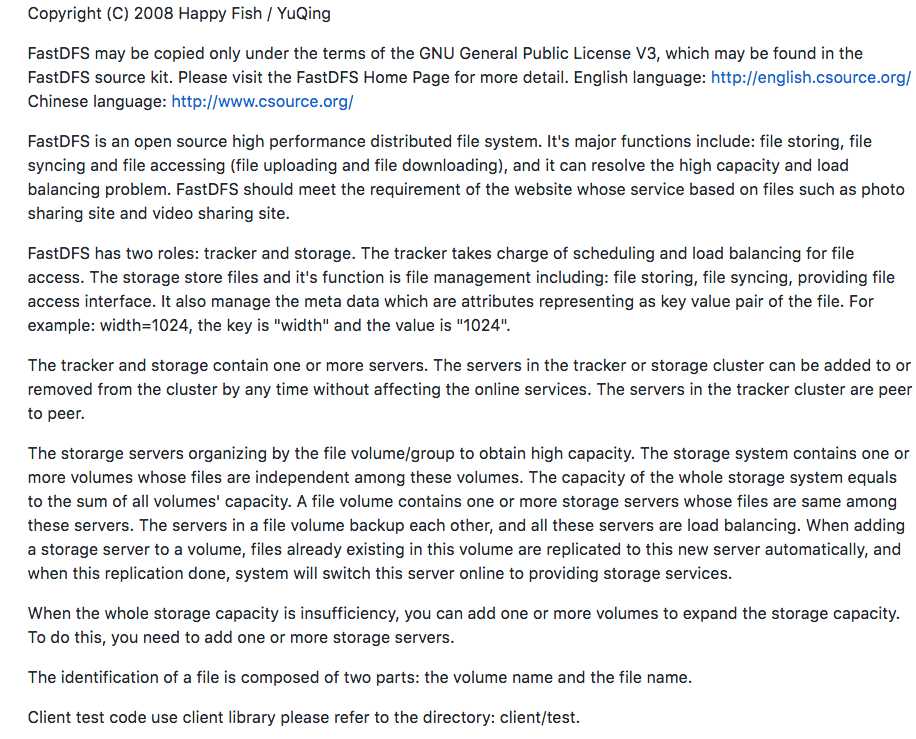
FDFS , 开源分布式文件系统。主要的功能是:文件存储,同步,存取(上传和下载),它可以解决高容量和运载平衡的问题。FastDFS是符合了那些 图片,视频,照片分享的网站的需求。
FDFS 有分别有 tracker 和 storage 两个角色。tracker 负责安排和平衡文件的操作。storage 负责存储文件和其它对文件的操作(文件的保存,同步,提供访问文件的接口)。通过key&value文件的方式进行展现元数据。例如:width=1024,key为width 则 value为"1024"
trackerd 可以是一个或者多个的服务器。在 tracker 集群或者 storaged 集群中你可以随时随地可以添加或者移除集群而丝毫不影响在线的网站。tracker 集群变得越来越流行了。
storaged 组合文件的容量或者群组去获得高容量。storage 系统包含着一个或者多个在这些没有任何联系的容量卷。整个storage 系统的容量相当于所有容量的总和。一个文件卷可以包含一个或更多的存储类型是相同的storaged 服务器。
当整个storage 的容量爆了,你可以继续添加更多的卷去扩大内存。所以,你需要更多的服务器。...
卷名和文件名是组成身份认证的两个部分。
客户端测试的代码请参考目录:client / test
FastDFS的搭建过程:
从搭建部署到测试成功需要 9 步:
#step 1. download libfastcommon source package from github and install it,
the github address:
https://github.com/happyfish100/libfastcommon.git
下载libfastcommon 资源包
#step 2. download FastDFS source package and unpack it,
tar xzf FastDFS_v5.x.tar.gz
#for example:
tar xzf FastDFS_v5.08.tar.gz
下载FastDFS 的资源包并解压
#step 3. enter the FastDFS dir
cd FastDFS
进入FastDFS解压后的文件夹
#step 4. execute:
./make.sh
安装
#step 5. make install
./make.sh install
安装
#step 6. edit/modify the config file of tracker and storage
修改 tracker.conf 和 storage.conf 两个配置文件
#step 7. run server programs
#start the tracker server:
/usr/bin/fdfs_trackerd /etc/fdfs/tracker.conf restart
#in Linux, you can start fdfs_trackerd as a service:
/sbin/service fdfs_trackerd start
#start the storage server:
/usr/bin/fdfs_storaged /etc/fdfs/storage.conf restart
#in Linux, you can start fdfs_storaged as a service:
/sbin/service fdfs_storaged start
其中storage 和 tracker 两个服务
#step 8. run test program
#run the client test program:
/usr/bin/fdfs_test <client_conf_filename> <operation>
/usr/bin/fdfs_test1 <client_conf_filename> <operation>
#for example, upload a file:
/usr/bin/fdfs_test conf/client.conf upload /usr/include/stdlib.h
测试
#step 9. run monitor program
#run the monitor program:
/usr/bin/fdfs_monitor <client_conf_filename>
通过moniter检测项目运行情况
接下来我们进行正确的步骤:
所需软件包的github地址:
FastDFS : https://github.com/happyfish100/fastdfs.git
libfastcommon : https://github.com/happyfish100/libfastcommon.git
所需的的环境:
Linux centos 6.5或者以上
如果系统没有gcc,那就命令行( yum install gcc )进行安装
下载:
cd /opt && mkdir fastdfs && cd fastdfs                            #在opt目录下建立文件夹 fastdfs
git clone https://github.com/happyfish100/fastdfs.git                  #下载FastDFS
git clone https://github.com/happyfish100/libfastcommon.git               #下载libfastcommon
cd /opt/fastdfs/libfastcommon                                #进入目录进行安装
./make.sh && ./make.sh install
cd /opt/fastdfs/fastdfs
./make.sh && ./make.sh install
配置文件:
所有的配置文件都在 /usr/bin/fdfs/ 下 :
client.conf.sample storage.conf.sample storage_ids.conf.sample tracker.conf.sample
cd /etc/fdfs
mv tracker.conf.sample  tracker.conf
mv storage.conf.sample storage.conf.sample
mv client.conf.sample client.conf.sample
修改配置文件的内容如下:
storage.conf
# the base path to store data and log files
base_path=/mnt/xfsd/fastdfs/storage

# store_path#, based 0, if store_path0 not exists, it‘s value is base_path
# the paths must be exist
store_path0=/mnt/xfsd/fastdfs/storage

# tracker_server can ocur more than once, and tracker_server format is
#  "host:port", host can be hostname or ip address
tracker_server=host:22122


#standard log level as syslog, case insensitive, value list:
### emerg for emergency
### alert
### crit for critical
### error
### warn for warning
### notice
### info
### debug
log_level=debug

# the port of the web server on this storage server
http.server_port=80
bash_path 是storage存储的数据和日志的地址
store_path0 和bash_path一样,只不过这个是优先存储的地址,如果不存在,默认是bash_path
tracker_server 是指tracker服务角色的 地址:端口。(如果tracker 和 storage 是同一个服务器的话,那么就填写服务器的ip和地址。)
log_level 是输出日志的级别设计
http.server_port 是http服务的接受端口
tracker.conf
# the tracker server port
port=22122

# the base path to store data and log files
base_path=/mnt/xfsd/fastdfs/tracker/


# HTTP port on this tracker server
http.server_port=80
修改后可以启动服务了
/usr/bin/fdfs_trackerd /etc/fdfs/tracker.conf  (start | restart | stop)
/usr/bin/fdfs_storaged /etc/fdfs/storage.conf  (start | restart | stop)
检查服务:
/usr/bin/fdfs_moniter /etc/fdfs/storaged.conf
开启端口(我用的是iptables,简单便捷就可以配置了,可以去网上看下怎么安装iptables):

最后,进行测试:
fdfs_delete_file              # 删除文件
fdfs_upload_file               #上传文件
fdfs_test                         # 测试文件
fdfs_download_file                    #下载文件
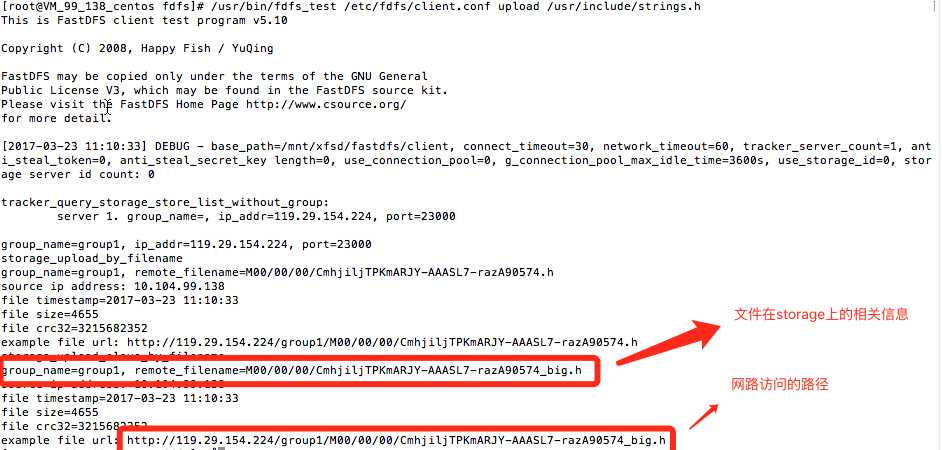
拿fdfs_test来测试:
/usr/bin/fdfs_test /etc/fdfs/client.conf upload /目标文件路径
成功后会有以下信息:
Linux搭建FastFDFS文件管理系统搭建,部署及上传材料
标签:rom 功能 erro for 文件名 1.0 自己的 删除文件 base
原文地址:http://www.cnblogs.com/tjc1996/p/6604092.html