标签:war 搭建 end 问题 服务器 page 静态服务器 stat nts
搭建静态网站,首先需要部署环境。下面的步骤,将告诉大家如何在服务器上通过 Nginx 部署 HTTP 静态服务。
安装 Nginx
yum install nginx -y

启动:nginx
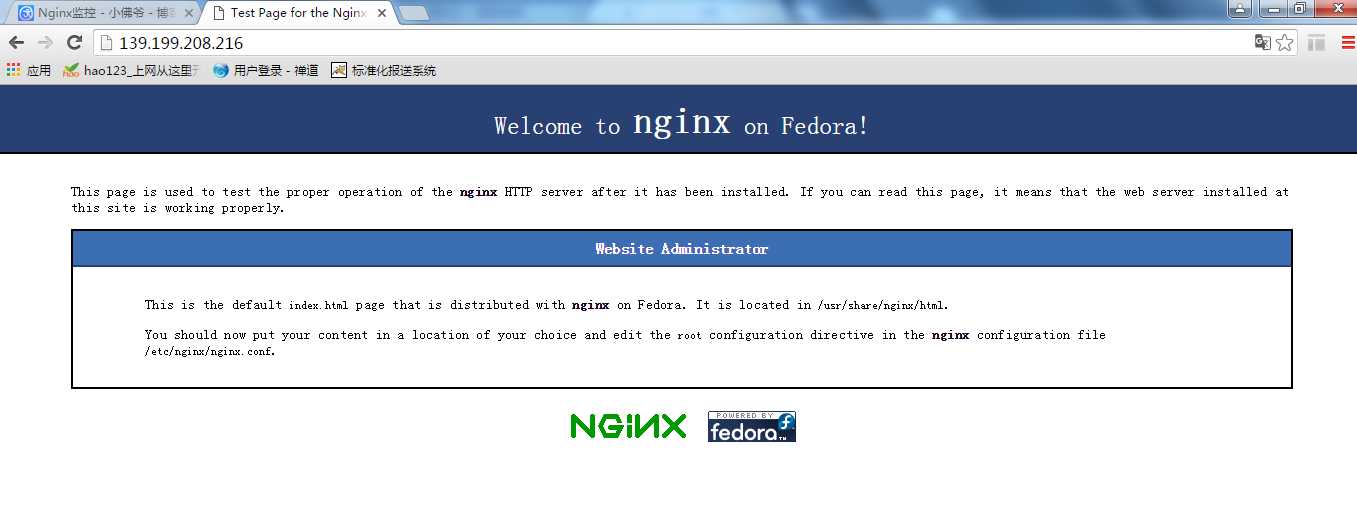
ok 完成后访问访问 http://119.29.232.198 可以看到 Nginx 的测试页面
Nginx 命令详解:http://blog.csdn.net/aidenliu/article/details/6413342
配置静态服务器访问路径
打开 Nginx 的默认配置文件 /etc/nginx/nginx.conf ,修改 Nginx 配置,将默认的 root /usr/share/nginx/html; 修改为: root /data/www;,如下:
代码示范:/etc/nginx/nginx.conf
user nginx;
worker_processes auto;
error_log /var/log/nginx/error.log;
pid /run/nginx.pid;

include /usr/share/nginx/modules/*.conf;

events {
    worker_connections 1024;
}

http {
    log_format  main  ‘$remote_addr - $remote_user [$time_local] "$request" ‘
                      ‘$status $body_bytes_sent "$http_referer" ‘
                      ‘"$http_user_agent" "$http_x_forwarded_for"‘;

    access_log  /var/log/nginx/access.log  main;

    sendfile            on;
    tcp_nopush          on;
    tcp_nodelay         on;
    keepalive_timeout   65;
    types_hash_max_size 2048;

    include             /etc/nginx/mime.types;
    default_type        application/octet-stream;

    include /etc/nginx/conf.d/*.conf;

    server {
        listen       80 default_server;
        listen       [::]:80 default_server;
        server_name  _;
        root         /data/www;

        include /etc/nginx/default.d/*.conf;

        location / {
        }

        error_page 404 /404.html;
            location = /40x.html {
        }

        error_page 500 502 503 504 /50x.html;
            location = /50x.html {
        }
    }

}
配置文件将 /data/www/static 作为所有静态资源请求的根路径,如访问: http://<您的域名>/static/index.js,将会去 /data/www/static/ 目录下去查找 index.js。现在我们需要重启 Nginx 让新的配置生效,如:
nginx -s reload
mkdir -p /data/www //创建www目录
创建第一个静态文件
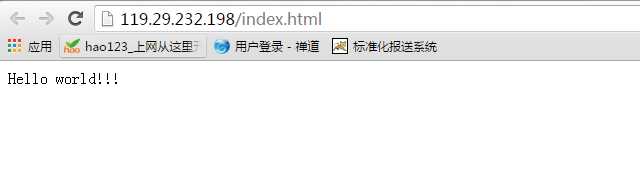
在 /data/www 目录下创建我们的第一个静态文件 index.html
代码示范:/data/www/index.html
<!DOCTYPE html>
<html lang="zh">
<head>
    <meta charset="UTF-8">
    <title>第一个静态文件</title>
</head>
<body>
Hello world!
</body>
</html>
现在访问 http://119.29.232.198/index.html 应该可以看到页面输出
到此,一个基于 Nginx 的静态服务器就搭建完成了,现在所有放在 /data/www 目录下的的静态资源都可以直接通过域名访问。
本次测试目的主要就是做Nginx负载分发的访问监控。。望过路的大神不要喷。。欢迎指责问题和建议!!!
标签:war 搭建 end 问题 服务器 page 静态服务器 stat nts
原文地址:http://www.cnblogs.com/what-/p/7257909.html