码迷,mamicode.com
首页 > 系统相关 > 详细

1.linux源码安装nginx

时间:2018-04-25 22:11:49      阅读:247      评论:0      收藏:0      [点我收藏+]

标签:path   --   技术   conf   程序   界面   using   访问   into   

  1. 从官网下载nginx.tar.gz源码包
  2. 拷贝至Linux系统下进行解压 tar -zxvf nginx.tar.gz
  3. 进入解压后的目录,需要./configure,此步骤会报多个错,比如没有安装gcc时,要求安装gcc等
  • ./confiure

在./configure时,可能会报错,如下:./configure: error: the HTTP rewrite module requires the PCRE library.You can either disable the module by using --without-http_rewrite_module option, or install the PCRE library into the system, or build the PCRE library statically from the source with nginx by using --with-pcre=<path> option.

  • 解决办法是安装pcre-devel这个包,yum -y install pcre-devel   为了重写rewrite
  • 安装了上面这个包后,还会报错,提示./configure: error: the HTTP gzip module requires the zlib library. You can either disable the module by using --without-http_gzip_module option, or install the zlib library into the system, or build the zlib library statically from the source with nginx 
  • 此时需要安装zlib-devel包,yum -y install  zlib-devel   为了gzip压缩

  4.make

  5.make install 或者4和5结合在一块,make && make install

  6.通过编译安装的程序都会保存在/usr/local目录下,如下:

  • [root@localhost nginx-1.14.0]# ls /usr/local/nginx/
    conf html logs sbin
    [root@localhost nginx-1.14.0]#

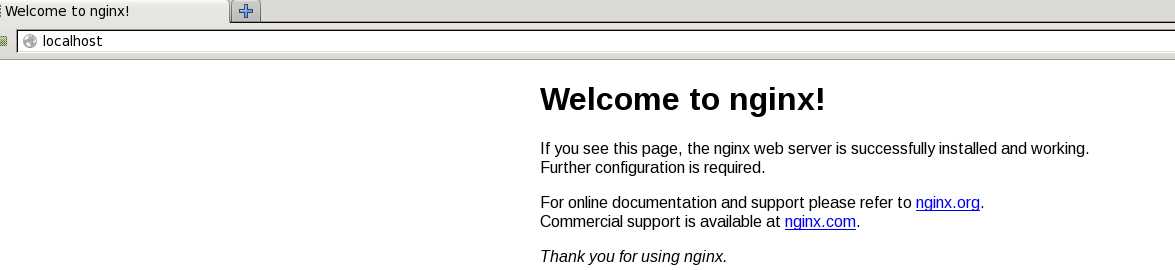
  7.运行命令 ./sbin/nginx就会启动nginx,通过ps -ef | grep nginx 或者通过netstat -anpl | grep 80可以查看进程或者端口状态

  • 访问 firefox localhost:80 ,如果出现如下界面,就表示nginx启动成功:
  • 技术分享图片


1.linux源码安装nginx

标签:path   --   技术   conf   程序   界面   using   访问   into   

原文地址:https://www.cnblogs.com/mmdln/p/8947139.html

(0)
(0)
   
举报
评论 一句话评论(0
登录后才能评论!
© 2014 mamicode.com 版权所有  联系我们:gaon5@hotmail.com
迷上了代码!