
 ,这个小玩意可以在网上下载到的。
 打开
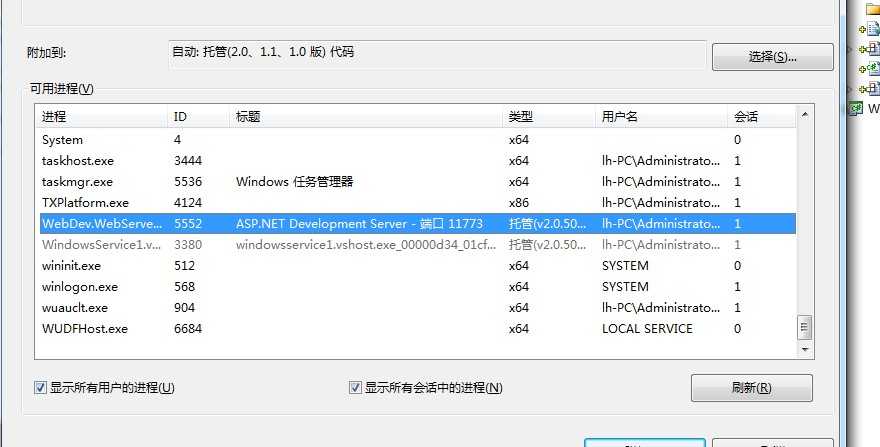
打开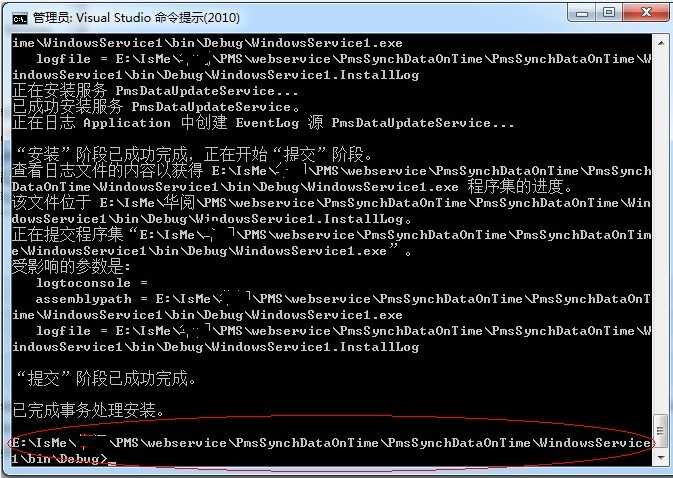

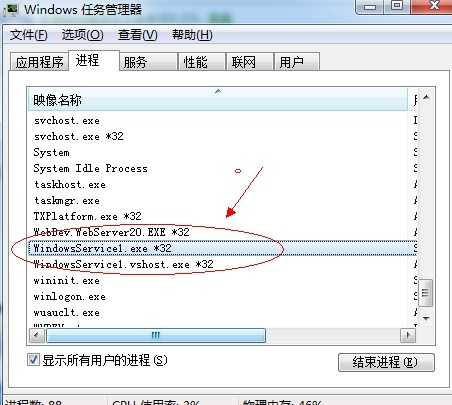 结束进程。
结束进程。在ASP.net的WEB开发中经常会碰到这样的一个问题:即用户操作响应慢的情况。这时候就可以用后台定时任务来提前实现,并且将结果存放好或分解成响应快的任务。
可以采用Asp.net的定时处理方式,直接在WEB服务器层来进行处理。
关于C#中timer类,在C#里关于定时器类就有3个,分别是System.Windows.Forms,System.Timers.Timer和System.Threading.Timer.在这里我们主要使用System.Threading.Timer,因为它是一个使用回调方法的计时器,而且由线程池线程服务,简单且对资源要求不高。
public class ScheduledTask
{
private static readonly ScheduledTask _ScheduledTask = null;
private System.Threading.Timer UpdateTimer = null;
private int Interval = 1 * 60000;//间隔时间,这里设置为15分钟
private int _IsRunning;//上一个时间间隔触发的任务是否运行完成
static ScheduledTask()
{
_ScheduledTask = new ScheduledTask();
}
public static ScheduledTask Instance()
{
return _ScheduledTask;
}
/// <summary>
/// timer启动
/// </summary>
public void Start()
{
if (UpdateTimer == null)
{
UpdateTimer = new System.Threading.Timer(new TimerCallback(UpdateTimerCallback), null, Interval, Interval);
}
}
/// <summary>
/// 时钟callback事件
/// </summary>
/// <param name="sender"></param>
private void UpdateTimerCallback(object sender)
{
if (Interlocked.Exchange(ref _IsRunning, 1) == 0)
{
try
{
//要处理后台任务
}
catch (Exception ex)
{
}
finally
{
Interlocked.Exchange(ref _IsRunning, 0);
}
}
}
/// <summary>
///timer停止
/// </summary>
public void Stop()
{
if (UpdateTimer != null)
{
UpdateTimer.Dispose();
UpdateTimer = null;
}
}
}
建议在Application_Start中调用这个类,具体调用方法如下
public class Global : System.Web.HttpApplication
{
protected void Application_Start(object sender, EventArgs e)
{
ScheduledTask.Instance().Start();
}
protected void Application_End(object sender, EventArgs e)
{
ScheduledTask.Instance().Stop();
}
}
其中_IsRunning是一个标志,它代表上一个时间间隔触发的任务是否运行完成。因为,如果我们执行的任务时间很长,就可能造成上一个时间段触发的任务还没有执行完成,下一个任务又开始了,这样就会造成重入的问题。为了解决这个问题,我们用_IsRunning作为一个标志,表示上次的任务是否完成了,如果完成了,我们就执行新的任务,如果没完成就跳过这次的任务继续执行上次的任务。
所以在程序中,我使用了Interlocked.Exchange这个方法。该方法的作用是保证多线程下给对象赋值的安全性。因为在多线程下,我们直接给_IsRunning赋值是不安全的,所以在这种情况下Interlocked.Exchange就派上了用场