标签:lse 工程 client 依赖 src package figure enable init
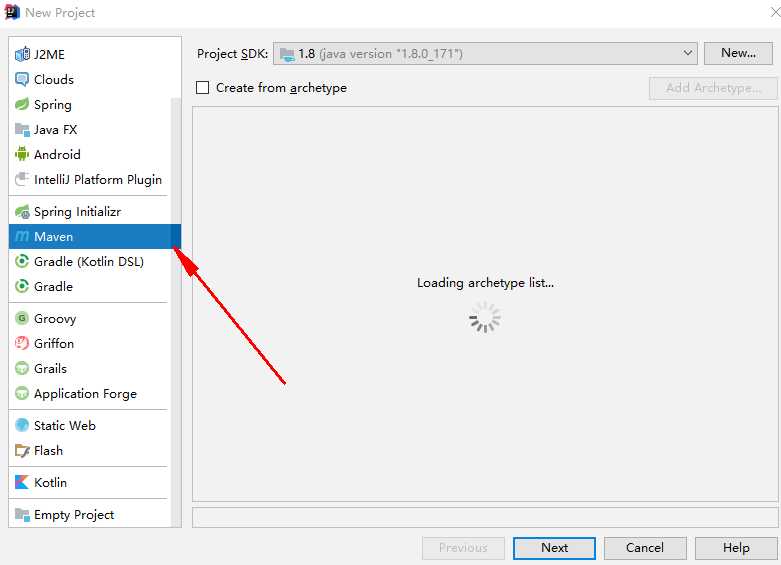
1.新建maven工程,点击finish完成
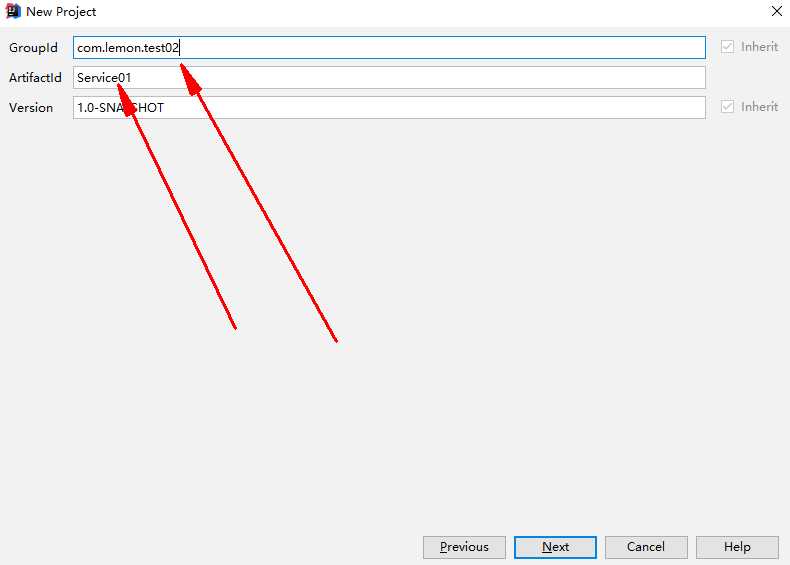
2.在pom.xml文件中加入必要的依赖
<?xml version="1.0" encoding="UTF-8"?>
<project xmlns="http://maven.apache.org/POM/4.0.0"
         xmlns:xsi="http://www.w3.org/2001/XMLSchema-instance"
         xsi:schemaLocation="http://maven.apache.org/POM/4.0.0 http://maven.apache.org/xsd/maven-4.0.0.xsd">
    <modelVersion>4.0.0</modelVersion>
    <groupId>com.lemon.test02</groupId>
    <artifactId>Service01</artifactId>
    <version>1.0-SNAPSHOT</version>
    <parent>
        <groupId>org.springframework.boot</groupId>
        <artifactId>spring-boot-starter-parent</artifactId>
        <version>2.0.3.RELEASE</version>
        <relativePath/>
    </parent>
    <properties>
        <project.build.sourceEncoding>UTF-8</project.build.sourceEncoding>
        <project.reporting.outputEncoding>UTF-8</project.reporting.outputEncoding>
        <java.version>1.8</java.version>
        <spring-cloud.version>Finchley.RELEASE</spring-cloud.version>
    </properties>
    <dependencies>
        <dependency>
            <groupId>org.springframework.boot</groupId>
            <artifactId>spring-boot-starter-test</artifactId>
            <scope>test</scope>
        </dependency>
    </dependencies>
    <dependencyManagement>
        <dependencies>
            <dependency>
                <groupId>org.springframework.cloud</groupId>
                <artifactId>spring-cloud-dependencies</artifactId>
                <version>${spring-cloud.version}</version>
                <type>pom</type>
                <scope>import</scope>
            </dependency>
        </dependencies>
    </dependencyManagement>

    <build>
        <plugins>
            <plugin>
                <groupId>org.springframework.boot</groupId>
                <artifactId>spring-boot-maven-plugin</artifactId>
            </plugin>
        </plugins>
    </build>

</project>
3.创建服务注册中心server,新建一个module->Spring Initializer->Cloud Discovery->Eureka Server->finish
4.修改src/main/resources/application.properties为application.yml
5.在包下自动产生的MyServerApplication.java文件中添加@EnableEurakeServer,在application.yml文件中添加如下内容
server:
  port: 8801
eureka:
  instance:
    hostname: localhost
  client:
    register-with-eureka: false
    fetch-registry: false
    service-url:
      defaultZone: http://${eureka.instance.hostname}:${server.port}/eureka/
spring:
  application:
    name: eurka-server
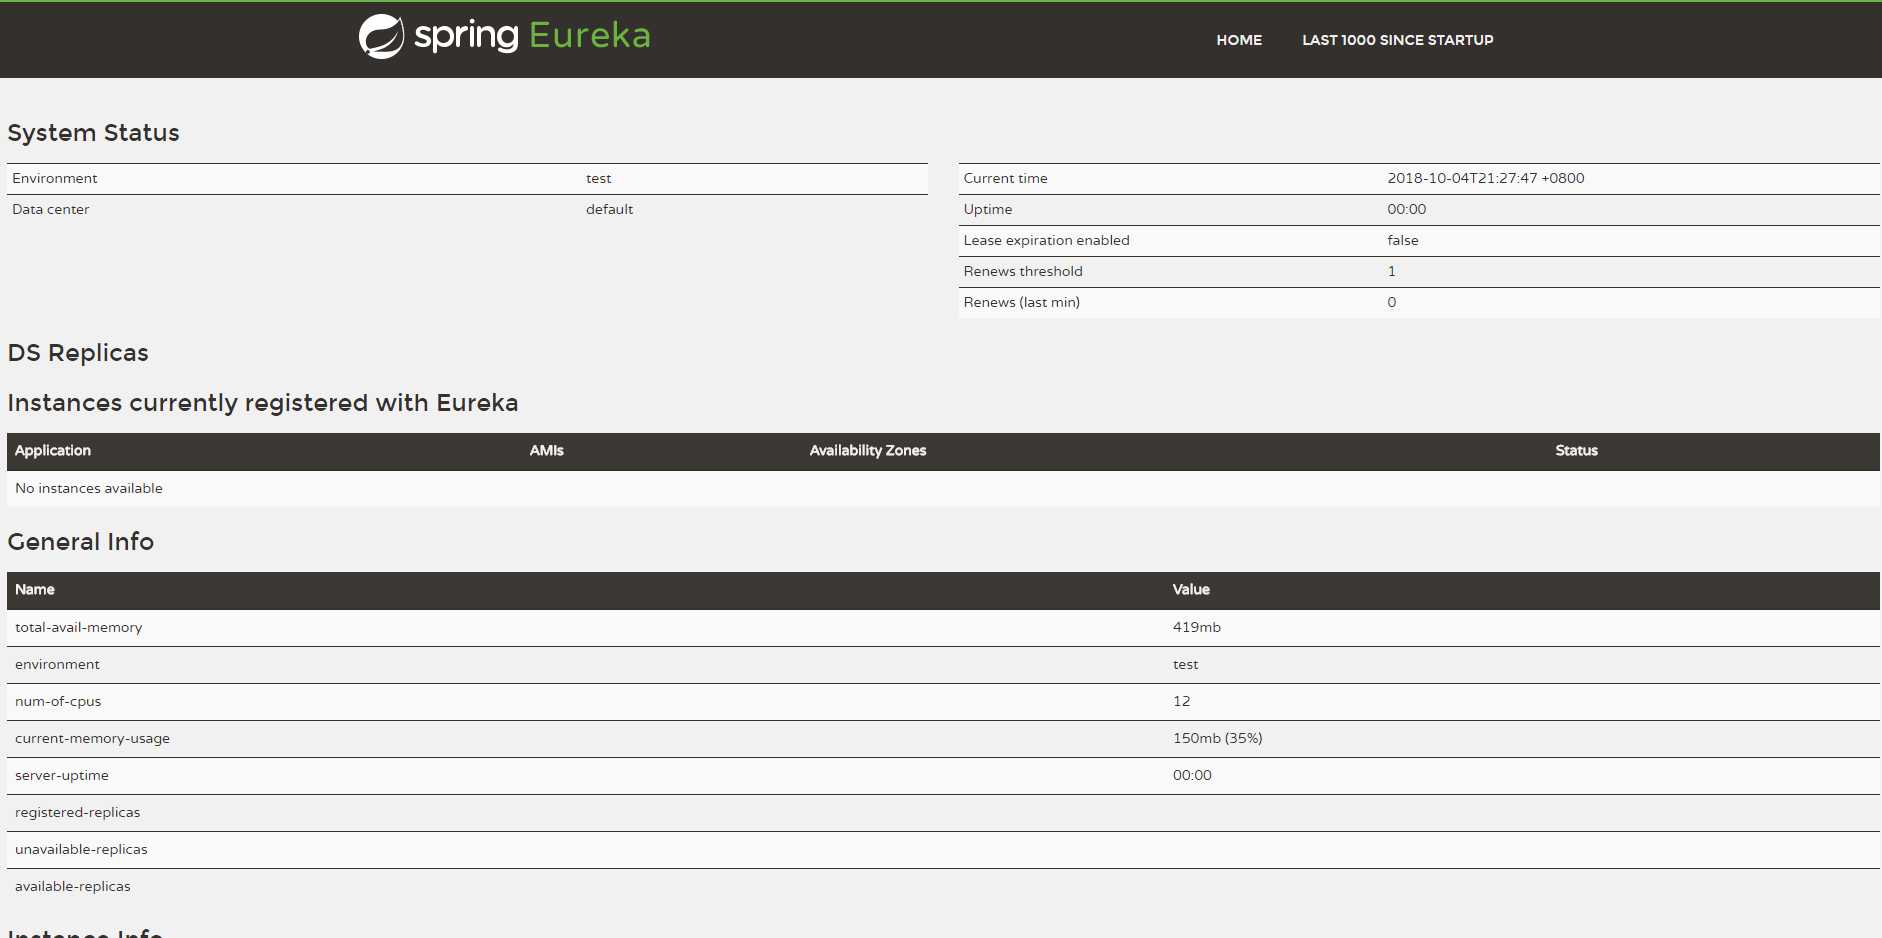
6.启动工程,打开localhost:8801测试,出现下图,表明server正常工作
7.新建服务的module,名字为my-service,和server构建方式一模一样,然后修改my-service的pom.xml文件中的spring-cloud-starter-netflix-eureka-server为spring-cloud-starter-netflix-eureka-client,按照上文方式修改properties为yml
8.在my-service模块产生的java文件中添加如下内容
package com.example.myservice;

import org.springframework.beans.factory.annotation.Value;
import org.springframework.boot.SpringApplication;
import org.springframework.boot.autoconfigure.SpringBootApplication;
import org.springframework.cloud.netflix.eureka.EnableEurekaClient;
import org.springframework.web.bind.annotation.RequestMapping;
import org.springframework.web.bind.annotation.RequestParam;
import org.springframework.web.bind.annotation.RestController;

@SpringBootApplication
@EnableEurekaClient
@RestController
public class MyServiceApplication {

	public static void main(String[] args) {
		SpringApplication.run(MyServiceApplication.class, args);
	}
	@Value("${server.port}")
	String port;
	@RequestMapping("/hi")
	public String home(@RequestParam(value = "name",defaultValue = "lemon") String name){
		return "hi"+name+", I am on the port:"+port;
	}
}
在yml文件中添加
server:
  port: 8802
spring:
  application:
    name: service-ribbon
eureka:
  client:
    serviceUrl:
      defaultZone: http://localhost:8801/eureka/
启动程序测试,此时发现,在localhost:8801网页上,出现一个my-service的应用,在应用程序启动处选择Edit Configuration,去掉Single instance only,便可以修改端口号,再次启动一个服务,打开8801端口网页发现有两个服务

9.创建一个消费者module,名称为my-consume,创建方式和my-service一样,也修改文件为client,添加如下内容到yml文件
server:
  port: 8804
spring:
  application:
    name: my-consume
eureka:
  client:
    serviceUrl:
      defaultZone: http://localhost:8801/eureka/
添加如下内容到java文件中
package com.example.myconsume;

import org.springframework.boot.SpringApplication;
import org.springframework.boot.autoconfigure.SpringBootApplication;
import org.springframework.cloud.client.discovery.EnableDiscoveryClient;
import org.springframework.cloud.client.loadbalancer.LoadBalanced;
import org.springframework.cloud.netflix.eureka.EnableEurekaClient;
import org.springframework.context.annotation.Bean;
import org.springframework.web.bind.annotation.RestController;
import org.springframework.web.client.RestTemplate;

@SpringBootApplication
@EnableEurekaClient
@EnableDiscoveryClient //确保可以注册
public class MyConsumeApplication {

	public static void main(String[] args) {
		SpringApplication.run(MyConsumeApplication.class, args);
	}
	@Bean
	@LoadBalanced
	RestTemplate restTemplate() {
		return new RestTemplate();
	}
}
新建一个service文件,添加如下内容
package com.example.myconsume;

import org.springframework.beans.factory.annotation.Autowired;
import org.springframework.web.client.RestTemplate;

@Service
public class HelloService {
    @Autowired
    RestTemplate restTemplate;

    public String hiService(String name) {
        return restTemplate.getForObject("http://MY-SERVICE/hi?name="+name,String.class);
    }
}
//其中MY-SERVICE是服务的名称,在网页中可以查到
新建一个controller文件,添加如下内容
package com.example.myconsume;

import org.springframework.beans.factory.annotation.Autowired;
import org.springframework.web.bind.annotation.RequestMapping;
import org.springframework.web.bind.annotation.RequestParam;
import org.springframework.web.bind.annotation.RestController;

@RestController
public class HelloControler {
    @Autowired
    HelloService helloService;

    @RequestMapping(value = "/hi")
    public String hi(@RequestParam String name){
        return helloService.hiService(name);

    }


}
启动工程,发现在网页中该服务也注册了,如下图

在网页中输入localhost:8804/hi?name=lemon,不断刷新,发现打印出的端口号是改变的,说明进行负载均衡了
参考:https://blog.csdn.net/forezp/article/details/81040946
标签:lse 工程 client 依赖 src package figure enable init
原文地址:https://www.cnblogs.com/SakerLiu/p/9743577.html