标签:scene onload WebG web over axis document tput end
<!DOCTYPE html>

<html>

<head>
    <title></title>
    <script src="https://cdn.bootcss.com/three.js/r67/three.js"></script>
    <style>
        body {
            margin: 0;
            overflow: hidden;
        }
    </style>
</head>
<body>


<div id="WebGL-output">
</div>


<script type="text/javascript">

    function init() {

        // 创建场景
        var scene = new THREE.Scene();

        // 创建相机
        var camera = new THREE.PerspectiveCamera(45, window.innerWidth / window.innerHeight, 0.1, 1000);

        // 创建渲染器
        var renderer = new THREE.WebGLRenderer();
        renderer.setClearColorHex();
        renderer.setClearColor(new THREE.Color(0xEEEEEE));
        renderer.setSize(window.innerWidth, window.innerHeight);

        //辅助线
        var axes = new THREE.AxisHelper(20);
        scene.add(axes);


        // 相机坐标设置
        camera.position.x = -30;
        camera.position.y = 40;
        camera.position.z = 30;
        camera.lookAt(scene.position);

        // 添加到DOM元素里面
        document.getElementById("WebGL-output").appendChild(renderer.domElement);

        // 渲染场景
        renderer.render(scene, camera);
    }
    window.onload = init;

</script>
</body>
</html>
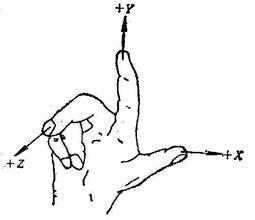
X轴是红色. Y轴是绿色. Z轴是蓝色
标签:scene onload WebG web over axis document tput end
原文地址:https://www.cnblogs.com/shuaihan/p/9872442.html