标签:服务器 ram 实例 请求 create 图片 安装 blank UNC
在创建实际的“Hello,World!”应用之前,我们应该先安装NodeJS,安装NodeJS可以访问NodeJS官网,下载相应系统的NodeJS的安装包,进行安装。
关于Hello World 这个应用主要包括三部分组成
导入所需的模块
-在程序中我们使用require指令来加载NodeJS模块
创建服务器
-一个将监听类似于Apache HTTP Server的客户端请求的服务器。
第1步 - 导入所需模块
我们使用require指令加载http模块并将返回的HTTP实例存储到http变量中,如下所示
var http = require("http");第2步 - 创建服务器
我们使用创建的http实例并调用http.createServer()方法创建服务器实例,然后使用与服务器实例关联的listen方法将其绑定到端口3000 。通过参数请求和响应传递一个函数。编写样本实现以始终返回“Hello World”。
var http = require("http");

http.createServer(function (request, response) {

   // Send the HTTP header
   // HTTP Status: 200 : OK
   // Content Type: text/plain
   response.writeHead(200, {‘Content-Type‘: ‘text/plain‘});

   // Send the response body as "Hello World"
   response.end(‘Hello World\n‘);
}).listen(3000);

// Console will print the message
console.log(‘Server running at http://127.0.0.1:3000/‘);第3步现在执行main.js来启动服务器
$ node main.js我们可以看到程序已经启动 
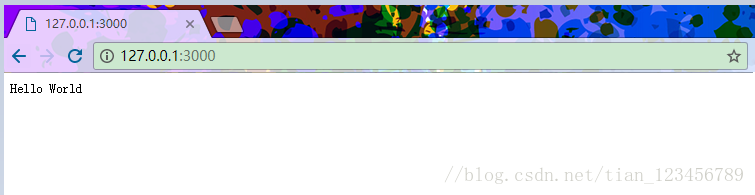
这时我们打开浏览器输入http://127.0.0.1:3000/ 可以看到:
(转)NodeJS - 第一个应用程序Hello World
标签:服务器 ram 实例 请求 create 图片 安装 blank UNC
原文地址:https://www.cnblogs.com/xingchong/p/10291842.html