标签:mes rom ignore 一个 添加 timestamp login 出现 环境配置
1、环境概要| --------- | -------- | IP | 内存 |
|---|---|---|---|
| Linux 6.7 | DB 12.2 | 192.168.3.2 | 32G |
| OEM | 13.2 | 192.168.3.2 | 32G |
2、系统环境配置
[root@leo ~]# vi /etc/sysctl.conf
kernel.shmall = 4294967296
kernel.sem = 510 65280 510 128
kernel.shmmni = 4096
kernel.shmmax = 137438953472
net.ipv4.ip_local_port_range = 9000 65500
net.core.rmem_default = 1048576
net.core.rmem_max = 4194304
net.core.wmem_default = 262144
net.core.wmem_max = 1048576
fs.file-max = 6815744
fs.aio-max-nr = 1048576
vm.swappiness = 0
vm.dirty_background_ratio = 3
vm.dirty_ratio = 80
vm.dirty_expire_centisecs = 500
vm.dirty_writeback_centisecs = 100
net.ipv4.tcp_sack = 0
net.ipv4.tcp_timestamps = 0
net.ipv4.conf.default.rp_filter = 0
net.ipv4.tcp_wmem = 262144
net.ipv4.tcp_rmem = 4194304

[root@leo ~]# sysctl -p   --使参数生效
2.1 配置用户shell限制
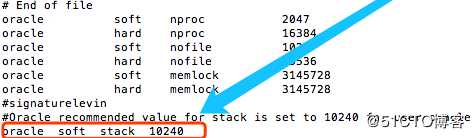
[root@leo ~]# vi /etc/security/limits.conf
oracle soft nproc 2047
oracle hard nproc 16384
oracle soft nofile 1024
oracle hard nofile 65536
oracle soft memlock 3145728
oracle hard memlock 3145728
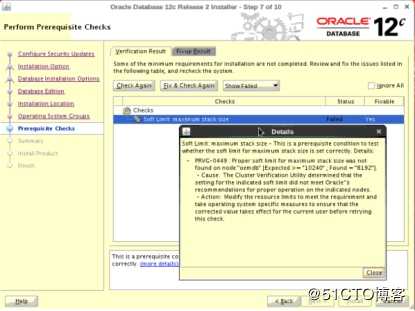
oracle soft stack 10240
oracle hard stack 102402.2 模块配置
[root@leo ~]# vi /etc/pam.d/login
session    required     /lib64/security/pam_limits.so
2.3 创建用户和组
groupadd oinstall
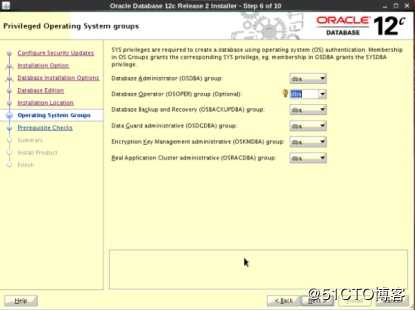
groupadd dba
useradd -m -g oinstall -G dba oracle
echo "oracle"|passwd --stdin oracle
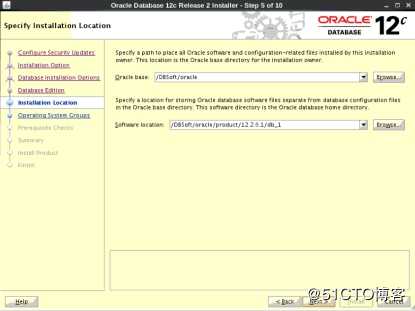
mkdir -p /DBSoft/product/12.2.0.1/db_1
chown -R oracle:oinstall /DBSoft2.4 操作系统profile配置
[root@leo ~]# vi /etc/profile
if [ \$USER = "oracle" ]; then
    if [ \$SHELL = "/bin/ksh" ]; then
        ulimit -p 16384
        ulimit -n 65536
    else
        ulimit -u 16384 -n 65536
    fi
fi
2.5 配置oracle用户环境变量
vi /home/oracle/.bash_profile
export EDITOR=vi
export ORACLE_SID=woo
export ORACLE_BASE=/DBSoft
export ORACLE_HOME=\$ORACLE_BASE/product/12.2.0.1/db_1
export LD_LIBRARY_PATH=\$ORACLE_HOME/lib
export PATH=\$ORACLE_HOME/bin:\$PATH
umask 022
2.6 关闭防火墙、selinux
chkconfig --level 345 ip6tables off
chkconfig --level 345 iptables off
service ip6tables stop
service iptables stop
sed -i "/^SELINUX=/s#enforcing#disabled#" /etc/selinux/config
2.7 修改hosts文件
vi /etc/hosts
192.168.3.2  leo
3 安装数据库软件
[oracle@leo ~]$ ls
linuxx64_12201_database.zip
[oracle@oemdb ~]$ unzip linuxx64_12201_database.zip
[oracle@leo ~]$ ll
total 3372760
drwxr-xr-x. 7 oracle oinstall 4096 July 09 2019 database
-rwxr-xr-x. 1 root root 3453696911 July 07 16:03 linuxx64_12201_database.zip
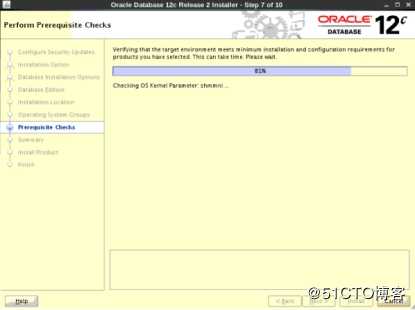
[oracle@leo database]$ ./runInstaller -silent -noconfig -responseFile /home/oracle/database/response/db_install.rsp -ignorePrereq
Starting Oracle Universal Installer...
Checking Temp space: must be greater than 500 MB. Actual 27734 MB Passed
Checking swap space: must be greater than 150 MB. Actual 20479 MB Passed
Preparing to launch Oracle Universal Installer from /tmp/OraInstall2019-07-09_10-23-25AM. Please wait ...[oracle@leo database]$ [WARNING] [INS-32055] The Central Inventory is located in the Oracle base.
ACTION: Oracle recommends placing this Central Inventory in a location outside the Oracle base directory.
You can find the log of this install session at:
/DBSoft/oracle/oraInventory/logs/installActions2019-07-09_10-23-25AM.log
提示执行root脚本:
[oracle@leo database]$ The installation of Oracle Database 12c was successful.
Please check ‘/DBSoft/oracle/oraInventory/logs/silentInstall2019-07-09_10-23-25AM.log‘ for more details.
As a root user, execute the following script(s):
1. /DBSoft/oracle/oraInventory/orainstRoot.sh
2. /DBSoft/oracle/product/12.2.0.1/db_1/root.sh
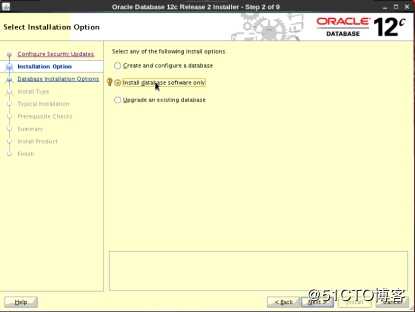
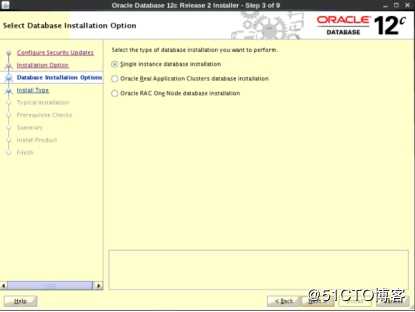
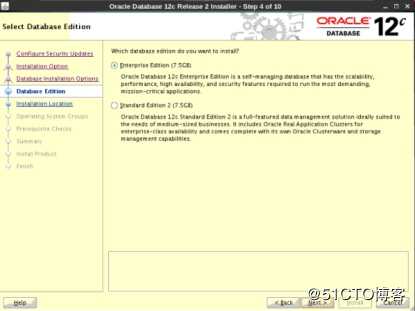
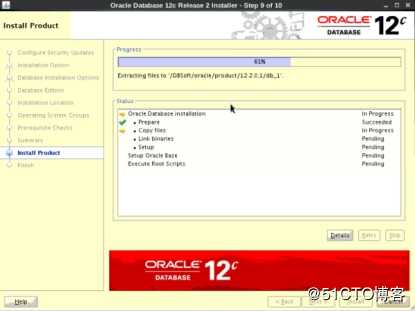
Successfully Setup Software.3.1 GUI界面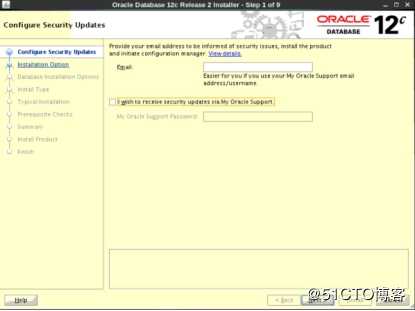
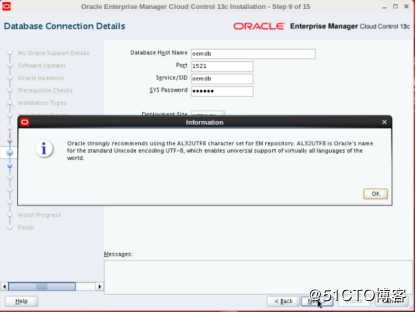
这是一个bug,已经执行并且添加,不用管,详见supprt (文档 ID 2287806.1),点击忽略即可。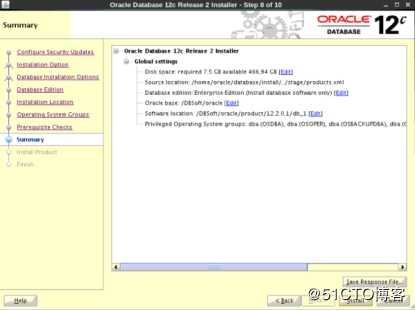

3.2 执行root脚本
[root@leo ~]# /DBSoft/oracle/product/12.2.0.1/db_1/root.sh 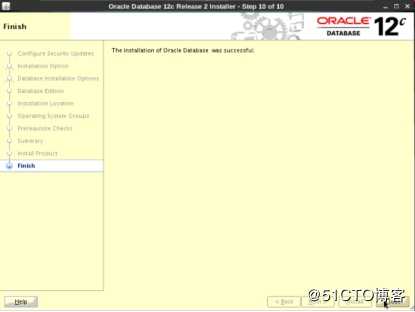
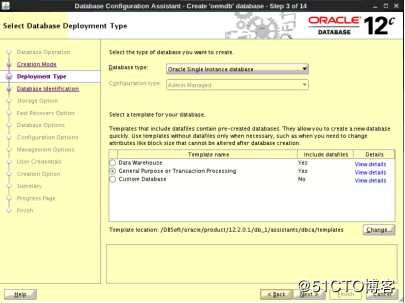
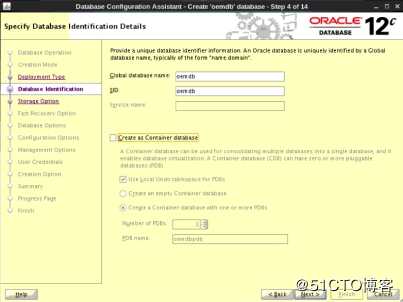
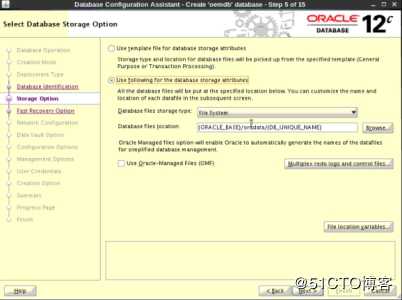
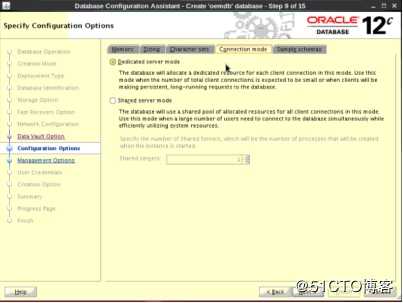
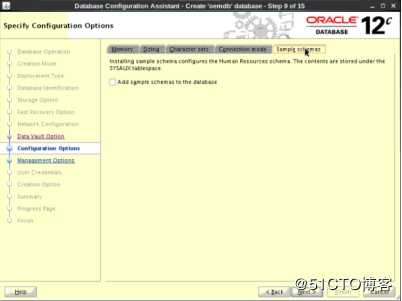
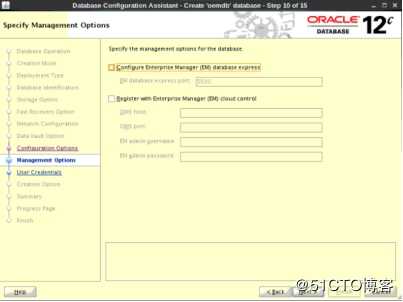
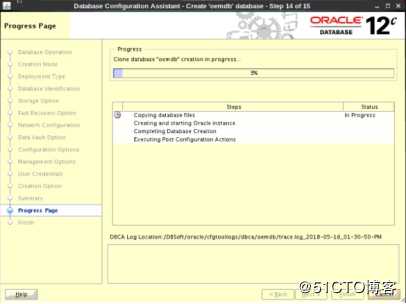
4 DBCA创建数据库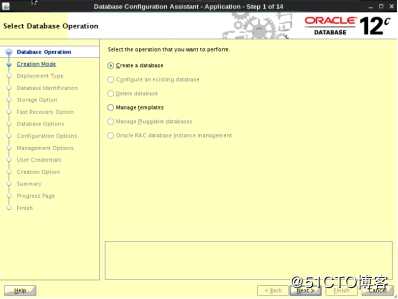

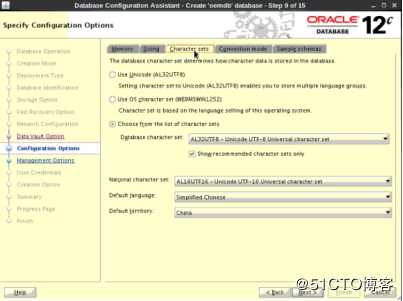
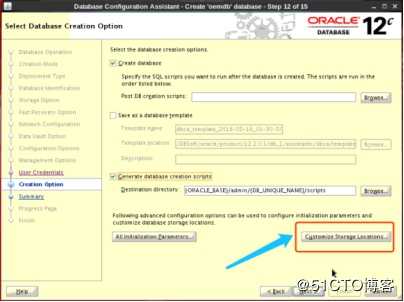
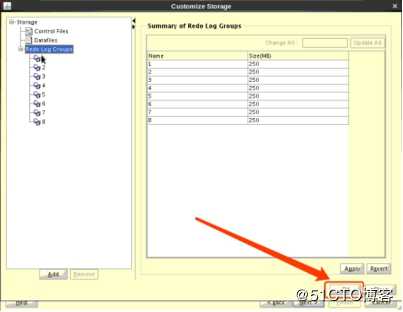
修改日志组的大小为250M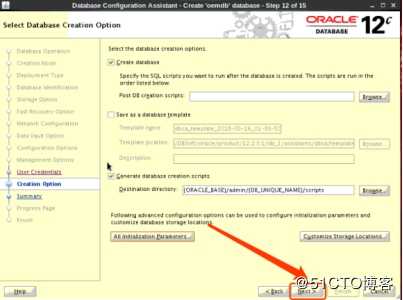
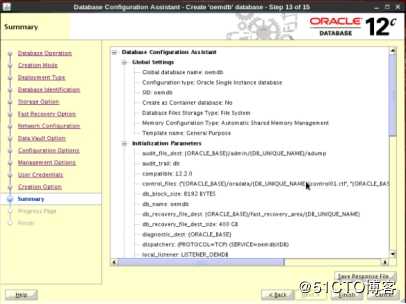
4.1 修改数据库配置
SQL> alter system set processes= 2000 scope=spfile;
SQL> alter system set session_cached_cursors=300 scope=spfile
SQL> alter system set open_cursors=350 scope=spfile;
SQL> alter system set sessions=2000 scope=spfile;
SQL> alter system set shared_pool_size=5120M scope=spfile;
SQL> alter system set "_allow_insert_with_update_check"=true;
5 安装OEM
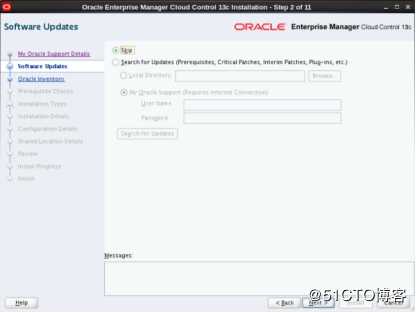
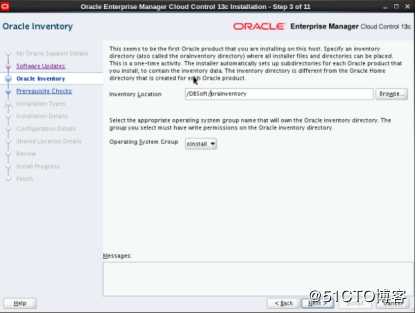
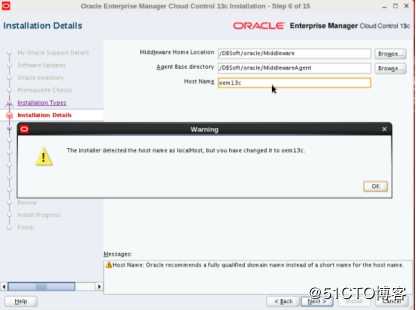
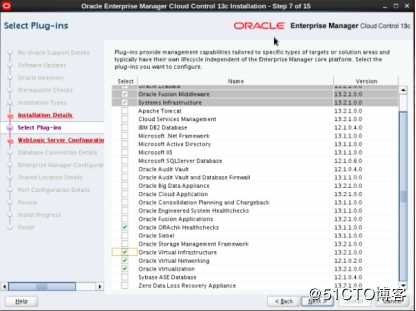
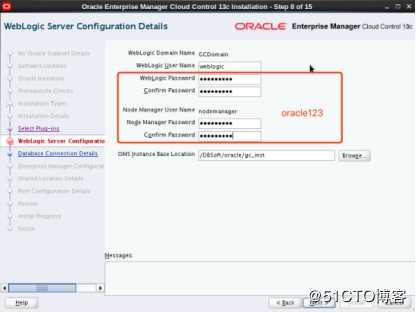
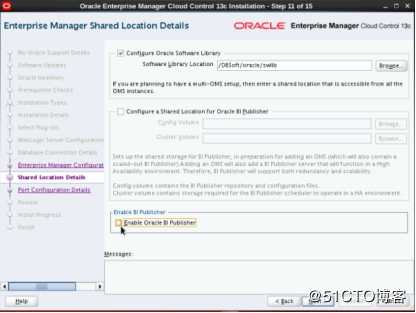
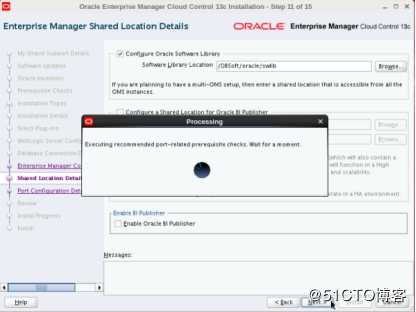
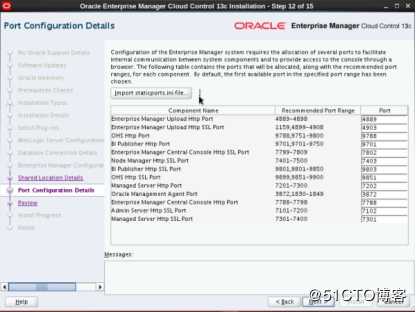
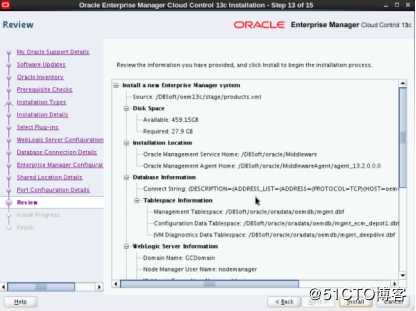
注意:OEM 13cR2安装包下载之后不要解压,直接执行em13200_linux64.bin文件会自动解压到/tmp目录中,随后会会调用安装程序起图形界面,这个过程大约5-10分钟,需耐心等待。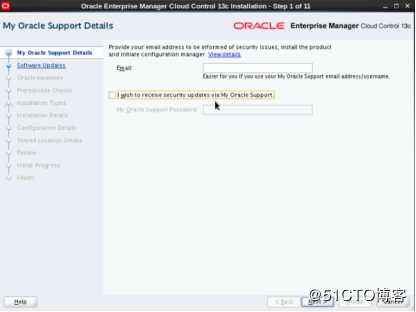
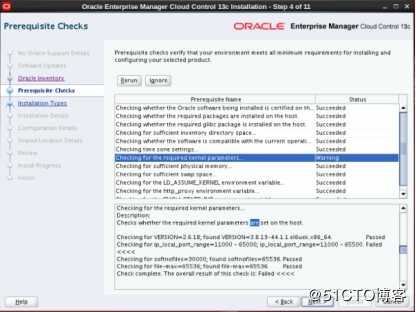
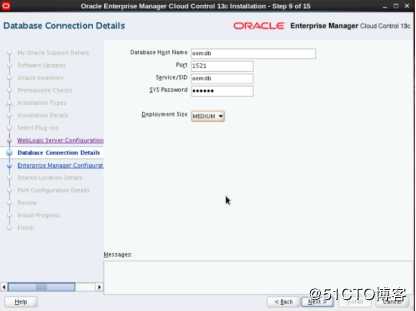
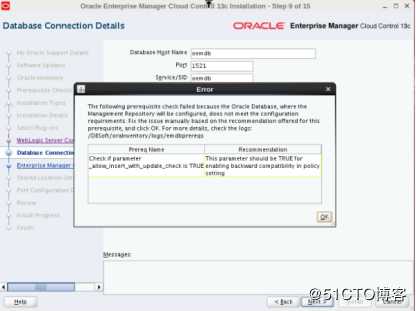
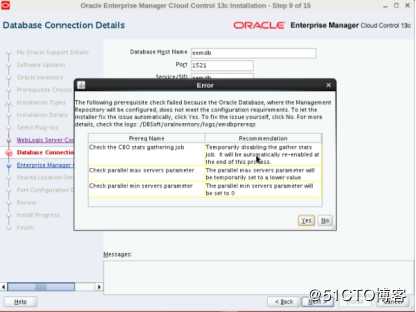
注意:看到这些信息要在数据库端修改对应的参数再重新执行即可。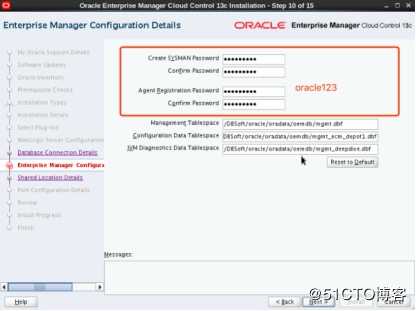
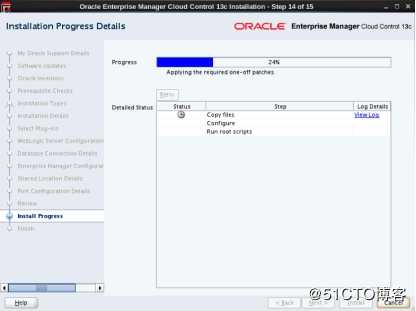
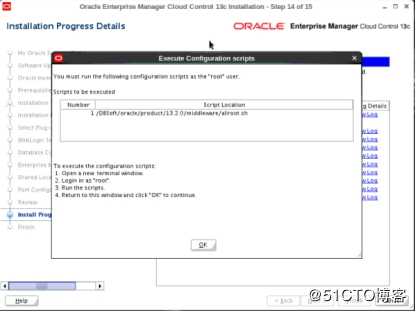
注意:经过3.5个小时的安装终于出现弹出需要执行allroot.sh脚本界面,安装基本告成。执行allroot.sh脚本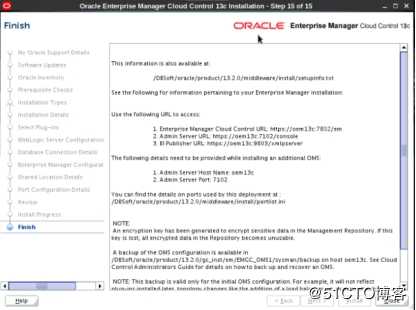
6 使用OEM
打开浏览器进入OEM页面https://192.168.3.2:7802/em 用户名sysman密码oracle123
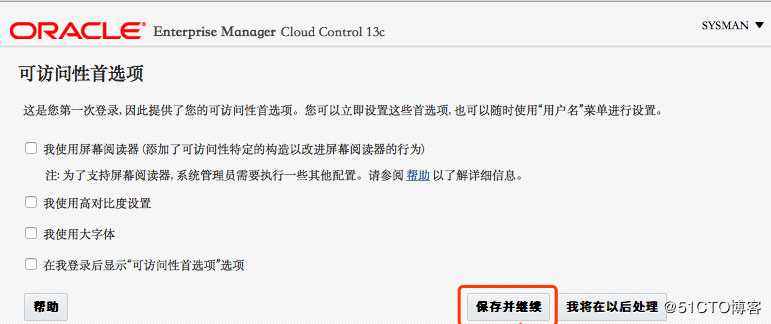
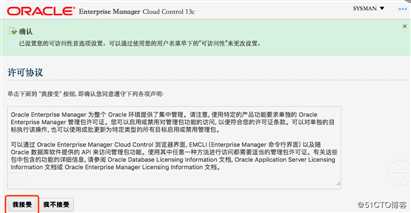
进入之后接受许可协议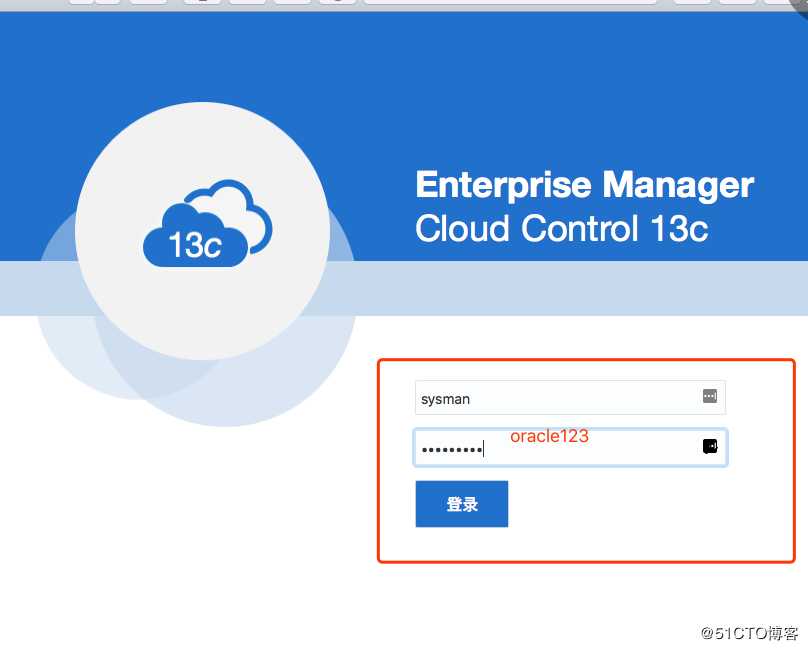
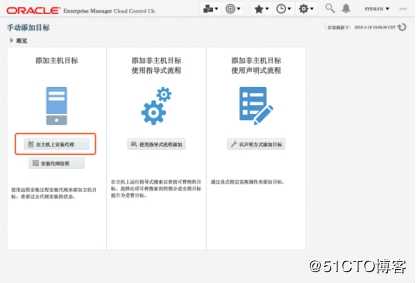
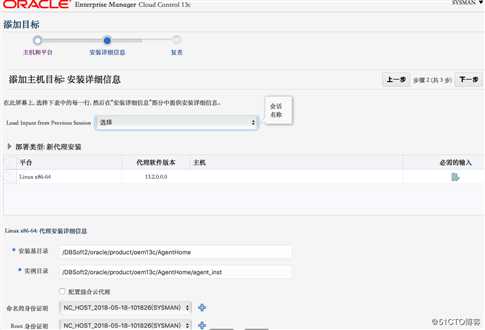
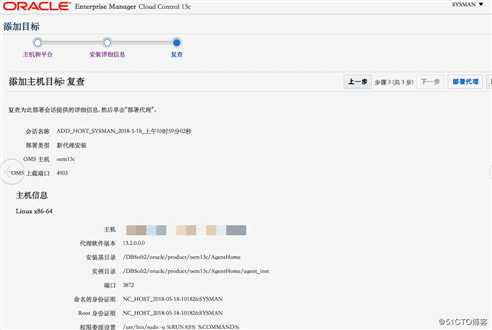
7 安装部署Agent
7.1 添加地址解析
在所有受管理的服务器增加OMS服务解析地址:
# echo “192.168.3.3     oem13c” >> /etc/hosts
7.2 部署Agent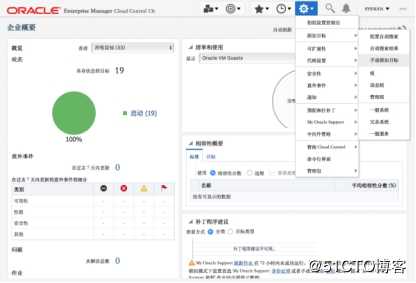
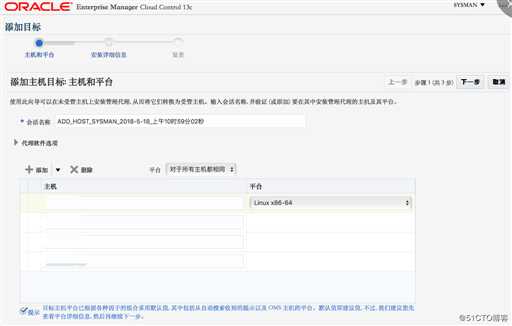
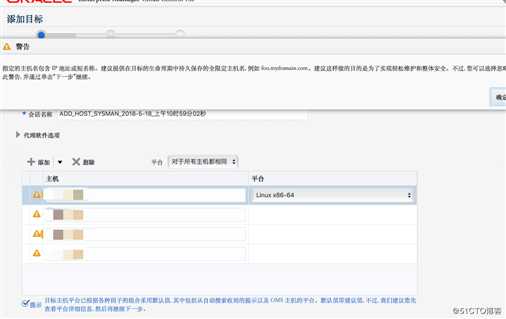
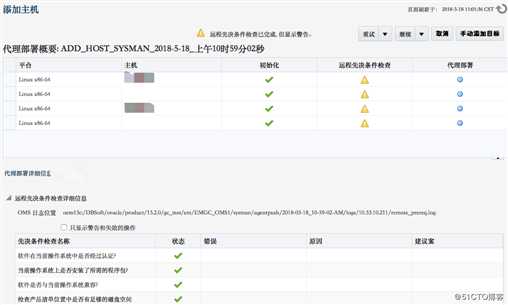
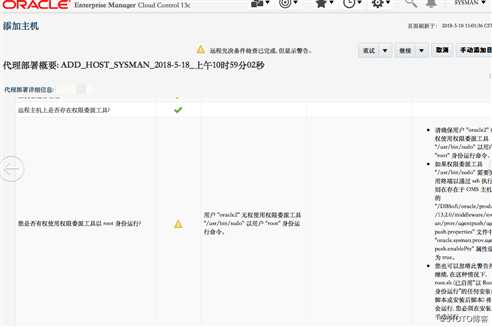
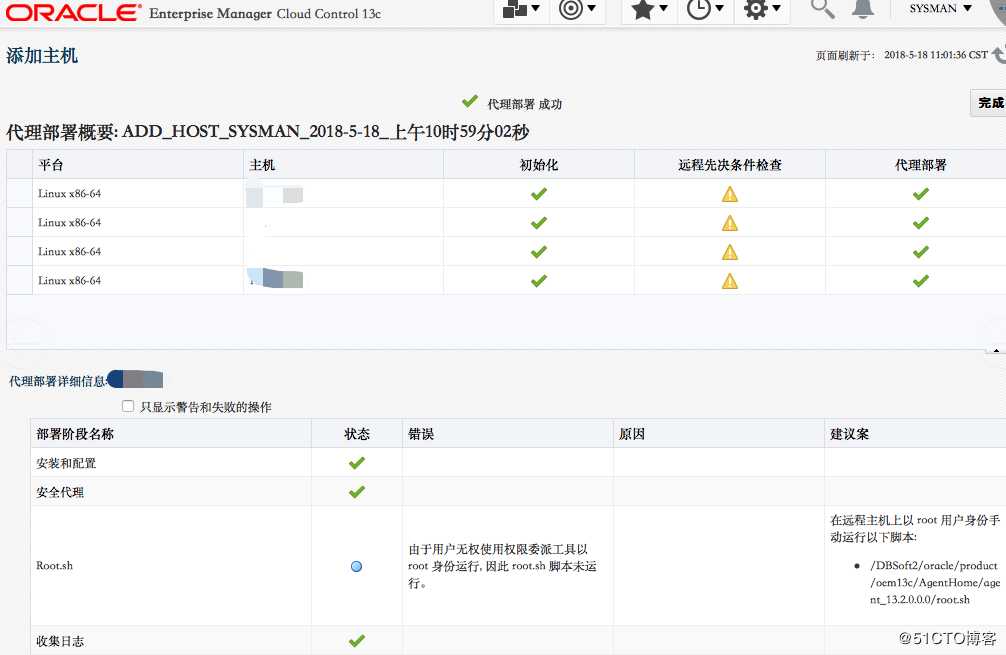
7.3 执行root.sh脚本
所有受管节点以root用户执行root.sh脚本
[root@leo ~]# /DBSoft2/oracle/product/oem13c/AgentHome/agent_13.2.0.0.0/root.sh
至此,EM13C Agent 部署完成。
标签:mes rom ignore 一个 添加 timestamp login 出现 环境配置
原文地址:https://blog.51cto.com/11298469/2419166