标签:sock different security 使用 with file x86 下载 规则
最近在工作上,需要在centos上面装spark大数据环境,特此记录一下单机spark部署步骤:
一、Centos7安装mysql
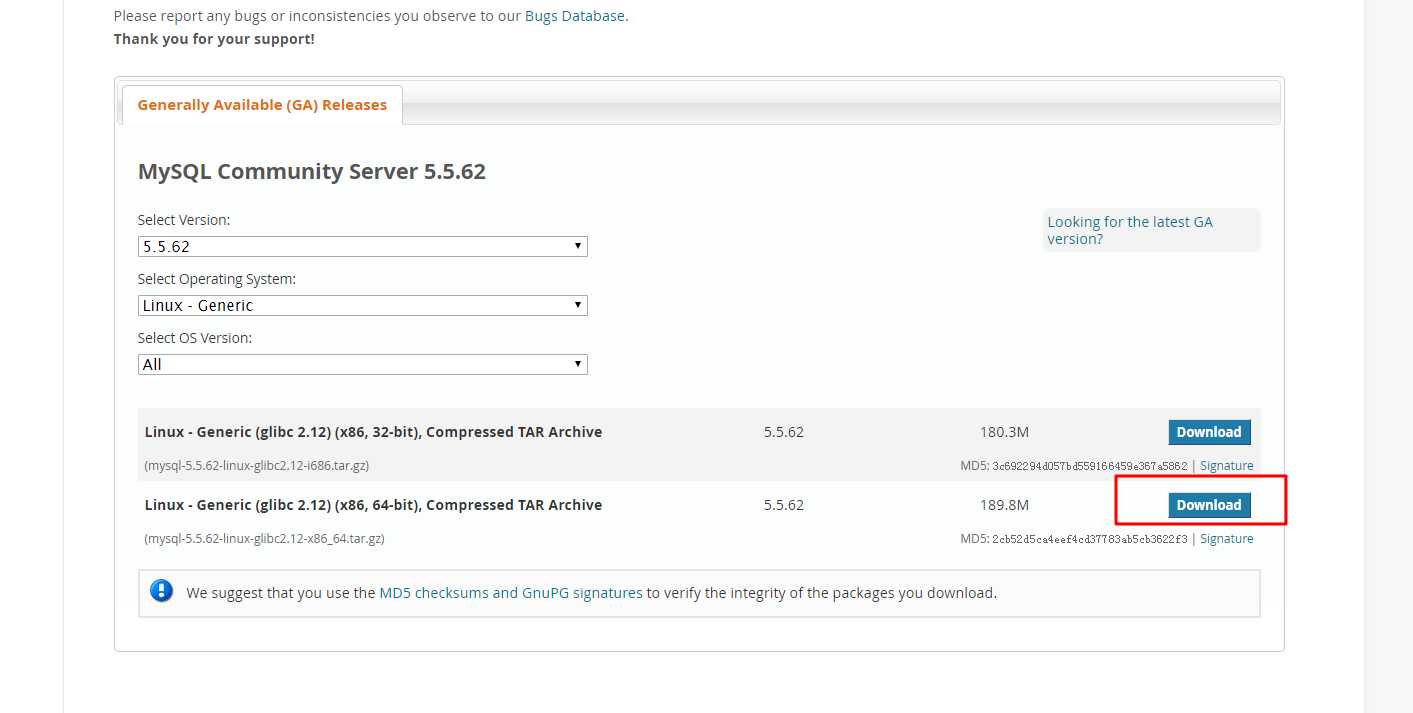
1、官网下载mysql-5.5.61-linux-glibc2.12-x86_64.tar.gz安装包
(使用在线安装,受网络影响,推荐离线安装)
下载地址:https://dev.mysql.com/downloads/mysql/5.5.html#downloads
2、centos7卸载自带mariadb
因为centos7后,系统自带了mariadb,会和安装的mysql冲突,所以需要卸载默认的mariadb
1.列出安装的包
# rpm -qa | grep mariadb
mariadb-libs-5.5.41-2.el7_0.x86_64
2.卸载包

# rpm -e --nodeps mariadb-libs-5.5.41-2.el7_0.x86_64
3、我这里安装到 /opt
#解压
tar -zxvf mysql-5.5.61-linux-glibc2.12-x86_64.tar.gz
#重命名
mv mysql-5.5.61-linux-glibc2.12-x86_64 mysql
#移动到默认目录
mv mysql /opt
4、创建mysql免登录用户并授权
useradd -s /sbin/nologin -M mysql
chown -R mysql:mysql /opt/mysql
chmod -R 775 /opt/mysql
5、安装
#安装依赖
yum -y install perl

yum -y install libaio
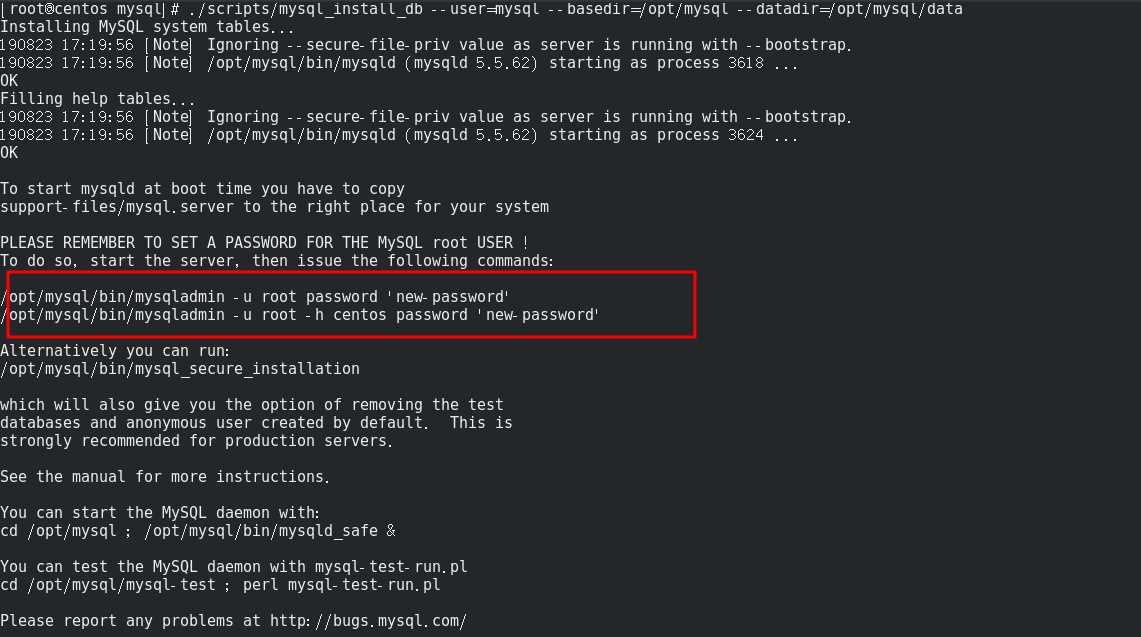
6、执行初始化操作
./scripts/mysql_install_db --user=mysql --basedir=/opt/mysql --datadir=/opt/mysql/data
安装成功,记住临时密码
7、执行脚本配置
#修改脚本
vim ./support-files/mysql.server
#修改下面内容
basedir=/opt/mysql
datadir=/opt/mysql/data
#拷贝脚本
cp ./support-files/mysql.server /etc/init.d/mysqld
#授权
chmod 775 /etc/init.d/mysqld
8、配置修改
vim /etc/my.cnf

内容如下

[client]
port=3306
default-character-set=utf8

[mysqld]
basedir=/opt/mysql
datadir=/opt/mysql/data
socket=/opt/mysql/mysql.sock
# Disabling symbolic-links is recommended to prevent assorted security risks
symbolic-links=0
# Settings user and group are ignored when systemd is used.
# If you need to run mysqld under a different user or group,
# customize your systemd unit file for mariadb according to the
# instructions in http://fedoraproject.org/wiki/Systemd

[mysqld_safe]
log-error=/opt/mysql/log/error.log
pid-file=/opt/mysql/data/mysql.pid

#
# include all files from the config directory
#
!includedir /etc/my.cnf.d
(如果不是安装到 /opt,对应修改为你的安装目录即可)
9、创建文件
cd /opt/mysql
mkdir log
vim error.log
:wq!保存文件
10、启动
service mysqld start
11、用上面临时密码连接数据库
mysql -u root -p -S /opt/mysql/mysql.sock
输入密码时,先直接回车,看能否进去,进不去在使用上面的临时mima
12、修改密码
#修改密码
set password for root@localhost = password(‘root‘);
二、设置mysql远程连接
1、远程连接授权
GRANT ALL PRIVILEGES ON *.* TO ‘root‘@‘%‘ IDENTIFIED BY ‘你设置的密码‘ WITH GRANT OPTION;
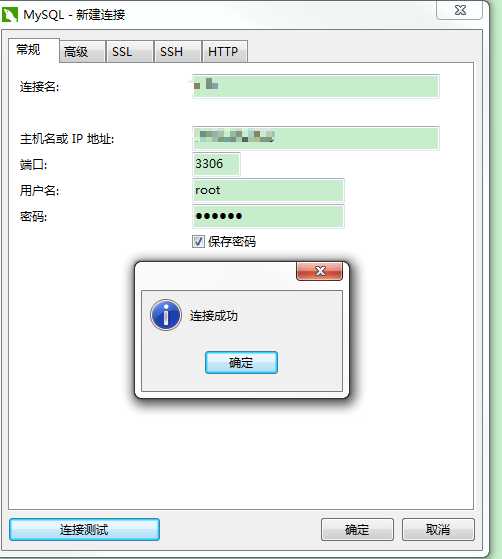
授权之后,用nevicat检查一下是否可以连接,如果不可以,可能是防火墙限制了。需要在防火墙里面加开放数据库端口的规则。
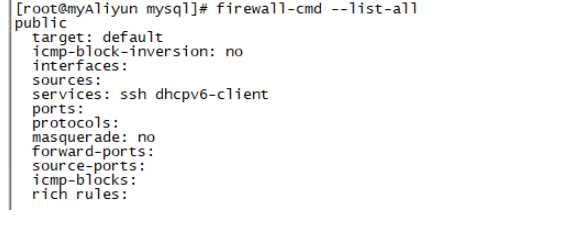
2、查看防火墙
firewall-cmd --list-all
3、开放3306端口
firewall-cmd --permanent --add-port=3306/tcp
4、重启防火墙
service firewalld restart
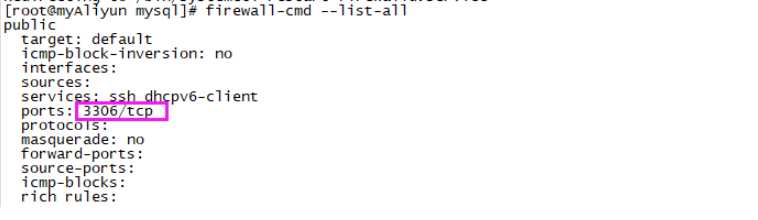
4、查看3306端口是否开放
firewall-cmd --query-port=3306/tcp
5、再次查看现在防火墙
firewall-cmd --list-all
6、再次测试是否可以远程连接
centos部署单机spark大数据环境(一)--【安装mysql】
标签:sock different security 使用 with file x86 下载 规则
原文地址:https://www.cnblogs.com/yuyang81577/p/11396158.html