标签:有一个 位置 current ott 配置 兴趣 href 输入 sleep
目前,许多网站采取各种各样的措施来反爬虫,其中一个措施就是使用验证码。
验证码的花样也越来越多,几个数字组合的简单的图形验证码,英文字母和混淆曲线相结合的方式。大概包括:
接下里我们来具体了解一下。
1 图形验证码
图形验证码是最早出现也是最简单的一种验证码,一般由 4 位字母或者数字组成。
本节我们用OCR技术来识别图形验证码。(Optical Character Recognition,光学字符识别,将图片、照片上的文字内容,直接转换为可编辑文本)
安装 tesserocr 库
1.1 获取验证码
我们找一张验证码图片,为方便测试,我们保存到本地。(注册知网的时候可以看到需要输入验证码:http://my.cnki.net/elibregister/)
打开开发者工具,找到验证码元素。它是一张图片,它的 src 属性是CheckCode.aspx。可通过(http://my.cnki.net/elibregister/CheckCode.aspx),直接看到验证码,右键保存即可。

1.2 识别测试
import tesserocr
from PIL import Image

image = Image.open(‘E:\spider\ocr_image_1.png‘)
result = tesserocr.image_to_text(image)
print(result)

#import tesserocr
#print(tesserocr.file_to_text(‘E:\spider\ocr_image_1.png‘))
#将图片文件直接转为字符串,这种方法识别效果不如上面第一种方法
结果:

这也太简单了吧!!! NO NO NO ,这才是开始!请看下面这个例子
import tesserocr
from PIL import Image

image = Image.open(‘E:\spider\ocr_image_2.png‘)
result = tesserocr.image_to_text(image)
print(result)

结果:

呀哈!咋。。。。别急! 要放大招了!!!
对于上面这种情况,识别结果出现偏差,我们需要做一下额外的处理,如转灰度和二值化等。
import tesserocr
from PIL import Image

image = Image.open(‘E:\spider\ocr_image_2.jpg‘)
image = image.convert(‘L‘)  #convert()方法传入参数 L ,可以将图片转化为灰度图像
image = image.convert(‘1‘)  #convert()方法传入参数 1 ,可以将图片进行二值化处理
#image.show()

result = tesserocr.image_to_text(image)
print(result)
也可以指定二值化的阈值,但是不能直接转化原图,首先将原图转化为灰度图像,然后再指定二值化阈值。阈值不同,效果不一样啊
import tesserocr
from PIL import Image

image = Image.open(‘E:\spider\ocr_image_2.jpg‘)
image = image.convert(‘L‘)
threshold = 80
#threshold = 180
table = []
for i in range(256):
    if i < threshold:
        table.append(0)
    else:
        table.append(1)

image = image.point(table, ‘1‘)
image.show()
#result = tesserocr.image_to_text(image)
#print(result)
结果:
阈值为180: 阈值为80


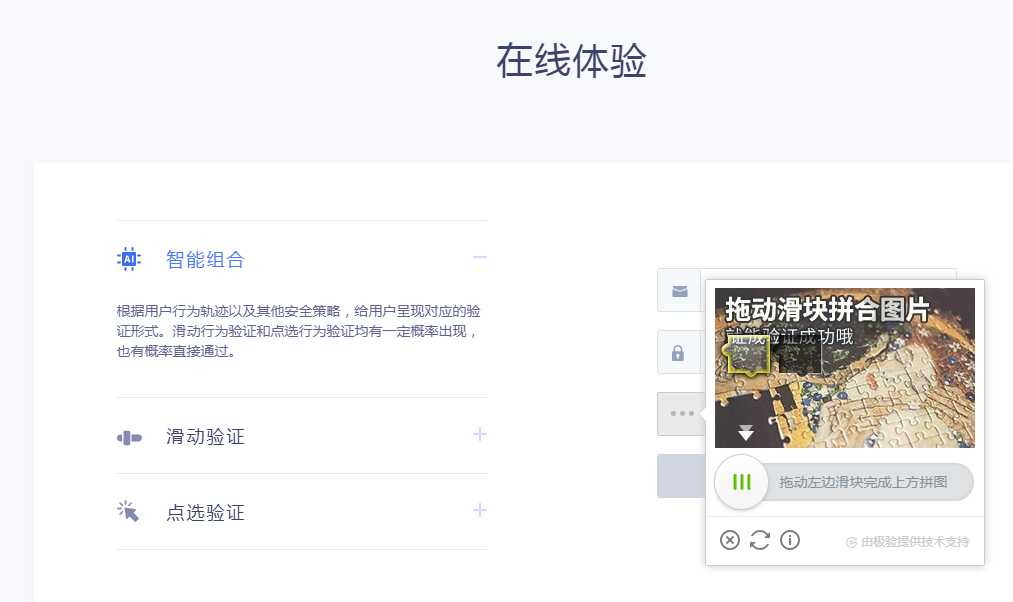
2. 极验滑动验证码
极验滑动验证码是近几年出现的新型验证码,比图形验证码上升了好几个难度。
使用Selenium 库,以及Chrome 和 ChromeDriver。
2.1 什么是极验验证码
极验验证码官网:http://www.geetest.com. 是一个专注于提供验证安全的系统。
2.2 极验验证码特点
见其官网https://www.geetest.com 或者极验博客https://blog.geetest.com/
2.3 识别思路
Selenium 模拟点击按钮
边缘检测算法
极验验证码增加了机器轨迹识别,(匀速,随机速度都不行)
2.4 初始化
# Selenium 对象的初始化以及一些参数的配置
EMAIL = ‘xxx@163.com‘   #用户名
PASSWORD = ‘123456‘     #登录密码

class CrackGeetest():
    def __init__(self):
        self.url = ‘https://account.geetest.com/login‘
        self.browser = webdriver.Chrome()
        self.wait = WebDriverWait(self.browser, 20)
        self.email = EMAIL
        self.password = PASSWORD
2.5 模拟点击
def get_geetest_button(self):
    """
    获取初始验证按钮
    return 按钮对象
    """
    button = self.wait.until(EC.element_to_clickable((By.CLASS_NAME, ‘geetest_radar_tip‘)))  #显式等待
    return button


#点击验证按钮
button = self.get_geetest_button()  获取一个WebElement对象,调用它的click()方法模拟点击
button.click()
2.6 识别缺口
获取前后两张比对图片,二者不一致的地方即为缺口。
#获取不带缺口的图片,利用Selenium 选取图片元素,得到其所在位置和宽高,然后获取整个网页的截图,图片裁切出来即可。
def get_position(self):
    """
    获取验证码位置
    :return: 验证码位置元组
    """
    img = self.wait.until(EC.presence_of_element_located((By.CLASS_NAME, ‘geetest_canvas_img‘)))
    time.sleep(2)
    location = img.location
    size = img.size
    top, bottom, left, right = location[‘y‘], location[‘y‘] + size[‘height‘], location[‘x‘], location[‘x‘] + size[
                ‘width‘]
    return (top, bottom, left, right)

def get_geetest_image(self, name=‘captcha.png‘):
    """
    获取验证码图片
    :return: 图片对象
    """
    top, bottom, left, right = self.get_position()
    print(‘验证码位置‘, top, bottom, left, right)
    screenshot = self.get_screenshot()
    captcha = screenshot.crop((left, top, right, bottom))
    captcha.save(name)
    return captcha
#获取带缺口的图片,要使图片出现缺口,只需要点击下方的滑块即可。
def get_slider(self):
    """
    获取滑块
    :return: 滑块对象
    """
    slider = self.wait.until(EC.element_to_be_clickable((By.CLASS_NAME, ‘geetest_slider_button‘)))
    return slider

#点按呼出缺口
slider = self.get_slider()
slider.click()


#调用get_geetest_image() 获取第二张图片
#将获取的两张图片命名为image1和image2.
#遍历图片队形像素点的RGB数据,如RGB数据差距在一定范围内,代表两个像素相同,如RGB数据差距超过一定范围,代表两个像素点不同,当前位置即为缺口位置。
def is_pixel_equal(self, image1, image2, x, y):
    """
    判断两个像素是否相同
    :param image1: 图片1
    :param image2: 图片2
    :param x: 位置x
    :param y: 位置y
    :return: 像素是否相同
    """
    # 取两个图片的像素点
    pixel1 = image1.load()[x, y]
    pixel2 = image2.load()[x, y]
    threshold = 60
    if abs(pixel1[0] - pixel2[0]) < threshold and abs(pixel1[1] - pixel2[1]) < threshold and abs(
        pixel1[2] - pixel2[2]) < threshold:
        return True
    else:
        return False

def get_gap(self, image1, image2):
    """
    获取缺口偏移量
    :param image1: 不带缺口图片
    :param image2: 带缺口图片
    :return:
    """
    left = 60
    for i in range(left, image1.size[0]):
        for j in range(image1.size[1]):
            if not self.is_pixel_equal(image1, image2, i, j):
                left = i
                return left
    return left
2.7 模拟拖动
 def get_track(self, distance):
    """
    根据偏移量获取移动轨迹
    :param distance: 偏移量
    :return: 移动轨迹
    """
    # 移动轨迹
    track = []
    # 当前位移
    current = 0
    # 减速阈值
    mid = distance * 4 / 5
    # 计算间隔
    t = 0.2
    # 初速度
    v = 0

    while current < distance:
        if current < mid:
            # 加速度为正2
            a = 2
        else:
            # 加速度为负3
            a = -3
        # 初速度v0
        v0 = v
        # 当前速度v = v0 + at
        v = v0 + a * t
        # 移动距离x = v0t + 1/2 * a * t^2
        move = v0 * t + 1 / 2 * a * t * t
        # 当前位移
        current += move
        # 加入轨迹
        track.append(round(move))
    return track


def move_to_gap(self, slider, track):
    """
    拖动滑块到缺口处
    :param slider: 滑块
    :param track: 轨迹
    :return:
    """
    ActionChains(self.browser).click_and_hold(slider).perform()
    for x in track:
        ActionChains(self.browser).move_by_offset(xoffset=x, yoffset=0).perform()
    time.sleep(0.5)
    ActionChains(self.browser).release().perform()


代码来源于大神博客:https://github.com/Python3WebSpider/CrackGeetest
3.点触验证码

    12306用的就是典型的点触验证码,有一个专门提供点触验证码服务的站点: TouClick(https://www.touclick.com/)

    使用Selenium 库,以及Chrome 和  ChromeDriver。

3.1 分析

     用OCR技术效果不好,网上有很多验证码服务平台:超级鹰(https://www.chaojiying.com)等.

     具体代码可见别人的博客:https://github.com/Python3WebSpider/CrackTouClick
4.微博宫格验证码
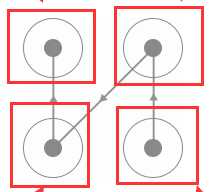
大家感兴趣可以自己查找其他博客:如
https://github.com/Python3WebSpider/CrackWeiboSlide
标签:有一个 位置 current ott 配置 兴趣 href 输入 sleep
原文地址:https://www.cnblogs.com/bltstop/p/11666969.html