标签:one fail 配置 pid style 路径 二进制文件 row highlight
**
**
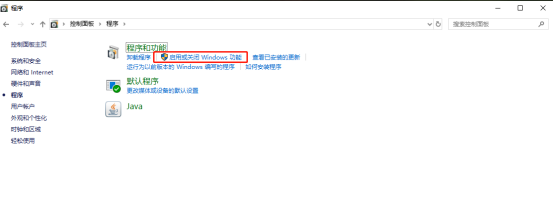
1.安装ftp服务


2.添加站点


 3.配置站点的用户名和密码


1.添加ftpclient的依赖
   <dependency>
		<groupId>commons-net</groupId>
		<artifactId>commons-net</artifactId>
		<version>3.1</version>
	</dependency>
2.配置连接FTP的资源信息application.yml
dagang:
   yitihua:
      document:
        uploadPath: C:\uploadFile
        ftpIp: 192.168.0.52
        ftpName: shiwen
        ftpPassword: 1314521
3.编写使用ftp上传文件的controller
@RequestMapping("/search")
public class SearchController {
	@Value("${dagang.yitihua.document.uploadPath}")
	private String uploadPath;
	@Value("${dagang.yitihua.document.ftpIp}")
	private String ftpIp;
	@Value("${dagang.yitihua.document.ftpName}")
	private String ftpName;
	@Value("${dagang.yitihua.document.ftpPassword}")
	private String ftpPassword;
	@PostMapping("/uploadFile")

	public Map<String, Object> uploadFile(MultipartFile file) throws Exception{
		Map<String, Object> map = new HashMap<String, Object>();
        FileEntity fEntity = new FileEntity();
        //获得源文件的名
		String originalFileName = file.getOriginalFilename();
		//源文件后缀
        String suffix = originalFileName.substring(originalFileName.lastIndexOf(‘.‘));
        //2、使用UUID生成新文件名
		String uuid = UUID.randomUUID().toString();
		fEntity.setId(uuid.replaceAll("-", ""));//String.valueOf(Snowflake.getNextKey()));
		String newFileName = fEntity.getId() + suffix;
		fEntity.setFileName(file.getOriginalFilename());
		fEntity.setUploadTime(new Date());
		fEntity.setUploadBy("admin");
		//String suffix = fEntity.getFileName().substring(fEntity.getFileName().indexOf("."));
		fEntity.setFinePathName(uploadPath + File.separator + fEntity.getId() + suffix);
		fEntity.setDocType(new DocType());
		fEntity.getDocType().setId(getDocTypeId(fEntity.getFileName()));
		InputStream inputStream = file.getInputStream();
		//将文件上传至ftp服务器		boolean uploadToFtp = this.uploadToFtp(newFileName,inputStream);
        if (uploadToFtp==true){
        	//文件上传ftp服务器成功 删除本地文件
        	System.out.println("上传至ftp服务器成功!");
        	map.put("result", "success");
			map.put("fileId", fEntity.getId());
        }else {
            System.out.println("上传至ftp服务器失败!");
            map.put("result", "fail");
        }
		return map;
	}

 private  boolean uploadToFtp(String originFileName, InputStream input){
        FTPClient ftpClient = new FTPClient();
        try {
            //连接ftp服务器 参数填服务器的ip
            ftpClient.connect(ftpIp);
            //进行登录 参数分别为账号 密码
            ftpClient.login(ftpName,ftpPassword);
            //创建ftp的存储路径
            ftpClient.makeDirectory(uploadPath);
            //ftp的物理存储路径
            ftpClient.changeWorkingDirectory(uploadPath);
            //设置文件类型为二进制文件
            ftpClient.setFileType(FTP.BINARY_FILE_TYPE);
            //开启被动模式(按自己如何配置的ftp服务器来决定是否开启)
            ftpClient.enterLocalPassiveMode();
            //上传文件 参数:上传后的文件名,输入流
            ftpClient.storeFile(originFileName, input);
        } catch (IOException e) {
            e.printStackTrace();
            return false;
        }
        return true;
    }
 }
标签:one fail 配置 pid style 路径 二进制文件 row highlight
原文地址:https://www.cnblogs.com/wang66a/p/12069280.html