标签:扫描 png span eclipse ann 构建 新建 existing 总结
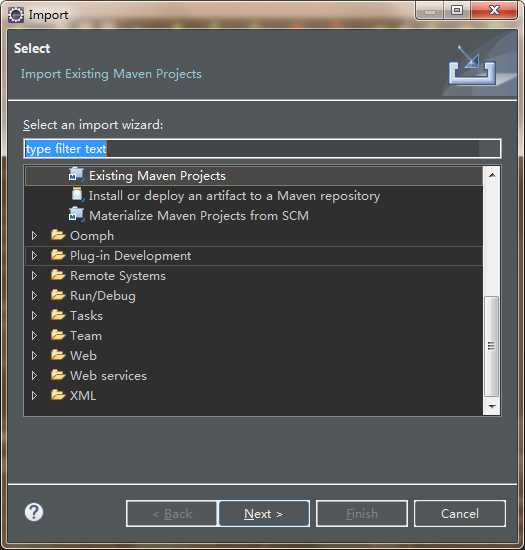
导入步骤;File - >Import -> Existing Maven Projects -> Next ->选择解压以后的文件夹 - >Finish。
工程目录:
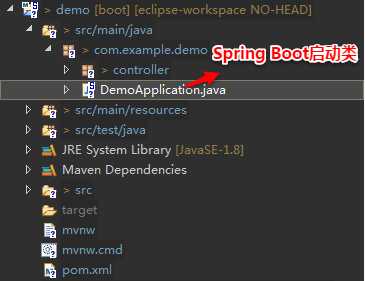
DemoApplication.java是Spring Boot的启动类:

package com.example.demo;
import org.springframework.boot.SpringApplication;
import  org.springframework.boot.autoconfigure.SpringBootApplication;
@SpringBootApplication
public class DemoApplication {
    public static void main(String[] args) {
        SpringApplication.run(DemoApplication.class, args);
    }
}
接着可以直接进行开发,编写一个Controller类。
package com.example.demo.controller;
import  org.springframework.boot.autoconfigure.SpringBootApplication;
import org.springframework.web.bind.annotation.RequestMapping;
import org.springframework.web.bind.annotation.RestController;
@RestController
@SpringBootApplication
@RequestMapping("/springboot")
public class HelloController {
    @RequestMapping("/hello")
    public String hello() {
        return "Hello Spring Boot";
    }
}
Spring Boot项目不需要单独部署到Tomcat或者Jetty中才能启动,通过Spring Boot启动器,SpringBoot会自动构建一个web容器,并将项目部署到其中。DemoApplication.java右键 -> Run As - > Spring Boot App,工程就启动了。
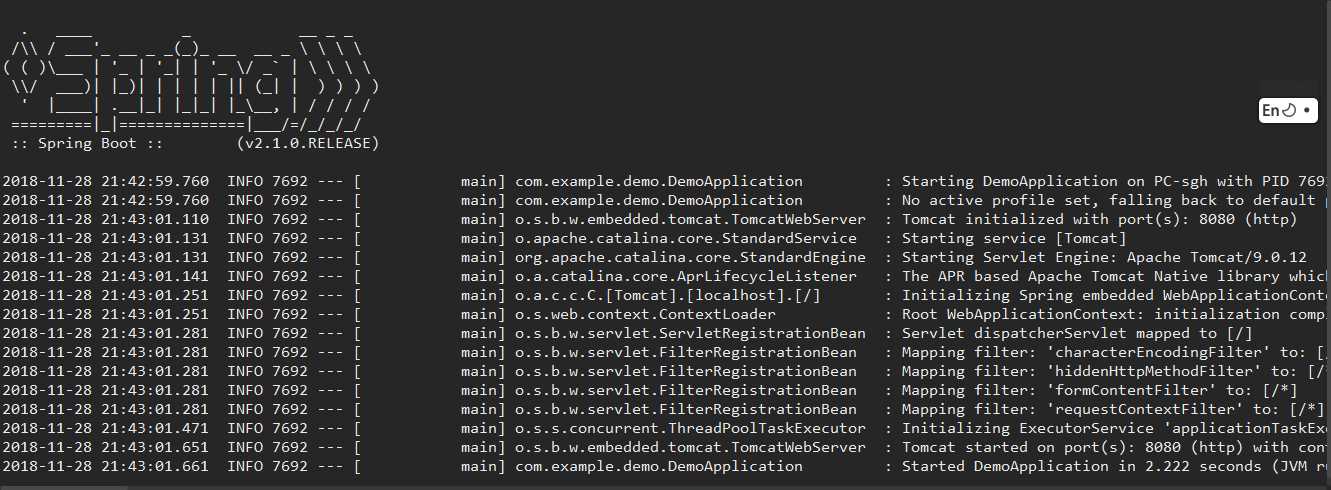
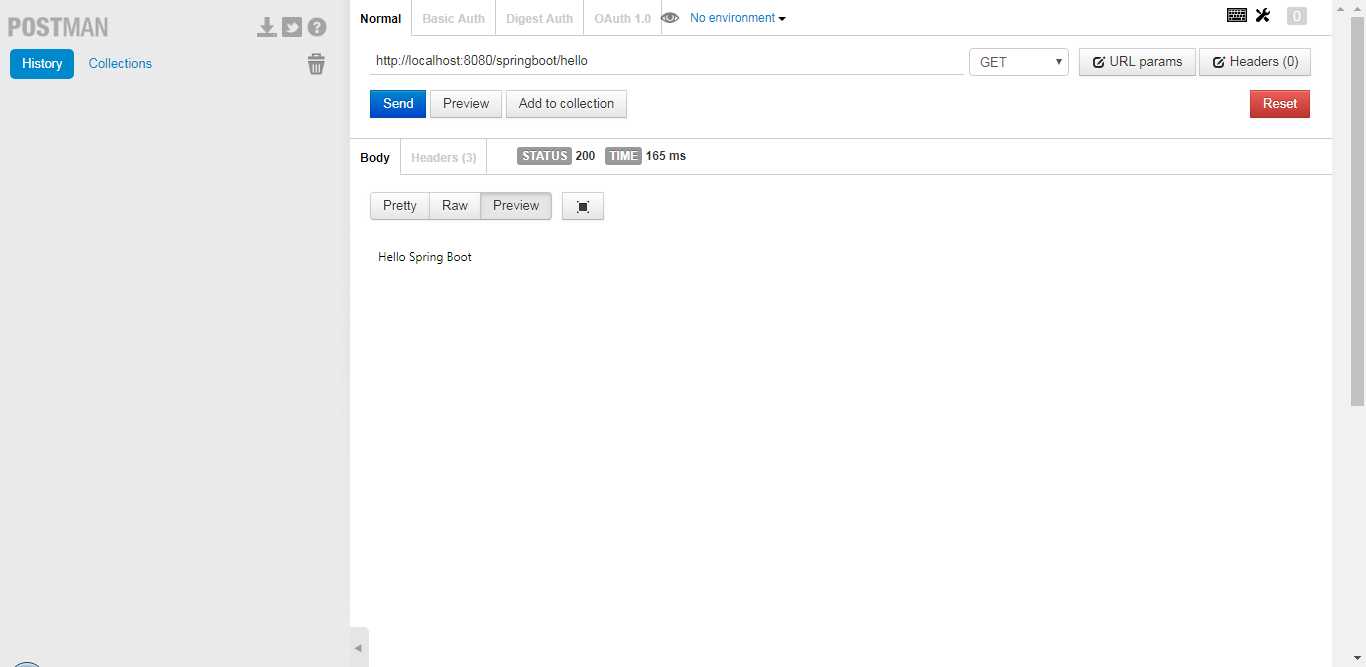
使用Postman GET方式请求http://localhost:8080/springboot/hello ,可以看到返回了“Hello Spring Boot”。
只需两步!Eclipse+Maven快速构建第一个Spring Boot项目
标签:扫描 png span eclipse ann 构建 新建 existing 总结
原文地址:https://www.cnblogs.com/xing-nb/p/12146210.html