标签:info 目录 color sharp render ase hunk pat 选项
测试项目有3块路由,如下图
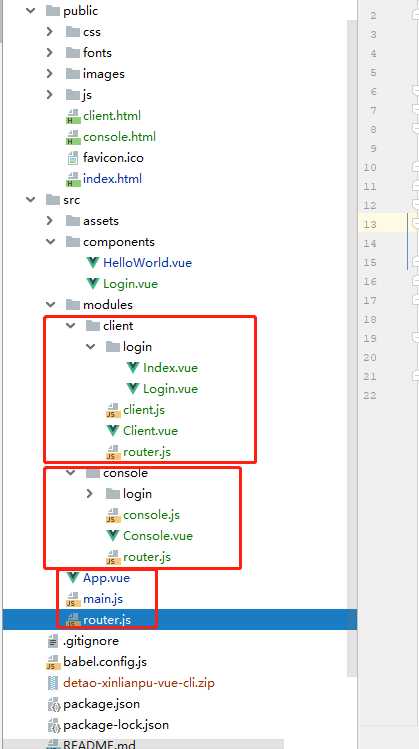
在src目录下的router.js
import Vue from ‘vue‘
import VueRouter from ‘vue-router‘

Vue.use(VueRouter)

const routes = [
    {
        path: ‘/‘, name: ‘Login‘, component: r => {
            require([‘./components/Login‘], r)
        }, meta: {title: ‘Login‘}
    }
    ,{
        path: ‘/HelloWorld‘, name: ‘HelloWorld‘, component: r => {
            require([‘./components/HelloWorld‘], r)
        }, meta: {title: ‘HelloWorld‘}
    }
]

export default new VueRouter({
    routes: routes
})
src下的main.js
import Vue from ‘vue‘
import App from ‘./App.vue‘
import router from ‘./router‘

Vue.config.productionTip = false

Vue.use(require(‘vue-wechat-title‘))

new Vue({
  router,
  render: h => h(App),
}).$mount(‘#app‘)
src下的App.vue
<template>
  <div id="app"  v-wechat-title="$route.meta.title">
<!--        <HelloWorld msg="Welcome to Your Vue.js App"/>-->
      <router-view></router-view>
      </div>

</template>
<script src="/js/libs/layer/layer.js"></script>

<script>

// import HelloWorld from ‘./components/HelloWorld.vue‘
export default {
  name: ‘app‘,
  components: {
    // HelloWorld
  }
  ,mounted() {
      this.init();
  }
   ,methods:{
        init:function(){
            layui.use(‘upload‘, function(){
                var upload = layui.upload;
                //执行实例
                var uploadInst = upload.render({
                    elem: ‘#test1‘ //绑定元素
                    ,url: ‘/upload/‘ //上传接口
                    ,done: function(res){
                        //上传完毕回调
                    }
                    ,error: function(){
                        //请求异常回调
                    }
                });
            });
        }
        ,loginV:function () {
            window.location.href="/console.html";
        }
  }
}
</script>
<style>
#app {
  font-family: ‘Avenir‘, Helvetica, Arial, sans-serif;
  -webkit-font-smoothing: antialiased;
  -moz-osx-font-smoothing: grayscale;
  text-align: center;
  color: #2c3e50;
  margin-top: 60px;
}
</style>
其他两块跟这个类似,关键代码在vue.config.js
module.exports = {
    pages: {
        // console: {
        //     // 应用入口配置,相当于单页面应用的main.js,必需项
        //     entry: ‘src/modules/console/console.js‘,
        //
        //     // 应用的模版,相当于单页面应用的public/index.html,可选项,省略时默认与模块名一致
        //     template: ‘public/console.html‘,
        //
        //     // 编译后在dist目录的输出文件名,可选项,省略时默认与模块名一致
        //     filename: ‘console.html‘,
        //
        //     // 标题,可选项,一般情况不使用,通常是在路由切换时设置title
        //     // 需要注意的是使用title属性template 中的 title 标签需要是 <title><%= htmlWebpackPlugin.options.title %></title>
        //     // title: ‘console page‘,
        //
        //     // 包含的模块,可选项
        //     chunks: [‘console‘]
        // },
        // 只有entry属性时,直接用字符串表示模块入口
        console: ‘src/modules/console/console.js‘
        ,client: ‘src/modules/client/client.js‘
        // ,index:"src/main.js"
    }
}
如果不设置,或者不存在改文件,则访问路径一般是 url / # / Index ....
如果存在改文件,则访问方式类似 url/client#/Index...,如下图
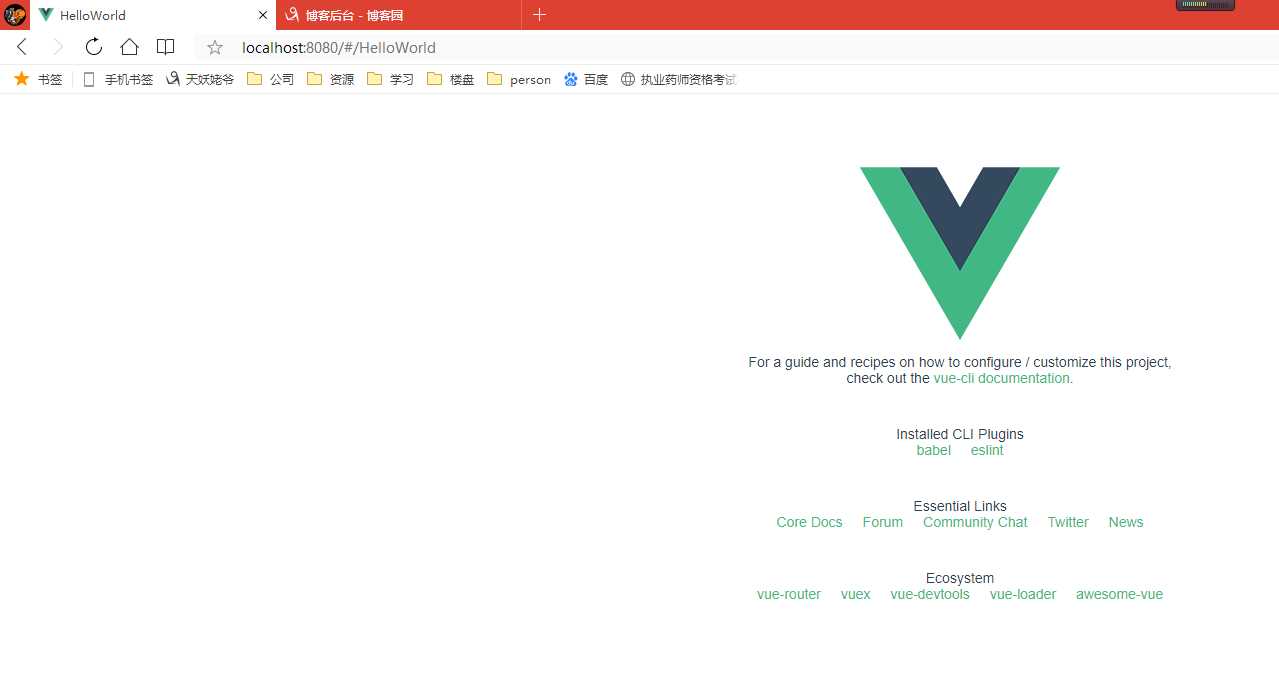
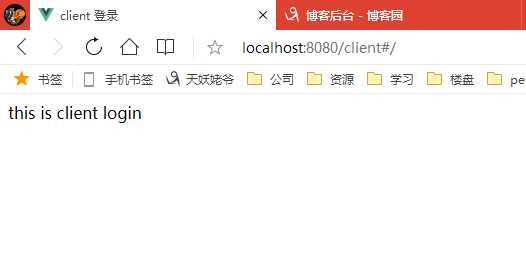

我在该处没有设置main.js,则默认为第一种方式,console和client设置了,则访问方式为第二种
在页面中,我们的template 里仍然可以用 <router-view></router-view> 标签去获取路由对应的模块
当然vue.config.js 还可以有其他设置,用到了再进行完善吧
标签:info 目录 color sharp render ase hunk pat 选项
原文地址:https://www.cnblogs.com/mafy/p/12186501.html