标签:indexof tps throws test date original war包 例子 att
这里我将自己学习的项目为例子作个简单的记录:
在html图片的路径如图:

这里是头像路径的映射
然后要映射到阿里云Linux服务器上路径:
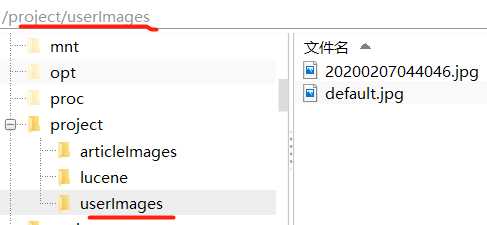
注意,这两个路径是不同的,只是同名而已,HTML那里的路径可以随便修改,到最后映射到这个路径就可以,当然映射到别的路径也可以
映射方法:
找到tomcat下的config下的server.xml文件
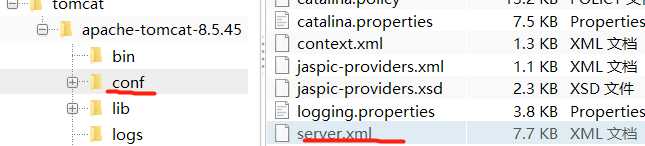
在Host节点加上下面的:

前面是path是虚拟路径,对应的是HTML那里的代码,后面是真实路径,对应Linux上面真实路径
这里顺便放上后台接收上传头像的代码:
 @ResponseBody
    @RequestMapping("uploadImage")
    public DataGridView uploadImage(MultipartFile file, HttpSession session) throws Exception {
        DataGridView dataGridView = null;
        if (!file.isEmpty()){
            String filename = file.getOriginalFilename(); //abc.jpg
            String suffix = filename.substring(filename.lastIndexOf(".")); //后缀 如abc.jpg,就是jpg
            String newFileName = DateUtil.getCurrentDateStr() + suffix;  //新文件名
            FileUtils.copyInputStreamToFile(file.getInputStream(),new File(userImageFilePath+newFileName));
            Map<String,Object> map= new HashMap<>();
            map.put("src","/project/userImages/"+newFileName);
            map.put("title",newFileName);
            dataGridView = new DataGridView(0, "上传成功", map);

            User currentUser = (User) session.getAttribute("currentUser");
            currentUser.setImageName(newFileName);
            userService.save(currentUser);
            session.setAttribute("currentUser",currentUser);
            System.out.println("执行完了");
        }
        return dataGridView;
    }
顺便说下war包放到阿里云服务器上路径映射(域名或者IP直接访问项目根路径):
<Context path="/" docBase="/home/tomcat/apache-tomcat-8.5.45/webapps/code007" debug="0" reloadable="true"/> 
标签:indexof tps throws test date original war包 例子 att
原文地址:https://www.cnblogs.com/share-record/p/12275292.html