标签:文件配置 trap 失败 csdn config for discovery ant 安装

![]() ?
?
ElasticSearch官方的模拟工具是控制台的curl,不是很直观,可以在chrome浏览器中安装head插件来作为请求的工具:head插件
上节已经阐述了curl的一些基本操作
详情可以点击查看:
2: CURL在windows中对ElasticSearch的一些简单的操作
ES5以上的版本安装head需要安装node和grunt
首先我们来安装node
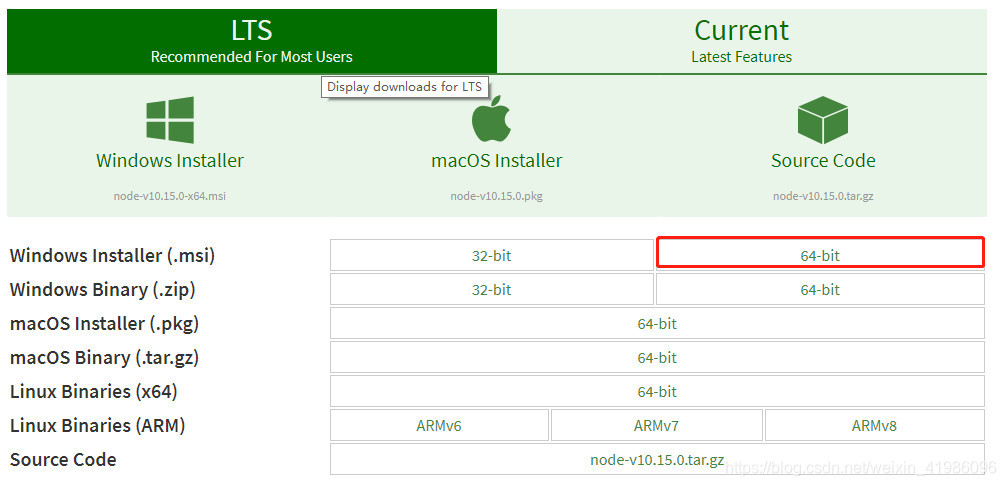
下载地址:
https://nodejs.org/en/download/
下载相应系统的msi,双击安装
![]() ?
?
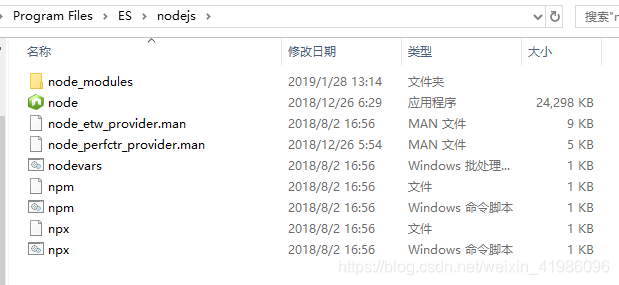
我选择的安装目录为:
D:\Program Files\ES下面的所有的操作全部以这个目录为例。
下载完成后解压到文件夹
![]() ?
?
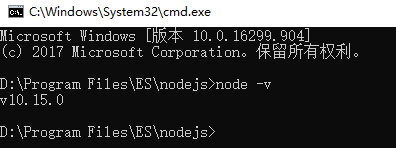
完成后用cmd进入安装目录 可以执行node -v 查看版本号以及是否安装成功
![]()
![]() ?
?
![]() ?
?
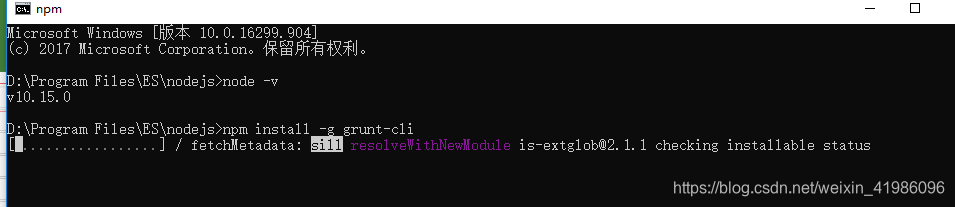
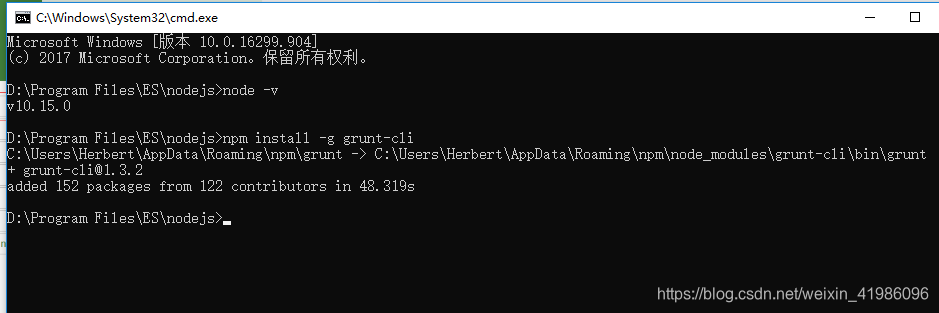
执行 npm install -g grunt-cli 安装grunt
![]() ?
?
安装成功后:
![]() ?
?
在cmd输入执行grunt -version 会显示版本号:

![]() ?
?
现在开始安装head
1:进入安装目录下的config目录,修改elasticsearch.yml文件.在文件的末尾加入以下代码
http.cors.enabled: true
http.cors.allow-origin: "*"
node.master: true
node.data: true
elasticsearch.yml文件配置:
去掉network.host: 192.168.0.1的注释并改为network.host: 0.0.0.0,去掉cluster.name;node.name;http.port的注释(也就是去掉#)
双击elasticsearch.bat重启es
2:下载head插件,选择下载zip
https://github.com/mobz/elasticsearch-head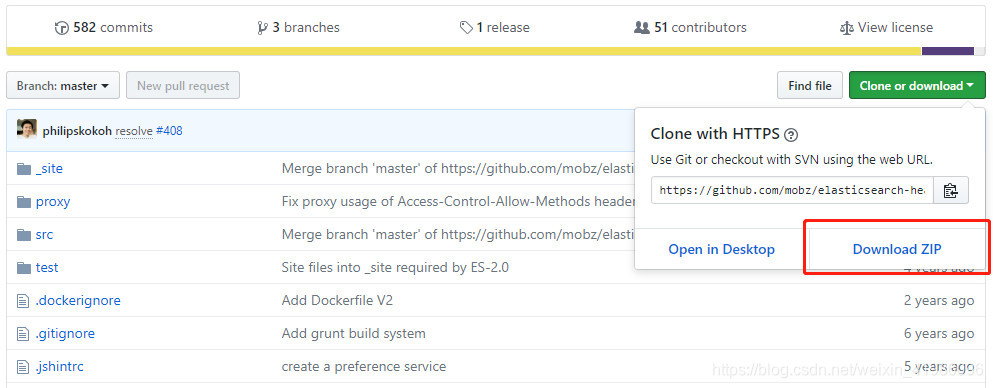
![]() ?
?
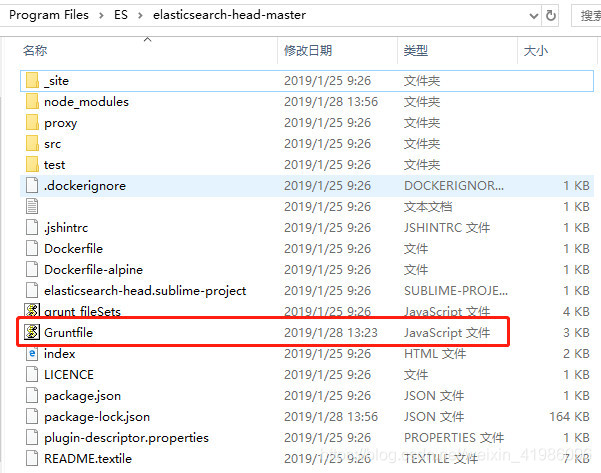
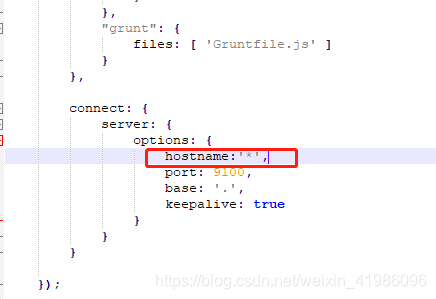
3:解压到指定文件夹下,D:\Program Files\ES\elasticsearch-head-master 进入该文件夹,修改D:\Program Files\ES\elasticsearch-head-master\Gruntfile.js 在对应的位置加上hostname:‘*‘
![]() ?
?
![]() ?
?
4:在D:\Program Files\ES\elasticsearch-head-master 下执行npm install 安装
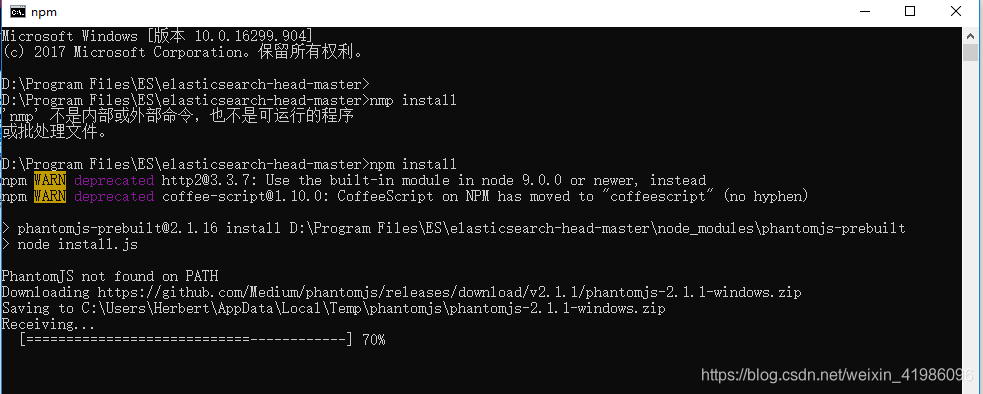
![]() ?
?
如下失败请重新检查配置,重新安装:
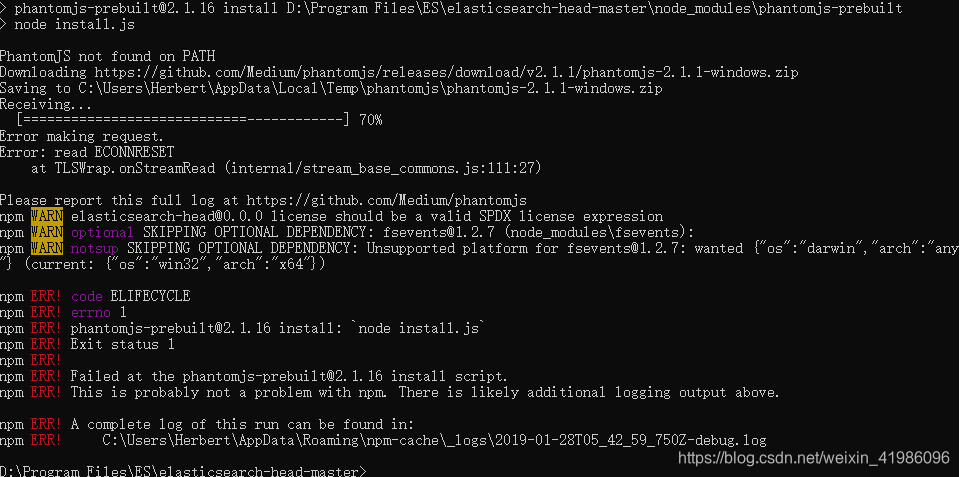
![]() ?
?
成功如下图:

![]() ?
?
完成后执行grunt server 或者npm run start 运行head插件

![]() ?
?
浏览器下访问http://localhost:9100/
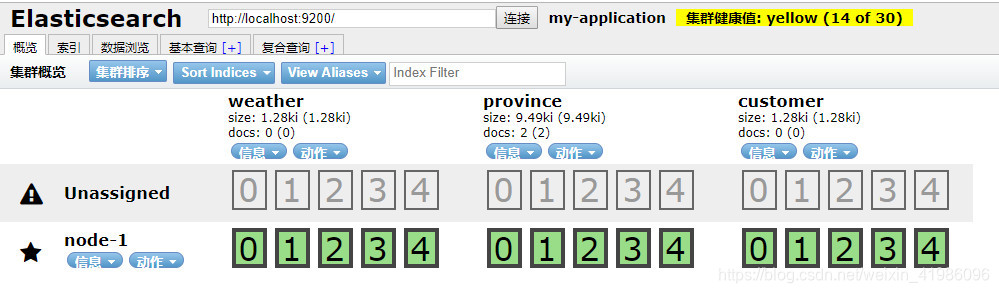
![]() ?
?
欢迎关注摘星族,我们不仅仅是代码的搬运工,同时也是技术的分享者

![]() ?
?
【ES】windows下安装ElasticSearch的Head插件
标签:文件配置 trap 失败 csdn config for discovery ant 安装
原文地址:https://www.cnblogs.com/zhaixingzhu/p/12562772.html