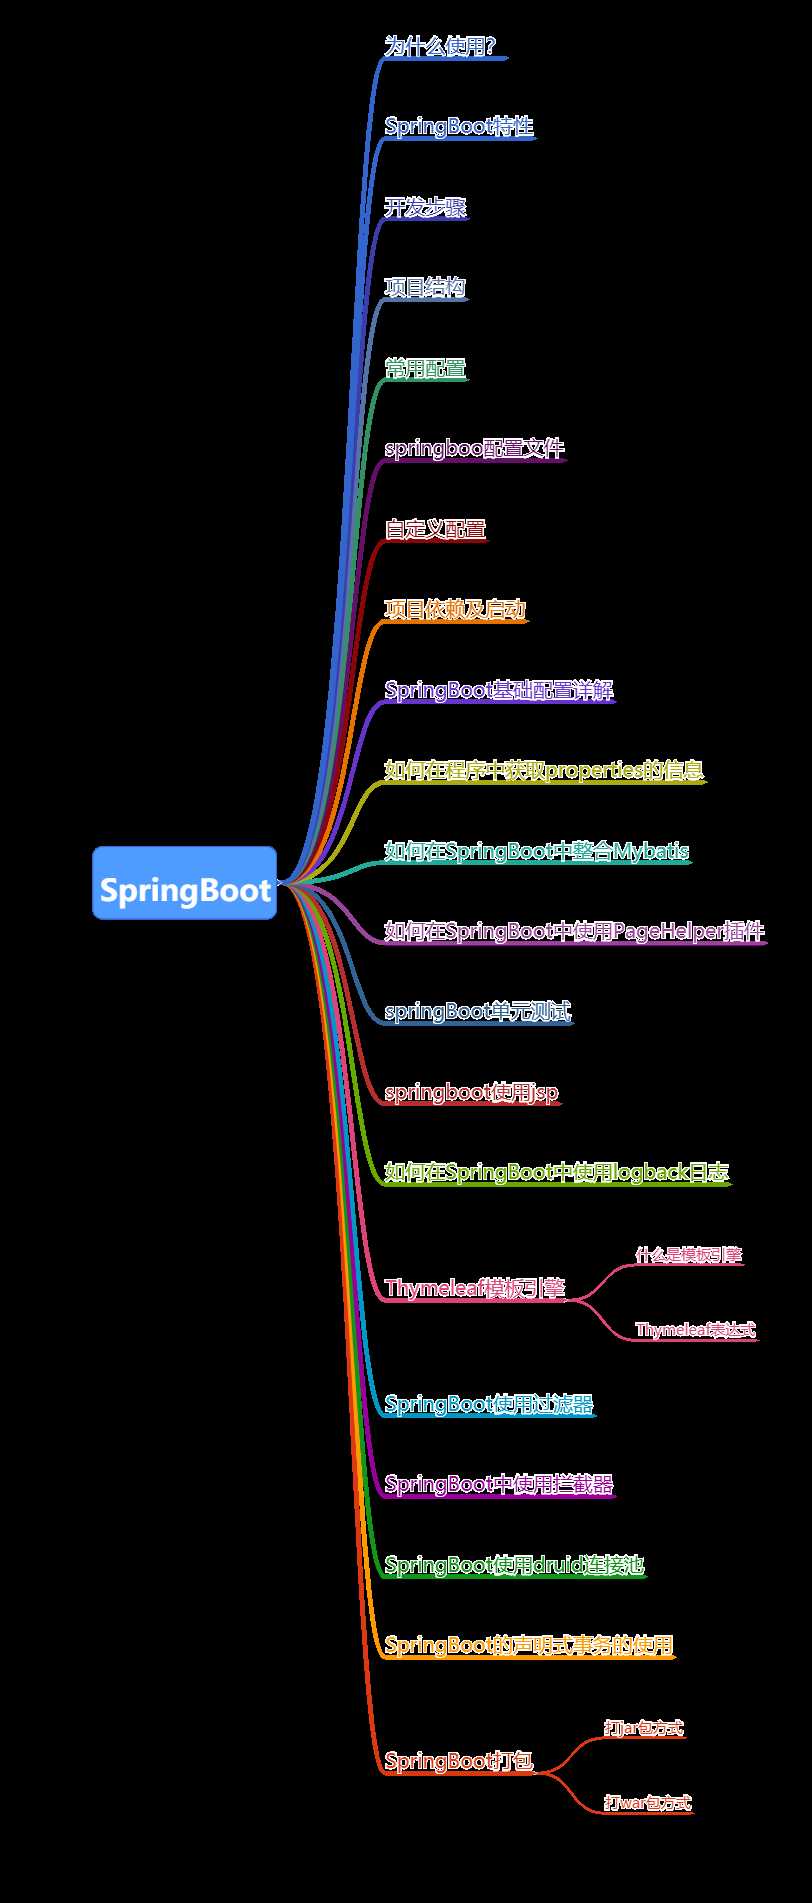
标签:dir 不同的 启动器 空白 lob dial sele 说明 value
简化Spring框架开发的应用框架,主要用来简化繁琐的配置,让我们快速搭建基于spring框架的应用项目,

src/main/java:源文件夹
src/main/resources:存放配置文件及静态资源的目录
static
templates
application.properties
src/test:测试代码目录

server.port 端口
server.servlet.context-path 上下文路径
spring.mvc.date-format 提交请求数据的日期格式
spring.jackson.date-format 相应json数据的日期格式
spring.thymeleaf.cache true 模板页面缓存
spring.jsckson.time-zone 配置时区
常用配置如下图所示
除了Spring boot内置的配置外,根据项目扩展性的需要,可以进行自定义配置项。Spring boot中,有两种方式使用自定义配置项。
方式一:@Value 单个属性注入
#指定项目源地址
server:
  servlet:
    context-path: /spring
spring:
  mvc:
    #提交请求数据的日期格式
    date-format: yyyy-MM-dd
    #响应json数据的日期格式
  jackson:
    date-format: yyyy-MM-dd
    time-zone: GMT+8
  profiles:
    #指定使用的配置文件
    active: dev
#配置pagehelper
pagehelper:
  helper-dialect: mysql
  support-methods-arguments: true
  params: pageNum=pageIndex,pageSize=pageSize
#日志的简单用法
#logging:
#  level:
#    root: error
# com.woniu.springboot01.dao: debug#配置端口
server:
port: 8080
#配置数据源
spring:
datasource:
driver-class-name: com.mysql.jdbc.Driver
url: jdbc:mysql://localhost:3306/oasystem?serverTimezone=GMT%2b8
username: root
password: 123
#配置mybatis映射文件地址
mybatis:
mapper-locations: classpath:mapper/*.xml
我们在resources文件夹中创建了一个properties文件。如下图所示:

获取他有两种方式,当然首先我们需要在启动文件中,加载config文件:
//加载config文件
@PropertySource(value = "classpath:config.properties")
//标记这个类,将这个类撞到spring工厂中
@Component
@ConfigurationProperties(prefix = "app")
public class AppInfo {
    private String title;
    private String content;

    public String getTitle() {
        return title;
    }

    public void setTitle(String title) {
        this.title = title;
    }

    public String getContent() {
        return content;
    }

    public void setContent(String content) {
        this.content = content;
    }
}
这样,在controller中通过autowired加载这个类,就可以获得了。
<dependency>
            <groupId>com.github.pagehelper</groupId>
            <artifactId>pagehelper-spring-boot-starter</artifactId>
            <version>1.2.3</version>
</dependency>pagehelper:
helper-dialect: mysql
support-methods-arguments: true
params: pageNum=currentPage,pageSize=pageSize<dependency>
<groupId>org.apache.tomcat.embed</groupId>
<artifactId>tomcat-embed-jasper</artifactId>
</dependency>spring已经默认添加了logback包,只需要添加配置,或者导入配置文件即可
logger:
level:
root: 全局的日志级别
包名: 级别
如果需要更详细的日志信息,需要定义日志文件:
SpringBoot中默认采用logback作为日志工具:
1)配置logback.xml
2)如果在Springboot项目进行日志环境的切换需要提供logback-spring.xml的配置文件;来定义不同环境的日志信息。
是为了使用户界面与业务数据(内容)分离而产生的,它可以生成特定格式的文档,
用于网站的模板引擎就会生成一个标准的HTML文档。

示例:


public class AuthFilter implements Filter {

    @Override
    public void doFilter(ServletRequest servletRequest, ServletResponse servletResponse, FilterChain filterChain) throws IOException, ServletException {
        HttpServletRequest request= (HttpServletRequest) servletRequest;
        //获取session,强转
        HttpSession session=request.getSession();
        HttpServletResponse response= (HttpServletResponse) servletResponse;
        //获取请求路径
        String url=request.getRequestURI();
        System.out.println("执行过滤器");
        if(url.endsWith("login") ||
                url.endsWith("doLogin") ||
                url.endsWith(".css") ||
                url.endsWith(".js") ||
                url.endsWith(".png") ||
                url.endsWith(".jpg")){
            filterChain.doFilter(servletRequest,servletResponse);
            return;
        }
        User user= (User) session.getAttribute(SystemConstant.CURRENT_USER);
        if(user == null){
            response.sendRedirect("/login");
            return;
        }
        filterChain.doFilter(servletRequest,servletResponse);


    }
}//注册过滤器
@Bean
public FilterRegistrationBean registrationBean(){
FilterRegistrationBean bean=new FilterRegistrationBean();
bean.setFilter(new AuthFilter());//注册过滤器
bean.addUrlPatterns("/*");
bean.setOrder(1);
return bean;
}//开发拦截器
@Component
public class AuthInterceptor implements HandlerInterceptor {
@Override
public boolean preHandle(HttpServletRequest request, HttpServletResponse response, Object handler) throws Exception {
System.out.println("执行拦截器");
HttpSession session = request.getSession();
User user = (User) session.getAttribute(SystemConstant.CURRENT_USER);
if(user == null){
response.sendRedirect("/login");
return false;
}
return true;
}
}@Autowired
private AuthInterceptor authInterceptor;
//注册拦截器,重写addinterceptors方法
@Override
public void addInterceptors(InterceptorRegistry registry) {
registry.addInterceptor(authInterceptor).addPathPatterns("/*").
excludePathPatterns("/login","/dologin");//添加authInterceptor拦截器,除login,dolgin不拦截。
}<!--德鲁伊连接池的启动器-->
<dependency>
<groupId>com.alibaba</groupId>
<artifactId>druid-spring-boot-starter</artifactId>
<version>1.1.18</version>
</dependency>spring.datasource.type=com.alibaba.druid.pool.DruidDataSource
spring.datasource.druid.max-active=20
spring.datasource.druid.max-wait=10000
#归还连接时校验有效性,推荐关闭
spring.datasource.druid.test-on-return=false
#使用中是否校验有效性,推荐关闭
spring.datasource.druid.test-on-borrow=false
#空闲时校验,建议开启
spring.datasource.druid.test-while-idle=true
#设置过滤器,stat用于接收状态,wall用于防止SQL注入,logback则说明使用logback日志输出
spring.datasource.druid.filters=stat,wall,logback
#统计所有数据源状态
spring.datasource.druid.use-global-data-source-stat=true
#sql合并统计,与设置慢SQL时间为500毫秒
spring.datasource.druid.connection-properties=druid.stat.mergeSql=true;druid.stat.slowSqlMillis=500//使用德鲁伊的sql监控
//注册德鲁伊过滤器
@Bean
public FilterRegistrationBean registrationBean(){
FilterRegistrationBean bean = new FilterRegistrationBean();
WebStatFilter filter=new WebStatFilter();
bean.setFilter(filter);
bean.addUrlPatterns("/*");
return bean;
}
//注册StatViewServlet:用来展示视图
@Bean
public ServletRegistrationBean servletRegistrationBean(){
//以/druid/请求的路径全部经过该servlet
ServletRegistrationBean bean=new ServletRegistrationBean(new StatViewServlet(),"/druid/*");
Map init=new HashMap();
init.put("loginUsername","hello");
init.put("loginPassword","123");
bean.setInitParameters(init);
return bean;
}@SpringBootApplication
@MapperScan(value = {"com.woniu.rbacsystem.dao"})
@EnableTransactionManagement//开启事务管理器
public class RbacsystemApplication {
public static void main(String[] args) {
SpringApplication.run(RbacsystemApplication.class, args);
}
}@Service
//必须开启事务,没开启就开启,默认隔离识别:不能脏读。
//声明式事务默认只会对runtimeexception(运行时异常)进行回滚,对exception(检查异常)
//如果不像让某个运行时异常不回滚,例如算术异常,@Transactional(noRoolbackForClassName = "ArithmeticException.class")
//对于查询方法,我们开启只读事务即可,优化性能。@Transactional(readOnly = true)
@Transactional(propagation = Propagation.REQUIRED,isolation = Isolation.DEFAULT)
public class AuthServiceImpl implements AuthService {
@Autowired
AuthMapper authMapper;
@Override
public List<Auth> findAuthsByUserId(int userId, int parentId) {
return authMapper.findAuthByUserId(userId,parentId);
}
//查询所有权限
@Override
public List<Auth> findAllAuth() {
return authMapper.findAllAuth();
}
@Override
public Auth findAuthByName(String authName) {
return authMapper.selectAuthByName(authName);
}
@Override
public void updateAuth(Auth auth) {
authMapper.updateByPrimaryKeySelective(auth);
}
}public class RbacsystemApplication extends SpringBootServletInitializer {
public static void main(String[] args) {
SpringApplication.run(RbacsystemApplication.class, args);
}
//打war包
@Override
protected SpringApplicationBuilder configure(SpringApplicationBuilder builder) {
//写上这个类的类名
return builder.sources(RbacsystemApplication.class);
}
}<dependency>
<groupId>org.springframework.boot</groupId>
<artifactId>spring-boot-starter-tomcat</artifactId>
</dependency>标签:dir 不同的 启动器 空白 lob dial sele 说明 value
原文地址:https://www.cnblogs.com/ltppp/p/13304582.html

