标签:过程 win64 orm webkit web like 客户 org ack
# 第一行表示请求,这是一个GET请求, /表示访问的地址以及参数,HTTP/1.1表示使用的协议以及版本
GET /?name=gareen HTTP/1.1
Host: 127.0.0.1:18080
Connection: keep-alive
Upgrade-Insecure-Requests: 1
User-Agent: Mozilla/5.0 (Windows NT 10.0; Win64; x64) AppleWebKit/537.36 (KHTML, like Gecko) Chrome/80.0.3987.149 Safari/537.36
Sec-Fetch-Dest: document
Accept: text/html,application/xhtml+xml,application/xml;q=0.9,image/webp,image/apng,*/*;q=0.8,application/signed-exchange;v=b3;q=0.9
Sec-Fetch-Site: none
Sec-Fetch-Mode: navigate
Sec-Fetch-User: ?1
Accept-Encoding: gzip, deflate, br
Accept-Language: zh-CN,zh;q=0.9
Cookie: CNZZDATA1258013751=1277252084-1540108380-%7C1573522796; user.uuid=""; isLogin=false; name=Gareen(cookie)
public static byte[] readBytes(InputStream inputStream) throws IOException {
    int bufferSize = 1024;
    byte[] buffer = new byte[bufferSize];
    ByteArrayOutputStream byteArrayOutputStream = new ByteArrayOutputStream();
    while (true) {
        int length = inputStream.read(buffer);
        if (-1 == length) {
            // read方法返回-1说明已经读到头了,否则返回读到的字符的数量
            break;
        }
        byteArrayOutputStream.write(buffer, 0, length);
        if (length != bufferSize){
            break;
        }
    }
    return byteArrayOutputStream.toByteArray();
}
package http;

import cn.hutool.core.text.StrBuilder;
import cn.hutool.core.util.StrUtil;
import util.MiniBrowser;

import java.io.IOException;
import java.io.InputStream;
import java.net.Socket;

/**
 * @author :xiaosong
 * @description:TODO
 * @date :2020/8/3 20:44
 */
public class Request {
    private String requestString;
    private String uri;
    private Socket socket;

    /**
     * 构造方法
     */
    public Request(Socket socket) throws IOException {
        this.socket = socket;

    }
    private void parseHttpRequest() throws IOException {
        // 解析Request,服务器端获取浏览器端传过来的请求
        InputStream inputStream = this.socket.getInputStream();
        byte[] bytes = MiniBrowser.readBytes(inputStream);
        this.requestString = new String(bytes, "utf-8");
    }
    private void parseUri() {
        // 解析uri,定位服务器上的文件
        String temp;
        /*
        StrUtil.subBetween方法返回before和after之间的子串,不包含before和after
        此处就是获取两个空格之间的内容,如果地址是 http://127.0.0.1:18080/index.html?name=gareen
        那么http请求就会是
        GET /index.html?name=gareen HTTP/1.1
        Host: 127.0.0.1:18080
        Connection: keep-alive
        。。。。
        只需要获取两个空格之间的部分就可以获得请求的uri
         */
        temp = StrUtil.subBetween(requestString, " ", " ");
        // StrUtil.subBefore()用于获取标识符之前的子字符串
        this.uri = StrUtil.subBefore(temp, "?", false);
    }
    public String getUri(){
        return uri;
    }

    public String getRequestString() {
        return requestString;
    }
}
bootStrap.java让服务器通过Request类来获取浏览器的输入请求import cn.hutool.core.util.NetUtil;
import cn.hutool.log.LogFactory;
import cn.hutool.system.SystemUtil;
import com.sun.org.apache.xpath.internal.objects.XString;
import http.Request;
import java.io.IOException;
import java.io.InputStream;
import java.io.OutputStream;
import java.net.ServerSocket;
import java.net.Socket;
import java.nio.charset.StandardCharsets;
import java.util.LinkedHashMap;
import java.util.Map;
import java.util.Set;
/**
* @author :xiaosong
* @description:项目的启动类
* @date :2020/7/28 20:41
*/
public class Bootstrap {
/**
定义服务器的端口号
*/
final static int PORT = 10086;
public static void main(String[] args){
logJvm();
try {
// if (!NetUtil.isUsableLocalPort(PORT)){
// //查看当前定义的端口是否已经被占用,如果NetUtil.isUsableLocalPort方法返回true表示port定义的端口号可用
// System.out.println(PORT + "端口已经被占用, 排查关闭本端口的方法请用\r\nhttps:baidu.com");
// return;
// }
// 在port端口上新建serverSocket
ServerSocket serverSocket = new ServerSocket(PORT);
// 外部使用一个while循环,当处理完一个Socket的链接请求之后,再处理下一个链接请求
while (true) {
Socket socket = serverSocket.accept();
// 获取输入流,这个输入流表示的是收到一个浏览器客户端的请求
Request request = new Request(socket);
System.out.println("浏览器的输入信息: \r\n" + request.getRequestString());
// 打开输出流,准备给客户端输出信息
OutputStream outputStream = socket.getOutputStream();
String responseHead = "HTTP/1.1 200 OK\r\n" + "Content-Type:text/html\r\n\r\n";
String responseString = "Hello JerryMice";
responseString = responseHead + responseString;
// 以字节数组的形式包装从服务器端给用户端的数据
outputStream.write(responseString.getBytes());
outputStream.flush();
// 关闭socket
socket.close();
}
}catch (IOException e) {
LogFactory.get().error(e);
}
}
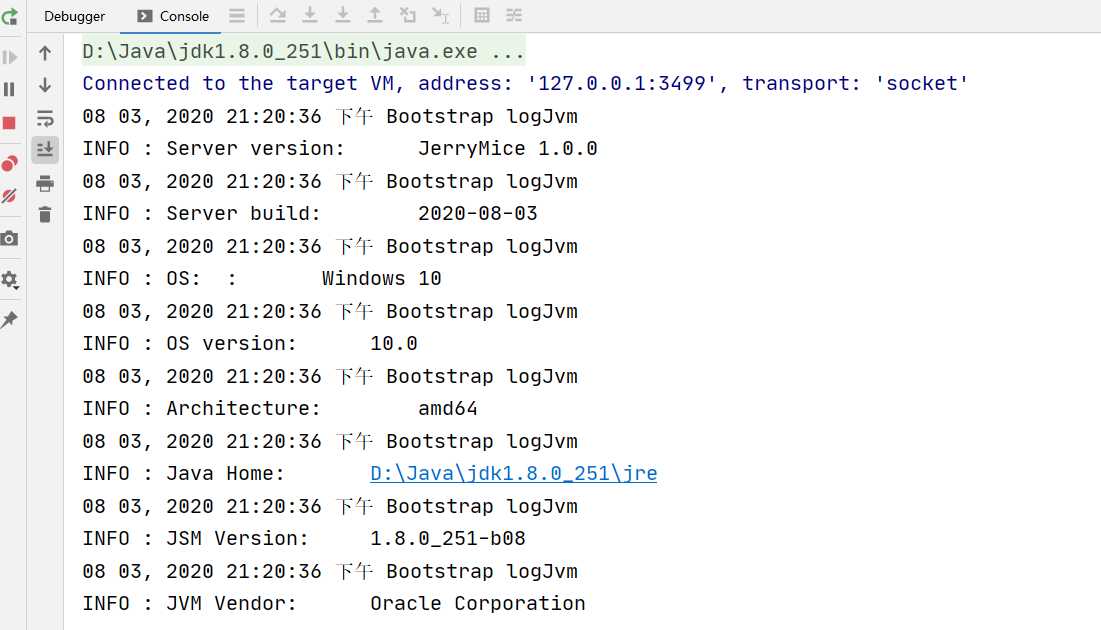
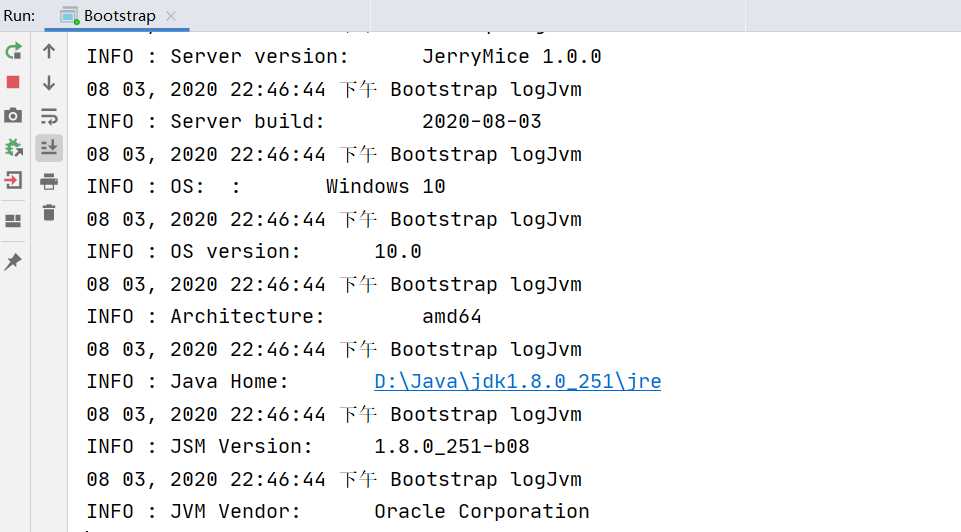
private static void logJvm(){
// 创建一个Map用于保存各种信息
Map<String, String> infoMap = new LinkedHashMap<>();
infoMap.put("Server version", "JerryMice 1.0.0");
infoMap.put("Server build", "2020-08-03");
infoMap.put("OS:\t", SystemUtil.get("os.name"));
infoMap.put("OS version", SystemUtil.get("os.version"));
infoMap.put("Architecture", SystemUtil.get("os.arch"));
infoMap.put("Java Home", SystemUtil.get("java.home"));
infoMap.put("JSM Version",SystemUtil.get("java.runtime.version"));
infoMap.put("JVM Vendor", SystemUtil.get("java.vm.specification.vendor"));
Set<String> keys = infoMap.keySet();
for (String key: keys){
// 调用hutool的LogFactory工厂函数获取logger,logger会自动根据log4j.properties来对Log4j的Logger进行配置
LogFactory.get().info(key + ":\t\t" + infoMap.get(key));
}
}
}
package http;

import java.io.PrintWriter;
import java.io.StringWriter;
import java.io.UnsupportedEncodingException;

/**
 * @author :xiaosong
 * @description:TODO
 * @date :2020/8/3 21:43
 */
public class Response {
    /**
     * 用于存放返回的 html 文本
     */
    private StringWriter stringWriter;
    /**
     * writer可以直接调用write方法向页面中写html内容
     */
    private PrintWriter writer;
    /**
     *  Content-type ,默认是 "text/html"
     */
    private String contentType;
    public Response(){
        this.stringWriter = new StringWriter();
        this.writer = new PrintWriter(stringWriter);
        this.contentType = "text/html";
    }
    public String getContentType() {
        return contentType;
    }
    public PrintWriter getWriter(){
        return writer;
    }

    /**
     * 返回html的字符数组
     * @return
     * @throws UnsupportedEncodingException
     */
    public byte[] getBody() throws UnsupportedEncodingException {

        String content = stringWriter.toString();
        return content.getBytes();
    }
    public void setContentType(String type){
        this.contentType = type;
    }
}
    /**
     * @param socket:
     * @param response:Response对象,服务器对浏览器请求的响应,可以通过response的getBody()获取存储在其中的html文本
     * @throws IOException
     */
	private static void handle200(Socket socket, Response response) throws IOException{
        // 获取类型
        String contentType = response.getContentType();
        String headText = Constant.responseHead200;
        headText = StrUtil.format(headText, contentType);
        byte[] head = headText.getBytes();
        // 获取response中的html文本,这个html文本是通过writer写到stringWriter字符流上的
        byte[] body = response.getBody();
        byte[] responseBytes = new byte[head.length + body.length];
        ArrayUtil.copy(head, 0, responseBytes, 0, head.length);
        ArrayUtil.copy(body, 0, responseBytes, head.length, body.length);

        OutputStream outputStream = socket.getOutputStream();
        outputStream.write(responseBytes);
        socket.close();
    }
}
标签:过程 win64 orm webkit web like 客户 org ack
原文地址:https://www.cnblogs.com/xsliu/p/13430488.html