标签:bre 图像 email 行数据 binary code imshow break write
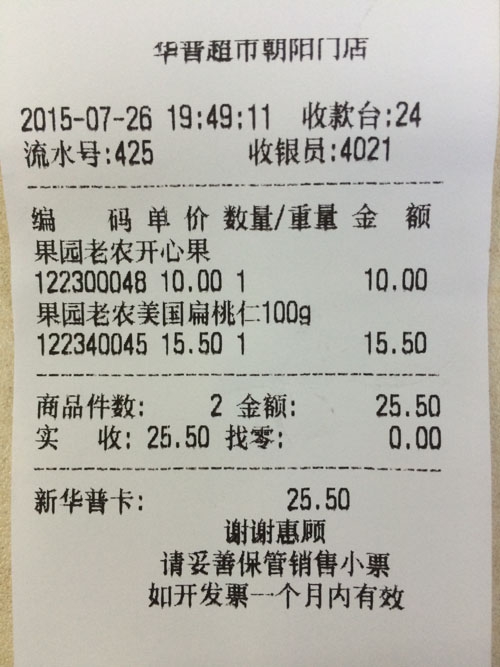
从网上看到了对一张超市购物小票做文字分割,于是想用Python+OpenCV实现从小票上面分割出字符,原图如下:
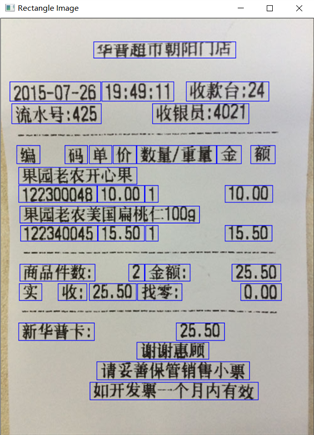
最后分割的效果如下图所示:
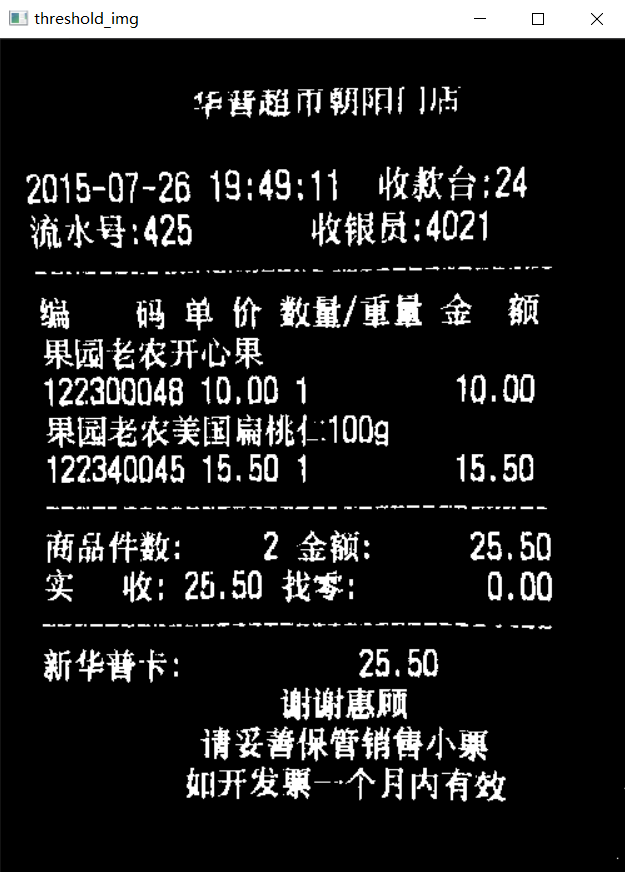
本文使用水平投影和垂直投影的方式进行图像分割,根据投影的区域大小尺寸分割每行和每块的区域,首先我们对原始图像进行二值化处理
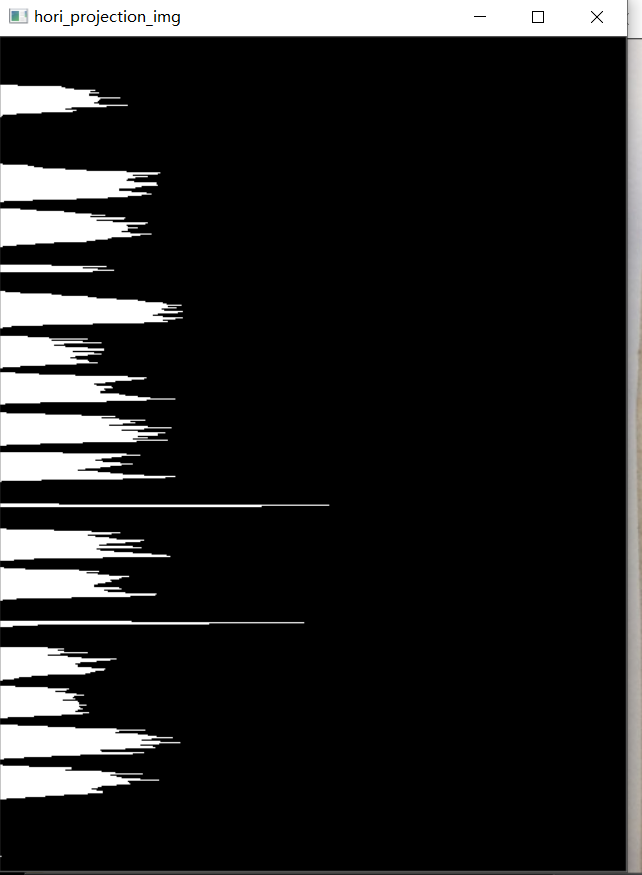
然后分别进行水平投影和垂直投影:

根据投影的长度和高度求取完整行和块信息:
# 根据水平投影分割识别行
inline_x = 0
start_x = 0
text_rect_x = []
for i in range(len(gray_value_x)):
    if inline_x == 0 and gray_value_x[i] > 10:
        inline_x = 1
        start_x = i
    elif inline_x == 1 and gray_value_x[i] < 10 and (i - start_x) > 5:
        inline_x = 0
        if i - start_x > 10:
            rect = [start_x - 1, i + 1]
            text_rect_x.append(rect)
print("分行区域,每行数据起始位置Y:", text_rect_x)
# 根据垂直投影分割识别行
inline_y = 0
start_y = 0
text_rect_y = []
for i in range(len(gray_value_y)):
    if inline_y == 0 and gray_value_y[i] > 2:
        inline_y = 1
        start_y = i
    elif inline_y == 1 and gray_value_y[i] < 2 and (i - start_y) > 5:
        inline_y = 0
        if i - start_y > 10:
            rect_y = [start_y - 1, i + 1]
            text_rect_y.append(rect_y)
            text_rect.append([rect[0], rect[1], start_y - 1, i + 1])
            cropImg_rect = threshold_img[rect[0]:rect[1], start_y - 1:i + 1]  # 裁剪图像
            cv2.imshow("cropImg_rect", cropImg_rect)
如果投影的结果可以在投影之前进行图像灰度学调整做膨胀操作:
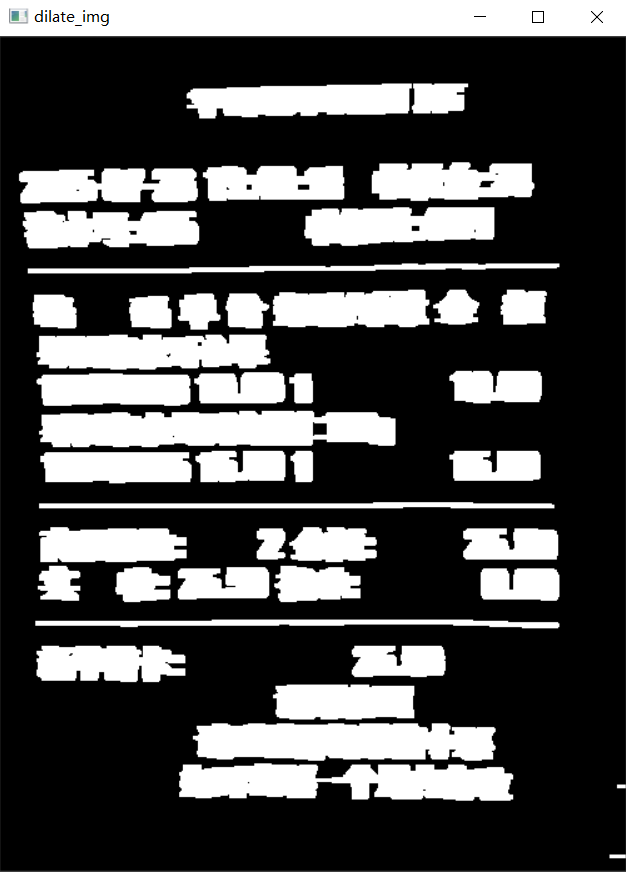
以下为实现完整代码:
"""
======================
@author:Albert
@time:2021/4/9:11:42
@desc:使用python+opencv分割字符
@email:shipperli@163.com
======================
"""

import cv2
import numpy as np

img = cv2.imread("C:/Users/ThinkPad/Desktop/text.jpg")
cv2.imshow("Orig Image", img)
# 输出图像尺寸和通道信息
sp = img.shape
print("图像信息:", sp)
sz1 = sp[0]  # height(rows) of image
sz2 = sp[1]  # width(columns) of image
sz3 = sp[2]  # the pixels value is made up of three primary colors
print(‘width: %d \n height: %d \n number: %d‘ % (sz2, sz1, sz3))
gray_img = cv2.cvtColor(img, cv2.COLOR_BGR2GRAY)
retval, threshold_img = cv2.threshold(gray_img, 120, 255, cv2.THRESH_BINARY_INV)
cv2.imshow("threshold_img", threshold_img)

# 水平投影分割图像
gray_value_x = []
for i in range(sz1):
    white_value = 0
    for j in range(sz2):
        if threshold_img[i, j] == 255:
            white_value += 1
    gray_value_x.append(white_value)
print("", gray_value_x)
# 创建图像显示水平投影分割图像结果
hori_projection_img = np.zeros((sp[0], sp[1], 1), np.uint8)
for i in range(sz1):
    for j in range(gray_value_x[i]):
        hori_projection_img[i, j] = 255
cv2.imshow("hori_projection_img", hori_projection_img)
text_rect = []
# 根据水平投影分割识别行
inline_x = 0
start_x = 0
text_rect_x = []
for i in range(len(gray_value_x)):
    if inline_x == 0 and gray_value_x[i] > 10:
        inline_x = 1
        start_x = i
    elif inline_x == 1 and gray_value_x[i] < 10 and (i - start_x) > 5:
        inline_x = 0
        if i - start_x > 10:
            rect = [start_x - 1, i + 1]
            text_rect_x.append(rect)
print("分行区域,每行数据起始位置Y:", text_rect_x)
# 每行数据分段
kernel = cv2.getStructuringElement(cv2.MORPH_RECT, (13, 3))
dilate_img = cv2.dilate(threshold_img, kernel)
cv2.imshow("dilate_img", dilate_img)
for rect in text_rect_x:
    cropImg = dilate_img[rect[0]:rect[1], 0:sp[1]]  # 裁剪图像y-start:y-end,x-start:x-end
    sp_y = cropImg.shape
    # 垂直投影分割图像
    gray_value_y = []
    for i in range(sp_y[1]):
        white_value = 0
        for j in range(sp_y[0]):
            if cropImg[j, i] == 255:
                white_value += 1
        gray_value_y.append(white_value)
    # 创建图像显示水平投影分割图像结果
    veri_projection_img = np.zeros((sp_y[0], sp_y[1], 1), np.uint8)
    for i in range(sp_y[1]):
        for j in range(gray_value_y[i]):
            veri_projection_img[j, i] = 255
    cv2.imshow("veri_projection_img", veri_projection_img)
    # 根据垂直投影分割识别行
    inline_y = 0
    start_y = 0
    text_rect_y = []
    for i in range(len(gray_value_y)):
        if inline_y == 0 and gray_value_y[i] > 2:
            inline_y = 1
            start_y = i
        elif inline_y == 1 and gray_value_y[i] < 2 and (i - start_y) > 5:
            inline_y = 0
            if i - start_y > 10:
                rect_y = [start_y - 1, i + 1]
                text_rect_y.append(rect_y)
                text_rect.append([rect[0], rect[1], start_y - 1, i + 1])
                cropImg_rect = threshold_img[rect[0]:rect[1], start_y - 1:i + 1]  # 裁剪图像
                cv2.imshow("cropImg_rect", cropImg_rect)
                # cv2.imwrite("C:/Users/ThinkPad/Desktop/cropImg_rect.jpg",cropImg_rect)
                # break
        # break
# 在原图上绘制截图矩形区域
print("截取矩形区域(y-start:y-end,x-start:x-end):", text_rect)
rectangle_img = cv2.rectangle(img, (text_rect[0][2], text_rect[0][0]), (text_rect[0][3], text_rect[0][1]),
                              (255, 0, 0), thickness=1)
for rect_roi in text_rect:
    rectangle_img = cv2.rectangle(img, (rect_roi[2], rect_roi[0]), (rect_roi[3], rect_roi[1]), (255, 0, 0), thickness=1)
cv2.imshow("Rectangle Image", rectangle_img)

key = cv2.waitKey(0)
if key == 27:
    print(key)
    cv2.destroyAllWindows()

未经许可严禁转载。
标签:bre 图像 email 行数据 binary code imshow break write
原文地址:https://www.cnblogs.com/shipperli/p/14656273.html