标签:pass ack mamicode char rap set server none art
?前排提示:
IDEA版本:IntelliJ IDEA 2021.1.1 专业版(是否为专业版影响不大)
搭建目的:前端web页面能够获取到MySQL数据库中的数据
详细步骤:
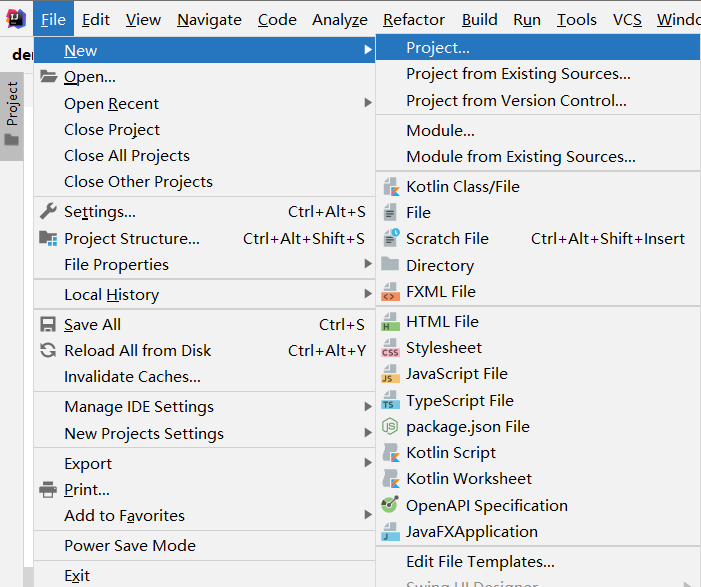
1. 创建一个新项目
File -> New -> Project...
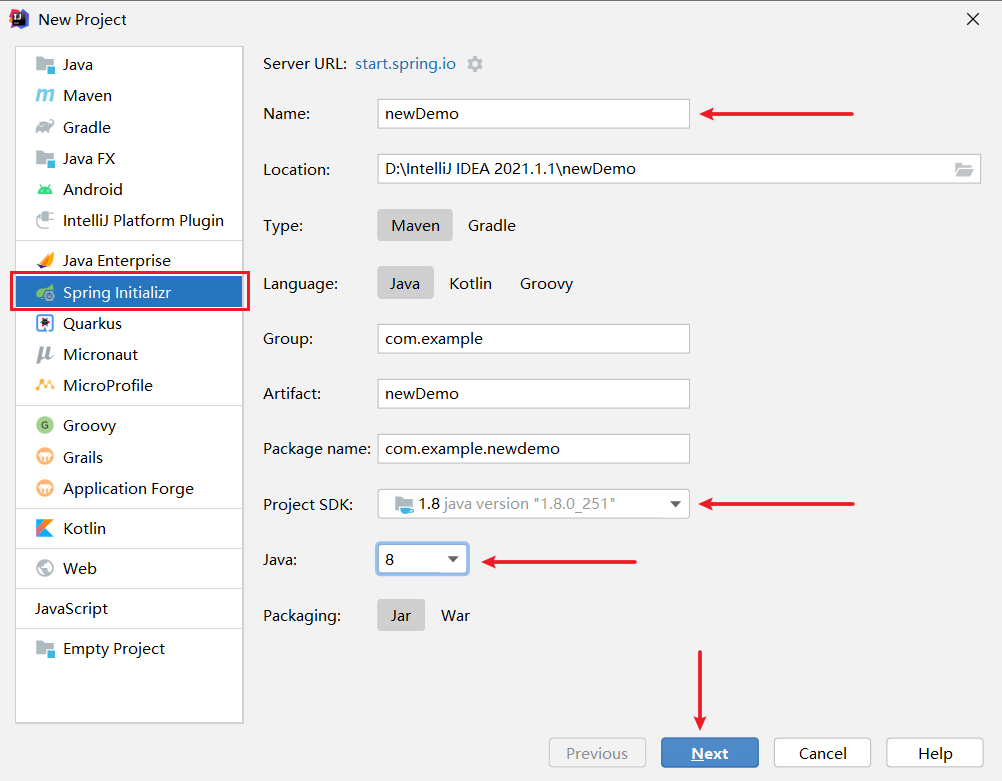
2. 项目环境配置
左侧选择Spring Initializr,右侧对项目一些属性进行配置。其中,包名Name为"newDemo",Project SDK默认1.8版本,java选择8(我的jdk是1.8),点击next;
3. 添加依赖项
添加依赖项页面如下:
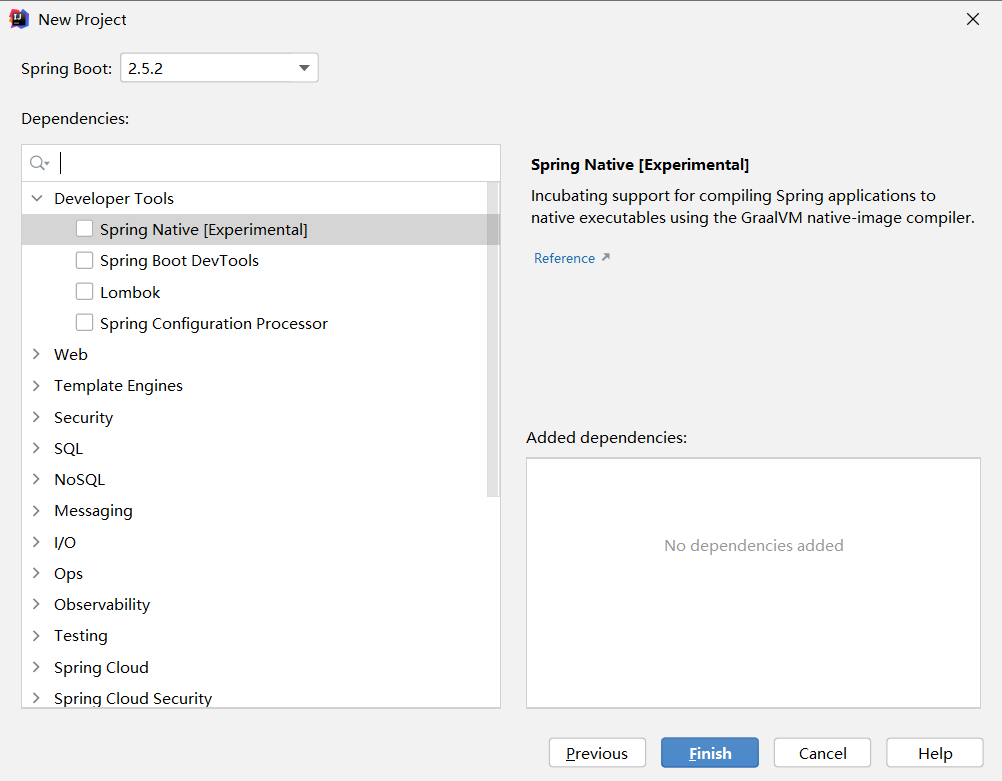
在添加依赖项环节中,我们添加Web下的Spring Web,SQL下的MyBatis Framework和MySQL Driver;
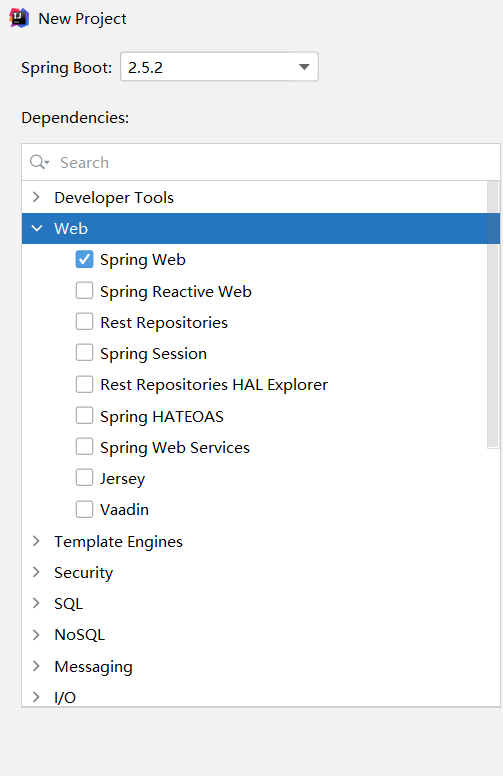
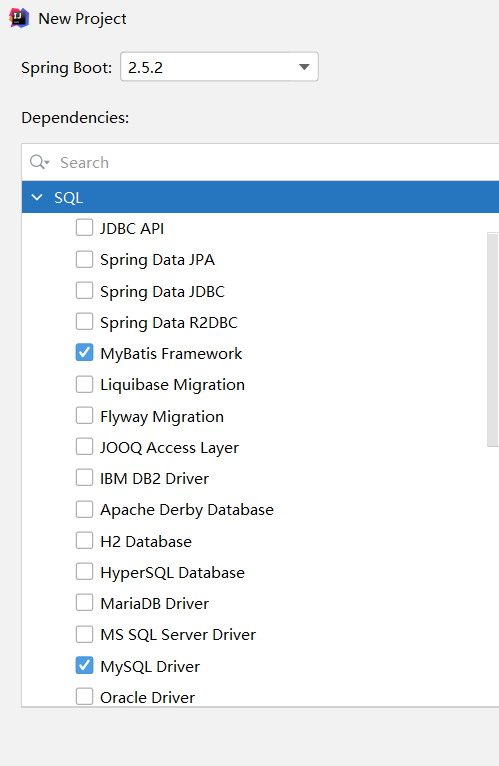
右侧可以看见已经选择的依赖;
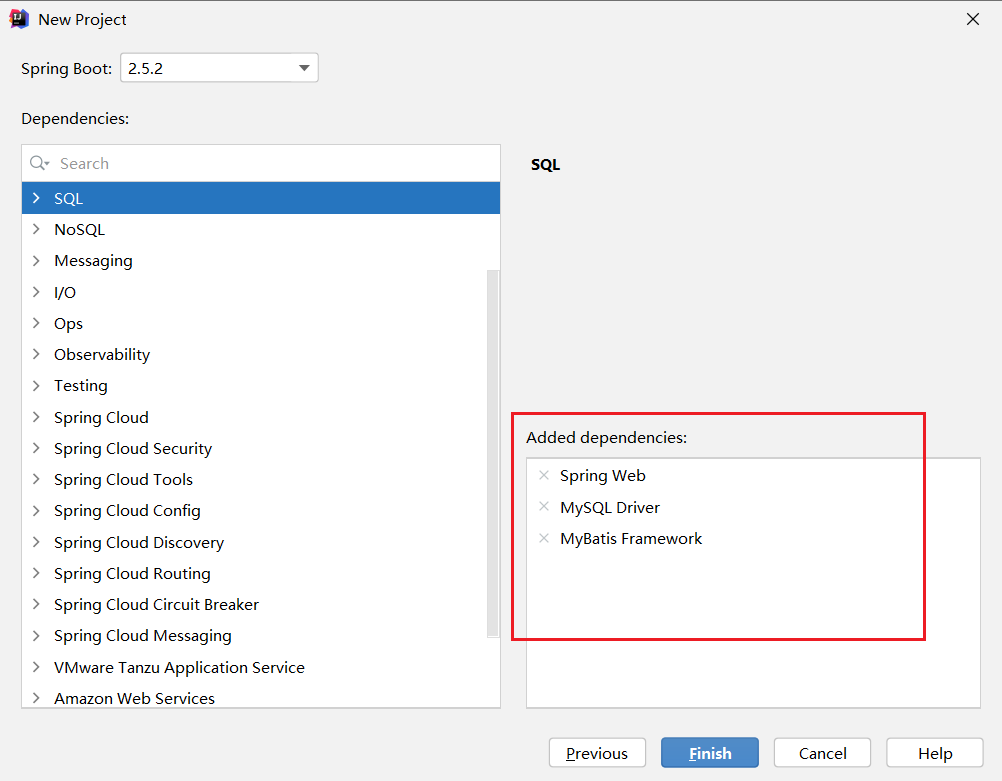
点击Finish完成项目创建;
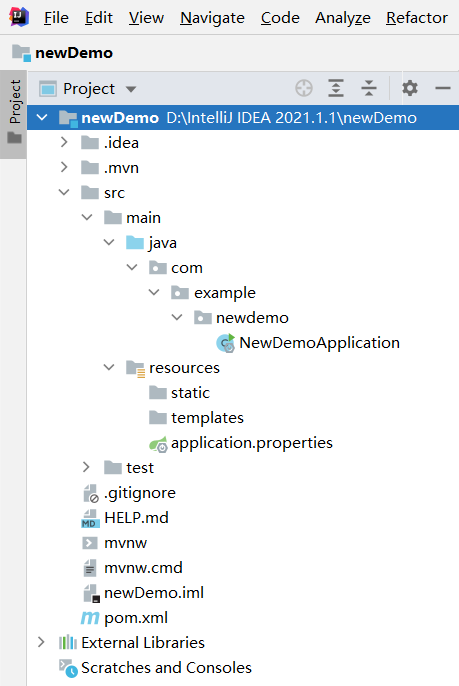
4. 创建好的项目结构
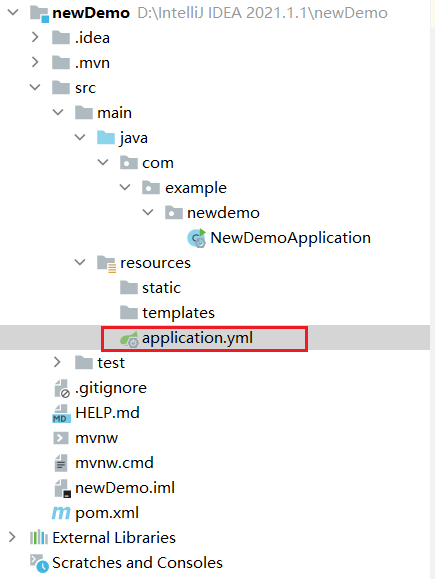
5. application.yml配置
将resources文件夹下的application.properties文件后缀名改为yml;
双击进入配置页面,进行端口、数据库和Mybatis的配置,我的配置结果如下;
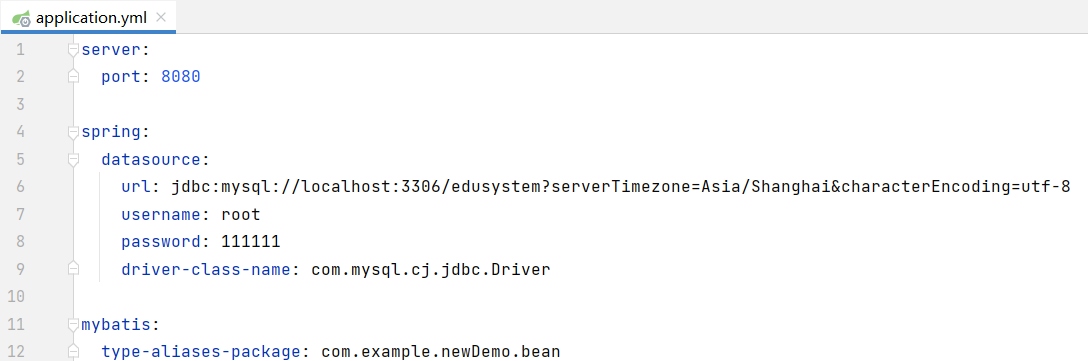
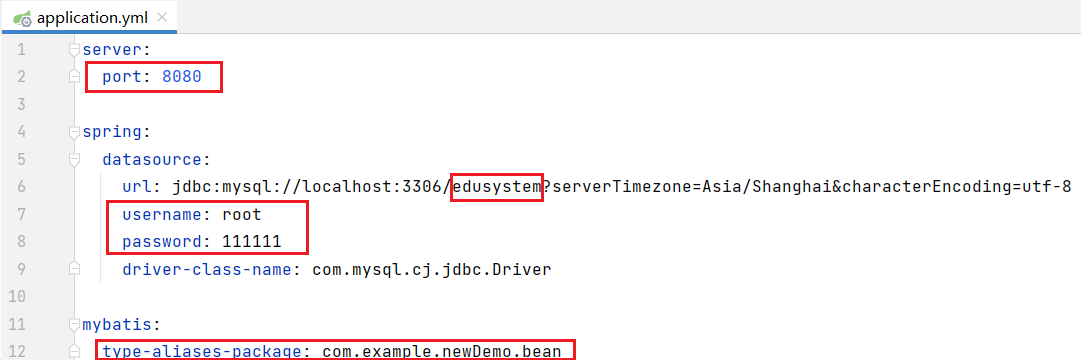
其中,需要注意的几个地方如下:
端口号设置为默认值:8080;
mysql数据库:edusystem,username:root,password:111111;
mybatis下的type-aliases-package:com.example.newDemo.bean(bean目录马上创建)
mysql数据库需要替换成自己的数据库、用户名和密码;
该部分代码如下(注意缩进):
server:
  port: 8080

spring:
  datasource:
    url: jdbc:mysql://localhost:3306/edusystem?serverTimezone=Asia/Shanghai&characterEncoding=utf-8
    username: root
    password: 111111
    driver-class-name: com.mysql.cj.jdbc.Driver

mybatis:
  type-aliases-package: com.example.newDemo.bean
6. web页面测试
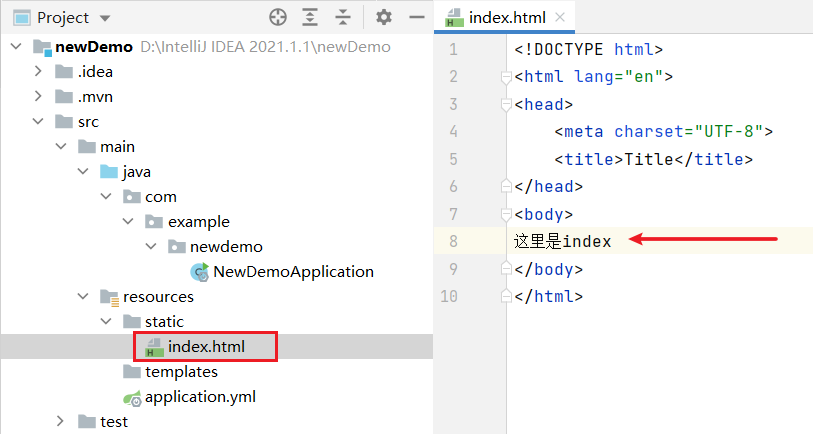
在resources的static目录下创建index.html,内容如下;
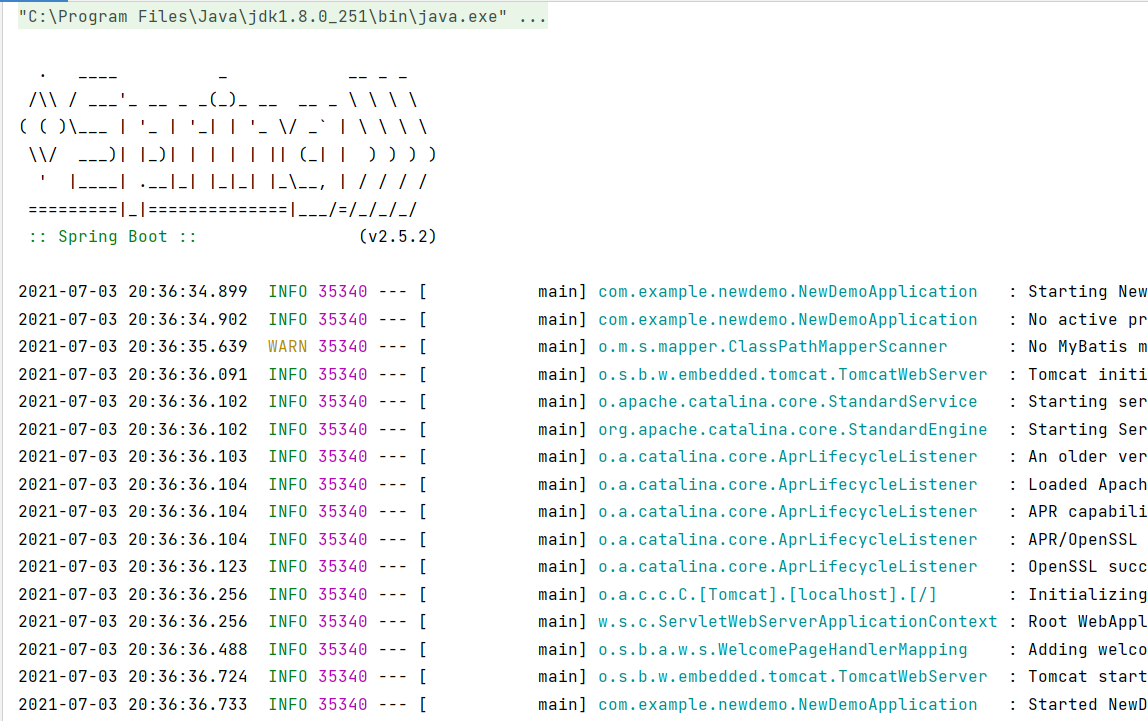
点击右上角运行按钮;

可见运行成功;
打开浏览器,在地址栏输入localhost:8080,回车;
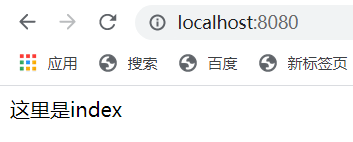
可见index.html的内容成功显示在页面上。至此,web环境搭建成功,接下来搭建mysql环境。
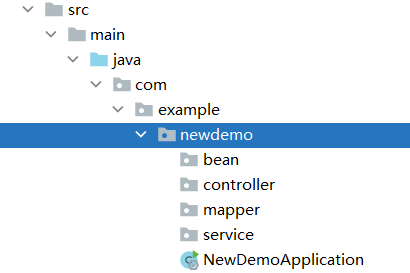
7. 创建bean、controller、mapper、service四层目录
在newdemo目录下创建bean、controller、mapper、service四层目录,目录结构如下所示;
8. 完善bean层
我的edusystem数据库下的departments表数据如下:
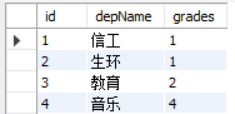
在bean层下建立Depart类,内容如下(属性要和数据表的列一一对应):
package com.example.newdemo.bean;

public class Depart {
    private String id;
    private String depName;
    private Integer grades;
    public String getId() {
        return id;
    }

    public void setId(String id) {
        this.id = id;
    }

    public String getDepName() {
        return depName;
    }

    public void setDepName(String depName) {
        this.depName = depName;
    }

    public Integer getGrades() {
        return grades;
    }

    public void setGrades(Integer grades) {
        this.grades = grades;
    }
}
9. 完善mapper层
在mapper层下建立DepartMapper接口,内容如下:
package com.example.newdemo.mapper;

import com.example.newdemo.bean.Depart;
import org.apache.ibatis.annotations.Mapper;
import org.apache.ibatis.annotations.Select;

import java.util.List;

@Mapper
public interface DepartMapper {
    @Select({
            "select",
            "id, depName, grades",
            "from departments"
    })
    List<Depart> selectAll();
}
10. 完善service层
在service层下建立DepartService接口和DepartServiceImpl实现类,内容分别如下;
DepartService接口:
package com.example.newdemo.service;

import com.example.newdemo.bean.Depart;

import java.util.List;

public interface DepartService {
    public List<Depart> selectAll();
}
DepartServiceImpl实现类:
package com.example.newdemo.service;

import com.example.newdemo.bean.Depart;
import com.example.newdemo.mapper.DepartMapper;
import org.springframework.beans.factory.annotation.Autowired;
import org.springframework.stereotype.Service;

import java.util.List;

@Service("departService")
public class DepartServiceImpl implements DepartService{
    @Autowired
    private DepartMapper departMapper;

    @Override
    public List<Depart> selectAll() {
        return departMapper.selectAll();
    }
}
11. 完善controller层
在controller层下建立DepartController类,内容如下:
package com.example.newdemo.controller;
import com.example.newdemo.bean.Depart;
import com.example.newdemo.service.DepartService;
import com.example.newdemo.service.DepartServiceImpl;
import org.springframework.web.bind.annotation.RequestMapping;
import org.springframework.web.bind.annotation.RequestMethod;
import org.springframework.web.bind.annotation.RestController;
import javax.annotation.Resource;
import java.util.List;
@RestController
@RequestMapping("/depart")
public class DepartController {
@Resource
private DepartService departService = new DepartServiceImpl();
@RequestMapping(value = "/selectAll", method = RequestMethod.GET)
public List<Depart> selectAll() {
List<Depart> list = departService.selectAll();
return list;
}
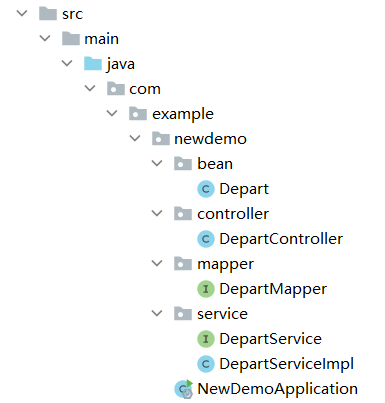
}12. 完善后的项目结构
13. 完善index.html以进行测试
对index.html的内容进行完善,用来获取数据表departments中的数据,内容如下:
<!DOCTYPE html>
<html lang="en">
<head>
    <meta charset="UTF-8">
    <title>Title</title>
    <style>
        *{
            margin: 0;
            padding: 0;
        }
        .result{
            position: fixed;
            width: 100%;
            bottom: 0;
            left: 0;
            height: 300px;
            background-color: rgba(0,0,0,.8);
            color: white;
            text-align: center;
            letter-spacing: 2px;
            padding-top: 20px;
            font-size: 18px;
            line-height: 28px;
            overflow: scroll;
        }
    </style>
</head>
<body>
<script src="https://code.jquery.com/jquery-3.1.1.min.js"></script>
<button style="display: block;margin: 20px auto;width: 160px;height: 60px;" onclick="getAll()">查看院系信息</button>
<div class="result" id="result"></div>
<script>
    function getAll(){
        $.ajax({
            type: "get",
            url: "depart/selectAll",
            data: {
            },
            success:function (data) {
                console.log(data)
                $("#result").empty()
                for(var i = 0;i < data.length;i++){
                    $("#result").append(JSON.stringify(data[i]) + "<br>")
                }
            },
        });
    }
</script>
</body>
</html>
14. 点击右上角的运行

15. 打开浏览器,输入localhost:8080
可以看见有一个“查看院系信息”按钮:
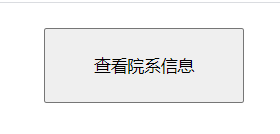
点击该按钮,在页面下方得到如下结果:
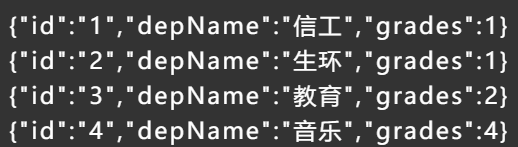
可见,departments表中的数据成功显示在index页面中,至此,web+mysql环境搭建完毕。
?
IDEA搭建一个SpringBoot项目——十分详细(web+mysql)
标签:pass ack mamicode char rap set server none art
原文地址:https://www.cnblogs.com/detailNew/p/14967528.html