标签:
1. 单个雨点的行为
2. 完善雨点的行为和构造下雨场景
3. 在XML中定义可以控制下雨的属性
------------------------------------------------------
1. 单个雨点的行为: 一条线段在运动
起始点:startX , startY;
终止点:stopX, stopY;

自定义View的框架类
public abstract class BaseView extends View {

    Thread thread;

    public BaseView(Context context, AttributeSet attrs) {
        super(context, attrs);
    }

    public BaseView(Context context) {
        super(context);
    }

    @Override
    final protected void onDraw(Canvas canvas) {
        //禁止子类覆盖,用final
        if(thread == null ) {
            thread = new MyThread();
            thread.start();
        } else{
            drawSub(canvas);
        }
    }

    protected abstract void logic();
    protected abstract void drawSub(Canvas canvas);

    @Override
    final protected void onDetachedFromWindow() {
        // 离开屏幕时结束
        //onDetachedFromWindow在销毁资源(既销毁view)之后调用
        running = false;
        super.onDetachedFromWindow();
    }
    private boolean running = true;
    class MyThread extends Thread {
        @Override
        public void run() {
            while(running) {
                logic();
                postInvalidate(); //线程中更新绘制,重新调用onDraw方法
                try {
                    Thread.sleep(50); //速度太快肉眼看不到,要睡眠
                } catch (InterruptedException e) {
                    // TODO Auto-generated catch block
                    e.printStackTrace();
                }
            }
        }
    }

}
自定义单个雨点RainView
public class RainView extends BaseView {

    private float startX = 0;
    private float startY = 0;  // Start Point
    private float stopX = 0;
    private float stopY = 0;  // Stop Point
    private float sizeX = 0;
    private float sizeY = 0;
    private Paint paint;

    public RainView(Context context) {
        super(context);
        // TODO Auto-generated constructor stub
    }

    public RainView(Context context, AttributeSet attrs) {
        super(context, attrs);
        sizeX = 10;
        sizeY = 30;
        //单个雨点的形状,用线段表示
        startX = 100;
        startY = 0;
        stopX = startX + sizeX;
        stopY = startY + sizeY;

        paint = new Paint();
        paint.setColor(0xffffffff);
    }

    @Override
    protected void logic() {
        // 让雨点运动
        float opt = 0.3f;
        startX += sizeX * opt;
        stopX += sizeX * opt;
        startY += sizeY * opt;
        stopY += sizeY * opt;

        // 雨点出了屏幕的时候让它回到起始点
        if(startY > getHeight() || startX > getWidth()){
            startX = 100;
            startY = 0;
            stopX = startX + sizeX;
            stopY = startY + sizeY;
        }
    }

    @Override
    protected void drawSub(Canvas canvas) {
        // drawSub 完成绘制操作
        canvas.drawLine(startX, startY, stopX, stopY, paint);
    }

}
在布局文件中使用
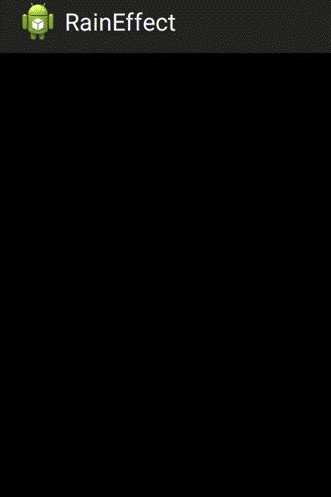
<FrameLayout xmlns:android="http://schemas.android.com/apk/res/android"
    xmlns:tools="http://schemas.android.com/tools"
    android:id="@+id/container"
    android:layout_width="match_parent"
    android:layout_height="match_parent"
    tools:context="com.carloz.raineffect.MainActivity" >

    <com.carloz.raineffect.v1.single_rain.RainView
        android:layout_width="match_parent"
        android:layout_height="match_parent"
        android:background="#ff000000" />

</FrameLayout>
效果如下:
2. 完善雨点的行为和构造下雨场景

2.1 将雨点 效果和 行为 抽象出来
* 雨点的速度和长度是可变的
* 雨点的倾斜角度是可变的
* 雨点的位置是可变的
public class RainItem {

    private int width;
    private int height;

    public RainItem(int width, int height) {
        this.width = width;
        this.height = height;
        init();
    }

    private float startX = 0;
    private float startY = 0; // Start Point
    private float stopX = 0;
    private float stopY = 0; // Stop Point
    private float sizeX = 0;
    private float sizeY = 0;
    private Paint paint;
    private float opt;
    private Random random;

    public void init() {
        // TODO Auto-generated method stub
        random = new Random();

        sizeX = 1 + random.nextInt(10); // 随机改变雨点的角度
        sizeY = 1 + random.nextInt(20);
        // 单个雨点的形状,用线段表示
        startX = random.nextInt(this.width);
        startY = random.nextInt(this.height); // 随机改变雨点的位置
        stopX = startX + sizeX;
        stopY = startY + sizeY;

        paint = new Paint();
        paint.setColor(0xffffffff);
    }

    public void draw(Canvas canvas) {
        canvas.drawLine(startX, startY, stopX, stopY, paint);
    }

    public void move() {
        // 让雨点运动
        opt = 0.2f + random.nextFloat(); // 随机改变雨点的速度和长度
        startX += sizeX * opt;
        stopX += sizeX * opt;
        startY += sizeY * opt;
        stopY += sizeY * opt;

        // 雨点出了屏幕的时候让它回到起始点
        if (startY > this.height || startX > this.width) {
            startX = random.nextInt(this.width);
            startY = random.nextInt(this.height);
            stopX = startX + sizeX;
            stopY = startY + sizeY;
        }
    }

}
2.2 定义多个雨点
在 添加抽象 BaseView 方法: protected abstract void init();
class MyThread extends Thread {
    @Override
    public void run() {
        init();
        while(running) {
            logic();
            postInvalidate(); //线程中更新绘制,重新调用onDraw方法
            try {
                Thread.sleep(50); //速度太快肉眼看不到,要睡眠
            } catch (InterruptedException e) {
                // TODO Auto-generated catch block
                e.printStackTrace();
            }
        }
    }
}
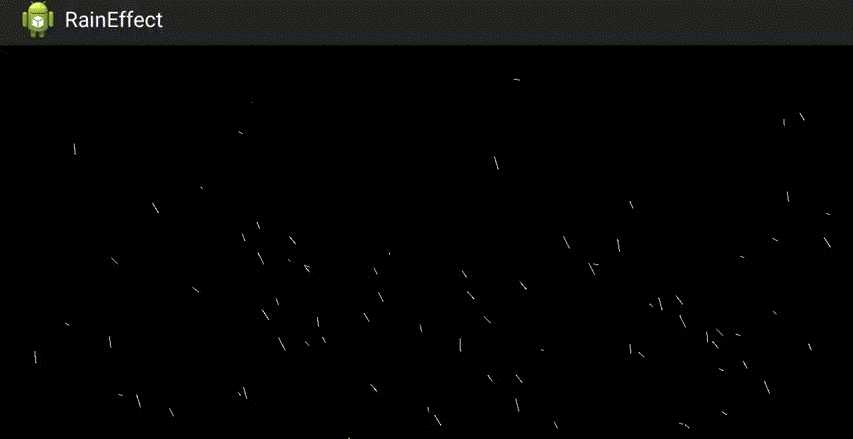
public class RainView extends BaseView {

    ArrayList<RainItem> rainList = new ArrayList<RainItem>();
    int size = 80;

    public RainView(Context context) {
        super(context);
    }

    public RainView(Context context, AttributeSet attrs) {
        super(context, attrs);
    }

    @Override
    protected void init() {
        // TODO Auto-generated method stub
        for (int i = 0; i < size; i++) {
            RainItem item = new RainItem(getWidth(), getHeight());
            rainList.add(item);
        }
    }

    @Override
    protected void logic() {
        for (RainItem item : rainList) {
            item.move();
        }
    }

    @Override
    protected void drawSub(Canvas canvas) {
        // drawSub 完成绘制操作
        for (RainItem item : rainList) {
            item.draw(canvas);
        }
    }

}
效果如下:
3. 在XML中定义可以控制下雨的属性
标签:
原文地址:http://www.cnblogs.com/carlo/p/4779287.html