标签:
(一)内主要就是讲了线条的绘制以及绘制状态的保存与恢复
本次就讲一些图形的画法
2 图形的绘制
2.1 三角形的绘制 :(就是绘制三条线)
- (void)drawRect:(CGRect)rect {
//获取绘制上下文
CGContextRef ctx =UIGraphicsGetCurrentContext();
//设置连接处的圆角
CGContextSetLineJoin(ctx, kCGLineJoinRound);
//设置颜色以及线条粗细
[[UIColor yellowColor] set];
CGContextSetLineWidth(ctx, 20);
//移动起始点
CGContextMoveToPoint(ctx, 50, 50);
//三条先的绘制
CGContextAddLineToPoint(ctx, 150, 150);
CGContextAddLineToPoint(ctx, 50, 200);
CGContextAddLineToPoint(ctx, 50, 50);
//绘制
CGContextStrokePath(ctx)}

2.2 长方形的绘制
TIP:这里设置线条的宽度 ,不会影响坐标,线宽会按照绘制的线条想上下或者左右进行绘制
- (void)drawRect:(CGRect)rect {
//获取绘制上下文
CGContextRef ctx =UIGraphicsGetCurrentContext();
//设置连接处的圆角
CGContextSetLineJoin(ctx, kCGLineJoinRound);
//设置颜色以及线条粗细
CGContextSetLineWidth(ctx, 20);
[[UIColor yellowColor] set];
//直接调用添加矩形方法
CGContextAddRect(ctx, CGRectMake(0, 0, 300, 250));
//使用下面这个方法创建一个实心的矩形
CGContextFillRect(ctx, CGRectMake(0,260, 300, 100));
//绘制---使用填充方法之后 可以不使用渲染方法
CGContextStrokePath(ctx);
}
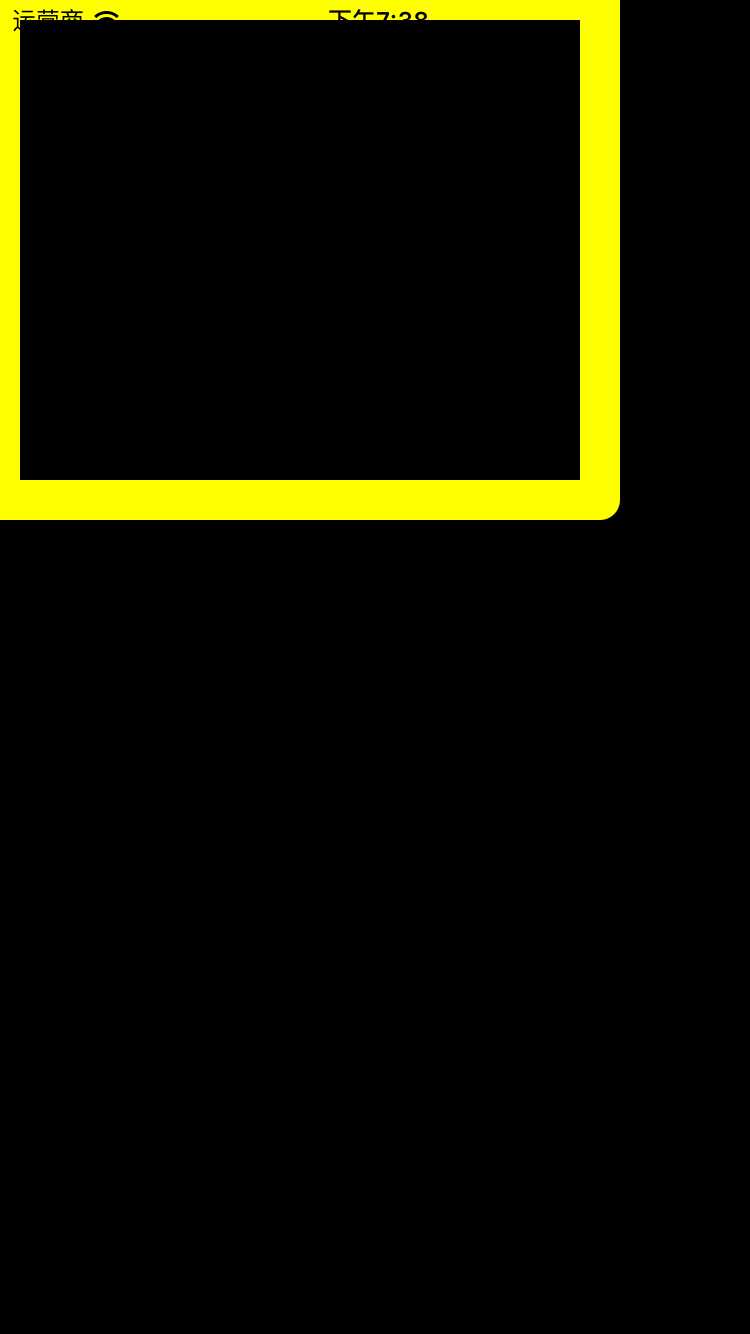
实心矩形

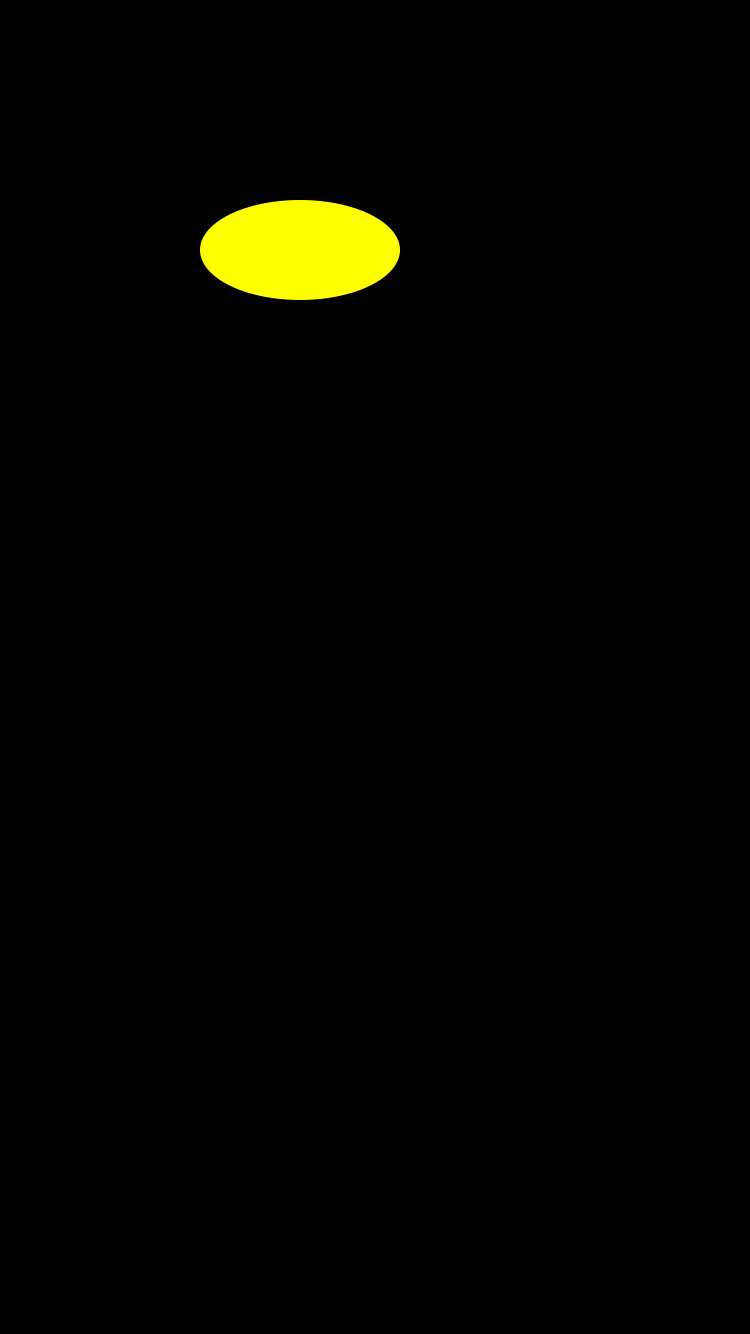
2.3 绘制一个圆形
- (void)drawRect:(CGRect)rect {
//获取绘制上下文
CGContextRef ctx =UIGraphicsGetCurrentContext();
//设置连接处的圆角
CGContextSetLineJoin(ctx, kCGLineJoinRound);
//设置颜色以及线条粗细
CGContextSetLineWidth(ctx, 20);
[[UIColor yellowColor] set];
//使用下面方法绘制一个空心圆 一个PI只能绘制半圆 -- 弧形也可以通过这种方式来绘制
CGContextAddArc(ctx, 100, 100, 50, 0, M_PI*2, 0 );
//使用下面方法来绘制一个实心的圆或者椭圆
CGContextFillEllipseInRect(ctx, CGRectMake(100, 100, 100, 50));
//绘制---使用填充方法之后 可以不使用渲染方法
CGContextStrokePath(ctx);
}

2.4 绘制扇形
- (void)drawRect:(CGRect)rect {
//获取绘制上下文
CGContextRef ctx =UIGraphicsGetCurrentContext();
//设置颜色以及线条粗细
CGContextSetLineWidth(ctx, 20);
[[UIColor yellowColor] set];
//使用下面方法绘制一个空心圆 一个PI只能绘制半圆
CGContextAddArc(ctx, 100, 100, 50, 0, M_PI, 0 );
//使用下面方法来绘制一个封闭的扇形
CGContextClosePath(ctx);
//使用下面方法填充扇形
CGContextSetRGBFillColor(ctx, 255, 0, 0, 1);
//使用下面方法来封闭上面的扇形
CGContextFillPath(ctx);
//绘制---使用填充方法之后 可以不使用渲染方法
CGContextStrokePath(ctx);
}


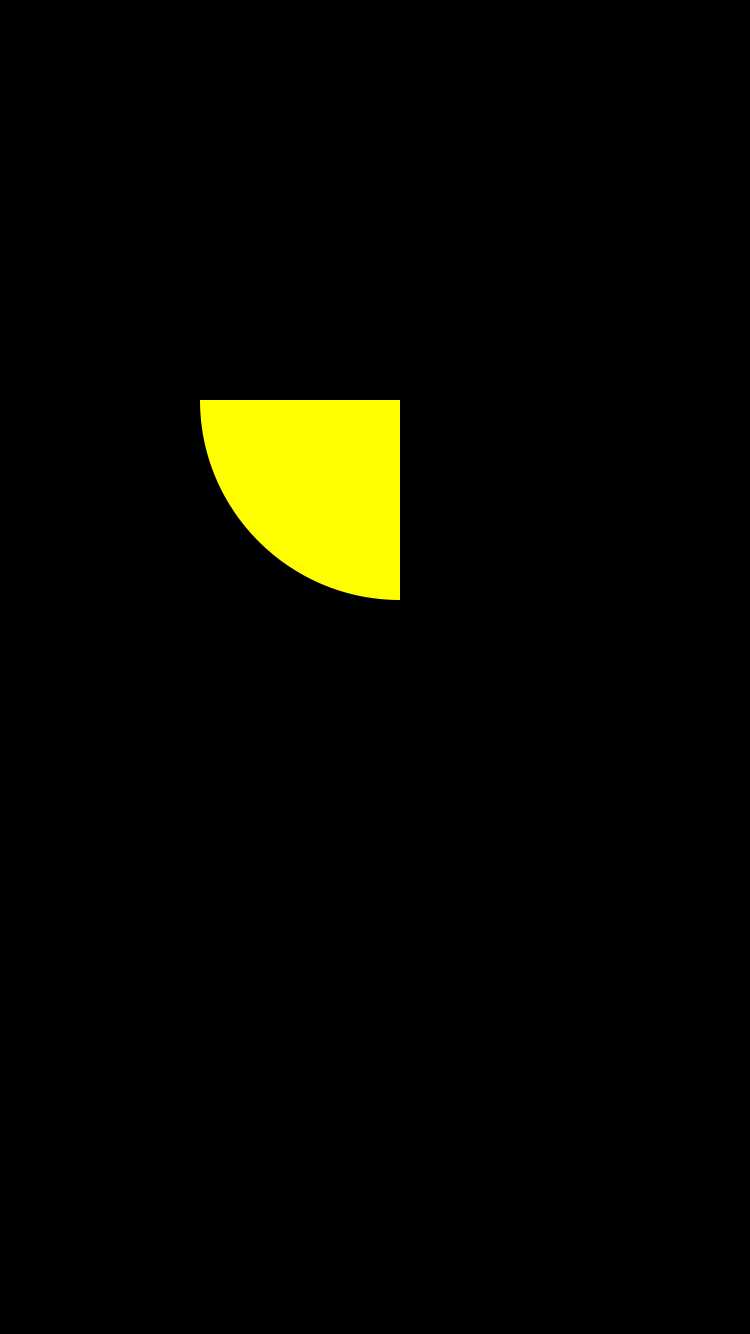
2.5 填充一个四分之一圆
- (void)drawRect:(CGRect)rect {
//获取绘制上下文
CGContextRef ctx =UIGraphicsGetCurrentContext();
//设置颜色以及线条粗细
CGContextSetLineWidth(ctx, 20);
[[UIColor yellowColor] set];
//移动到初始点
CGContextMoveToPoint(ctx, 100, 200);
//添加线条
CGContextAddLineToPoint(ctx, 200, 200);
//添加线条
CGContextAddLineToPoint(ctx, 200, 300);
//添加圆弧
CGContextAddArc(ctx, 200, 200, 100, M_PI / 2, M_PI, 0);
//填充
CGContextFillPath(ctx);
}
标签:
原文地址:http://www.cnblogs.com/thxios/p/5143243.html