标签:android style blog http color 使用 os io
部分转载部分自己搞定~~~~~~
实现方式有如下两种:
1.SlidingDrawer(据说官方不赞成使用这种方式了) 那就用第二种了
2.DrawerLayout
以下是网友给的资料参照(不跳墙你就不要看了):
http://developer.android.com/reference/android/support/v4/widget/DrawerLayout.html
Guide在这里:
http://developer.android.com/training/implementing-navigation/nav-drawer.html
DrawerLayout类是在support library里面的 so--- 要加上Android-support-v4.jar这个包
在这里参考了一个网友的实现 先把他的代码贴出来(需要说明,xml里面的DrawerLayout下 第一个子元素就是“抽屉”外壳了,即有一个button的FrameLayout。抽屉就是对应的第二个元素----ListView了):
activity_main.xml
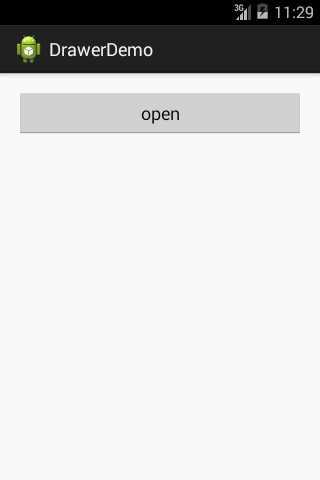
<RelativeLayout xmlns:android="http://schemas.android.com/apk/res/android"
    xmlns:tools="http://schemas.android.com/tools"
    android:layout_width="match_parent"
    android:layout_height="match_parent"
    android:paddingBottom="@dimen/activity_vertical_margin"
    android:paddingLeft="@dimen/activity_horizontal_margin"
    android:paddingRight="@dimen/activity_horizontal_margin"
    android:paddingTop="@dimen/activity_vertical_margin"
    tools:context=".DrawerActivity" >

    <android.support.v4.widget.DrawerLayout
        android:id="@+id/drawer_layout"
        android:layout_width="match_parent"
        android:layout_height="match_parent" >

        <!-- The main content view -->

        <FrameLayout
            android:id="@+id/content_frame"
            android:layout_width="match_parent"
            android:layout_height="match_parent" >

            <Button
                android:id="@+id/btn"
                android:layout_width="match_parent"
                android:layout_height="wrap_content"
                android:text="open"
                />
        </FrameLayout>

        <!-- The navigation drawer -->

        <ListView
            android:id="@+id/left_drawer"
            android:layout_width="240dp"
            android:layout_height="match_parent"
            android:layout_gravity="start"
            android:background="#111"
            android:choiceMode="singleChoice"
            android:divider="@android:color/transparent"
            android:dividerHeight="0dp" />
    </android.support.v4.widget.DrawerLayout>

</RelativeLayout>
package com.tiejiang.drawerdemo;

import android.app.Activity;
import android.os.Bundle;
import android.support.v4.widget.DrawerLayout;
import android.view.Gravity;
import android.view.View;
import android.view.View.OnClickListener;
import android.widget.Button;
import android.widget.ListView;

public class MainActivity extends Activity {
    private ListView listView;
    private Button button;
    private DrawerLayout drawerLayout = null;
    @Override
    protected void onCreate(Bundle savedInstanceState) {
        super.onCreate(savedInstanceState);
        setContentView(R.layout.activity_main);
        button = (Button)findViewById(R.id.btn);
        drawerLayout = (DrawerLayout)findViewById(R.id.drawer_layout);
        button.setOnClickListener(new OnClickListener() {
            @Override
            public void onClick(View v) {
                // TODO Auto-generated method stub
                drawerLayout.openDrawer(Gravity.LEFT);
            }
        });
    }

}
运行效果:
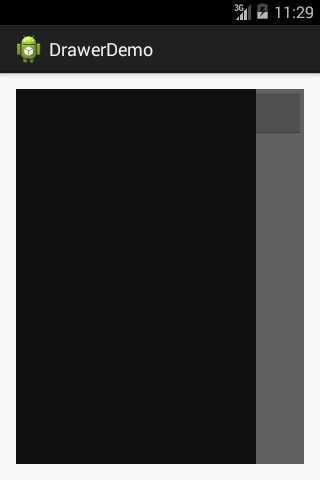
当然了,这个“抽屉”现在还什么东西也没有装,就只是一个空的抽屉而已。
接下来在抽屉中装一些东西:
Android DrawerLayoutDemo,布布扣,bubuko.com
标签:android style blog http color 使用 os io
原文地址:http://www.cnblogs.com/tiejiangweigaibianercunzai/p/3876764.html