标签:
安装vnc
1.首先,检查下本机是否安装了vnc:
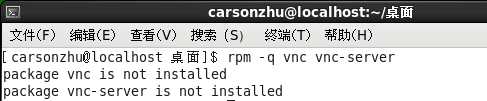
提示没有安装,那么开始装吧:
2.先关闭防火墙
查看防火墙状态:
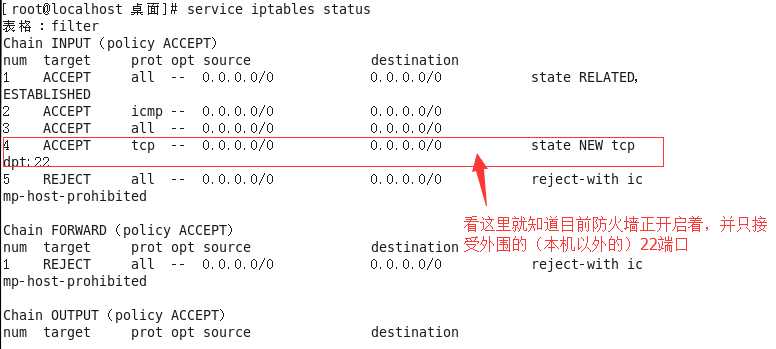
关闭防火墙:

注:要切到root下
[carsonzhu@localhost 桌面]$ yum install vnc vnc-server
Loaded plugins: fastestmirror, refresh-packagekit, security
You need to be root to perform this command.
[carsonzhu@localhost 桌面]$ su
密码:
[root@localhost 桌面]# yum install vnc vnc-server
Loading mirror speeds from cached hostfile
 * base: mirror.bit.edu.cn
 * extras: mirror.bit.edu.cn
 * updates: mirror.bit.edu.cn
Setting up Install Process
Resolving Dependencies
--> Running transaction check
---> Package tigervnc.x86_64 0:1.1.0-18.el6 will be installed
---> Package tigervnc-server-module.x86_64 0:1.1.0-18.el6 will be installed
--> Finished Dependency Resolution

Dependencies Resolved

================================================================================
 Package                      Arch         Version             Repository  Size
================================================================================
Installing:
 tigervnc                     x86_64       1.1.0-18.el6        base       184 k
 tigervnc-server-module       x86_64       1.1.0-18.el6        base       213 k

Transaction Summary
================================================================================
Install       2 Package(s)

Total download size: 398 k
Installed size: 1.0 M
Is this ok [y/N]: y
Downloading Packages:
(1/2): tigervnc-1.1.0-18.el6.x86_64.rpm                  | 184 kB     00:00
(2/2): tigervnc-server-module-1.1.0-18.el6.x86_64.rpm    | 213 kB     00:00
--------------------------------------------------------------------------------
Total                                           330 kB/s | 398 kB     00:01
Running rpm_check_debug
Running Transaction Test
Transaction Test Succeeded
Running Transaction
  Installing : tigervnc-1.1.0-18.el6.x86_64                                 1/2
  Installing : tigervnc-server-module-1.1.0-18.el6.x86_64                   2/2
  Verifying  : tigervnc-server-module-1.1.0-18.el6.x86_64                   1/2
  Verifying  : tigervnc-1.1.0-18.el6.x86_64                                 2/2

Installed:
  tigervnc.x86_64 0:1.1.0-18.el6  tigervnc-server-module.x86_64 0:1.1.0-18.el6

Complete!
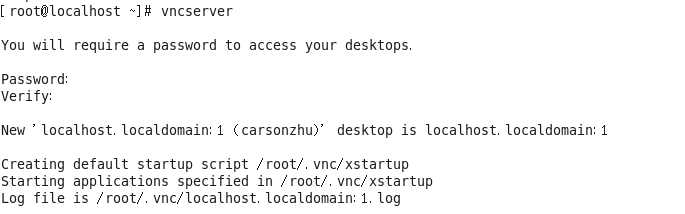
3.启动vncserver,会要求你输入两次进行连接的初始密码
4.添加root系统环境配置
[root@localhost ~]# vi /etc/sysconfig/vncservers
在最后面加上如下两行:
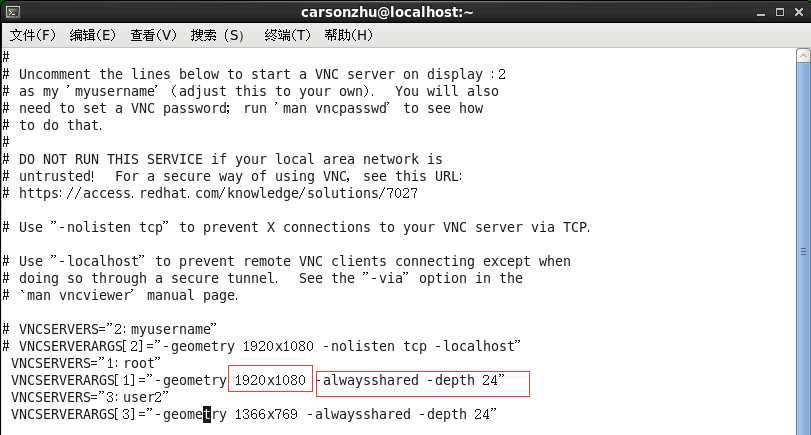
说明:
(1)-alwaysshared表示同一个显示端口允许多用户同时登录 -depth代为色深,参数有8、16、24、32;
(2)这里的“用户名”是指linux系统用户的名称;
(3)上面三行中第一行是设定可以使用VNC服务器的帐号,可以设定多个,但中间要用空格隔开。注意前面的数字“1”或是“2”,当你要从其它电脑来VNC服务器时,就需要用IP:1这种方法,而不能直接用IP。如假定你的VNC服务器IP是192.168.1.100,那想进入VNC服务器,并以peter用户登录时,需要在vncviewer里输入IP的地方输入:192.168.1.100:1,如果是root,那就是192.168.1.100:2;
(4)下面两行[1][2]最好与上面那个相对应,后面的800X600可以换成你电脑支持的分辨率。注意中间的”x”不是“*”,而是小写字母”x”。
标签:
原文地址:http://www.cnblogs.com/carsonzhu/p/5573660.html