标签:xxx 作用 配置环境 生产环境 style 显示 参考 jar包 地方
场景:在项目部署的过程中,对于spring boot的配置文件一直不很了解,直到项目出现一个莫名其妙的问题——工程classes中的配置文件被覆盖,程序启动总是报错!
application.properties大家都不陌生,我们在开发的时候,经常使用它来配置一些可以手动修改而且不用编译的变量,这样的作用在于,打成war包或者jar用于生产环境时,我们可以手动修改环境变量而不用再重新编译。
spring boo默认已经配置了很多环境变量,例如,tomcat的默认端口是8080,项目的contextpath是“/”等等,可以在这里看spring boot默认的配置信息http://docs.spring.io/spring-boot/docs/current-SNAPSHOT/reference/htmlsingle/#boot-features-external-config
System.getProperties())@PropertySource annotations on your @Configuration classes.SpringApplication.setDefaultProperties)除了在application.properties配置参数,还有多种方式可以设定参数。Spring Boot 按照下面的顺序查找配置项:
spring boot允许你自定义一个application.properties文件,然后放在以下的地方,来重写spring boot的环境变量或者定义你自己环境变量
Spring Boot 默认从4个位置查找application.properties文件。
说明:当前目录指的是运行Jar文件时的目录,不一定是jar文件所在目录,所有上面前2项是Jar包外目录。
如果同时在四个地方都有配置文件,配置文件的优先级是从1到4。

根据xxxApplicationStarter可以定位到当前目录。然后根据需要配置配置文件。
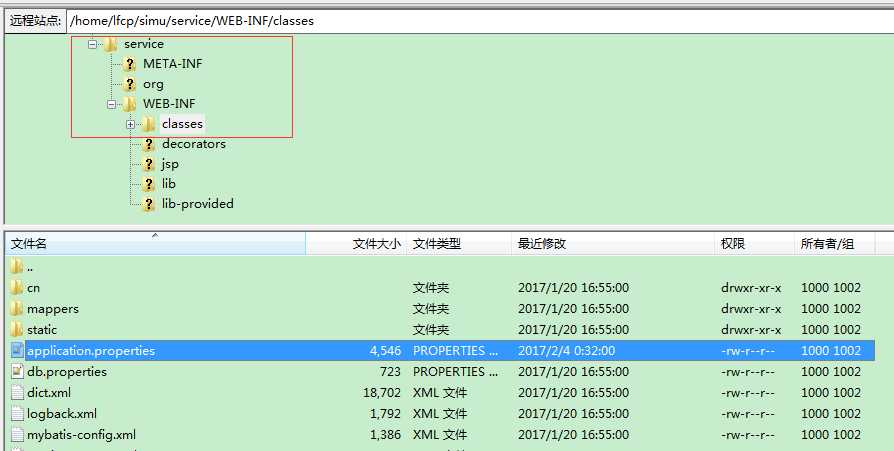
也就是classes目录。
参考文章http://www.nathanyan.com/2016/01/25/Spring-Boot-04-%E9%85%8D%E7%BD%AE%E7%9B%B8%E5%85%B3/
使用配置文件之后,spring boo启动时,会自动把配置信息读取到spring容器中,并覆盖spring boot的默认配置,那么,我们怎么来读取和设置这些配置信息呢
1.通过命令行来重写和配置环境变量,优先级最高,例如可以通过下面的命令来重写spring boot 内嵌tomcat的服务端口,注意“=”俩边不要有空格
java -jar demo.jar --server.port=9000
如果想要设置多个变量怎么办,可以已json的格式字符串来设置
java -jar demo.jar --spring.application.json=‘{"foo":"bar"}‘
2.通过@value注解来读取
@RestController
@RequestMapping("/task")
public class TaskController {

@Value("${connection.remoteAddress}") private String address;

@RequestMapping(value = {"/",""})
public String hellTask(@Value("${connection.username}")String name){

    return "hello task !!";
}

}
3.通过Environment接口来获取,只需要把接口注进去即可
@RestController
@RequestMapping("/task")
public class TaskController {

@Autowired Environment ev ;

@Value("${connection.remoteAddress}") private String address;

@RequestMapping(value = {"/",""})
public String hellTask(@Value("${connection.username}")String name){

    String password = ev.getProperty("connection.password");
    return "hello task !!";
}

}
4.可以自定义一个工具类,来获取,这种方式关键在于读取配置文件信息,适合自定义的配置信息,spring 容器默认的配置信息会读不到
@Component
public class SystemConfig {

    private static Properties props ;

    public SystemConfig(){

        try {
            Resource resource = new ClassPathResource("/application.properties");//
            props = PropertiesLoaderUtils.loadProperties(resource);
        } catch (IOException e) {
            e.printStackTrace();
        }
    }


    /**
     * 获取属性
     * @param key
     * @return
     */
    public static String getProperty(String key){

        return props == null ? null :  props.getProperty(key);

    }

    /**
     * 获取属性
     * @param key 属性key
     * @param defaultValue 属性value
     * @return
     */
    public static String getProperty(String key,String defaultValue){

         return props == null ? null : props.getProperty(key, defaultValue);

    }

    /**
     * 获取properyies属性
     * @return
     */
    public static Properties getProperties(){
        return props;
    }

}

//用的话,就直接这样子
String value = SystemConfig.getProperty("key");
5.可以利用${…}在application.properties引用变量
myapp.name=spring
myapp.desc=${myapp.name} nice
6.可以在application.properties配置随机变量,利用的是RandomValuePropertySource类
my.secret=${random.value}
my.number=${random.int}
my.bignumber=${random.long}
my.number.less.than.ten=${random.int(10)}
my.number.in.range=${random.int[1024,65536]}
7.绑定属性值到Bean
properties文件在面对有层次关系的数据时,就有点不合适。YAML 支持一种类似JSON的格式,可以表现具有层次的数据。详细说明看这里.
YAML的内容会转换为properties格式,如下:
environments:
    dev:
        url: http://dev.bar.com
        name: Developer Setup
    prod:
        url: http://foo.bar.com
        name: My Cool App
my:
   servers:
       - dev.bar.com
       - foo.bar.com
environments.dev.url=http://dev.bar.com
environments.dev.name=Developer Setup
environments.prod.url=http://foo.bar.com
environments.prod.name=My Cool App
my.servers[0]=dev.bar.com
my.servers[1]=foo.bar.com
可以用@Value("${environments.dev.url}")注入.
YAML的一个特性就是可以把多个文件的配置项,合并到一个文件里。用---分隔。
server:
    address: 192.168.1.100
---
spring:
    profiles: development
server:
    address: 127.0.0.1
---
spring:
    profiles: production
server:
    address: 192.168.1.120
再结合spring.profiles可以指定Profile下使用哪个配置项.
Spring Boot 也支持Profile特性,Profile相关的配置文件命名为:application-{profile}.properties,可以用spring.profiles.active激活Profile:
java -jar target/demo-0.0.1-SNAPSHOT.jar --spring.profiles.active=test
虽然可以通过@Value("${property}")注入属性值,如果有多项需要注入,就有点麻烦了。@ConfigurationProperties可以直接把多个属性值绑定到Bean上。
配置文件:
# application.yml

connection:
    username: admin
    remoteAddress: 192.168.1.1
使用:
@Component
@ConfigurationProperties(prefix="connection")
public class ConnectionSettings {
    private String username;
    private InetAddress remoteAddress;
    // ... getters and setters
}
也可以在创建Bean时注入:
@ConfigurationProperties(prefix = "foo")
@Bean
public FooComponent fooComponent() {
    ...
}
3
标签:xxx 作用 配置环境 生产环境 style 显示 参考 jar包 地方
原文地址:http://www.cnblogs.com/lixuwu/p/6376194.html