标签:http tomcat cti prot org fonts url enabled sni
1.生成keystore文件。keytool -v -genkey -alias tomcat -keyalg RSA -keystore d:/tomcat.keystore -validity 36500
这里的keytool在jdk的bin目录下,也可以写绝对地址,这里的口令一律写123456,下面要用到
这样就生成了tomcat.keystore
2、修改 tomcat/conf/server.xml ,并指定安全证书位置和密码
<Connector port="443" protocol="org.apache.coyote.http11.Http11Protocol" SSLEnabled="true"
               maxThreads="150" scheme="https" secure="true"
               clientAuth="false" sslProtocol="TLS"
keystoreFile="D:/tomcat.keystore"
keystorePass="123456"/>
此时是http和https都可以访问项目的,若要完全禁用http则需要修改以下
8080和8009(这里的端口改为了8003)对应改为443
 <Connector port="8080" protocol="HTTP/1.1"
               connectionTimeout="20000"
               redirectPort="443" />
<!-- Define an AJP 1.3 Connector on port 8009 -->
    <Connector port="8003" protocol="AJP/1.3" redirectPort="443" />
3.配置web.xm,在welcome-file-list后面加上以下
 <welcome-file-list>
        <welcome-file>index.html</welcome-file>
        <welcome-file>index.htm</welcome-file>
        <welcome-file>index.jsp</welcome-file>
    </welcome-file-list>
	<login-config>
	<!--Authorization setting for SSL -->
	<auth-method>CLIENT-CERT</auth-method>
	<realm-name>Client Cert User-only Area</realm-name>
    </login-config>

    <security-constraint>
	<!--Authorization setting for SSL-->
	<web-resource-collection>
		<web-resource-name>SSL</web-resource-name>
		<url-pattern>/*</url-pattern>
	</web-resource-collection>

        <user-data-constraint>
	     <transport-guarantee>CONFIDENTIAL</transport-guarantee>
        </user-data-constraint>

    </security-constraint>


    <security-constraint>
	<web-resource-collection>
	<web-resource-name>fortune</web-resource-name>
	<url-pattern>/*</url-pattern>
	<http-method>PUT</http-method>
	<http-method>DELETE</http-method>
	<http-method>HEAD</http-method>
	<http-method>OPTIONS</http-method>
	<http-method>TRACE</http-method>
	</web-resource-collection>
	<auth-constraint></auth-constraint>
    </security-constraint>
4.加载项目,启动后导入证书就可以了
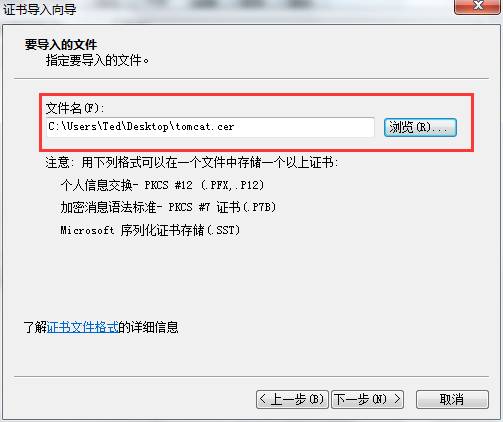
访问https://localhost:443/spfxzd会出现安全证书有问题,右键

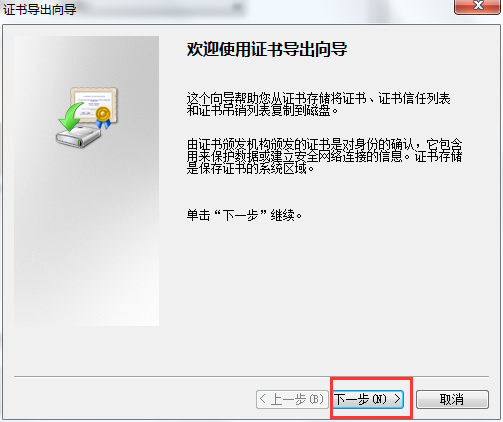
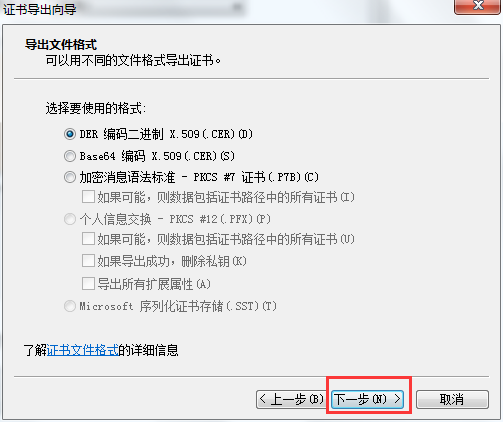
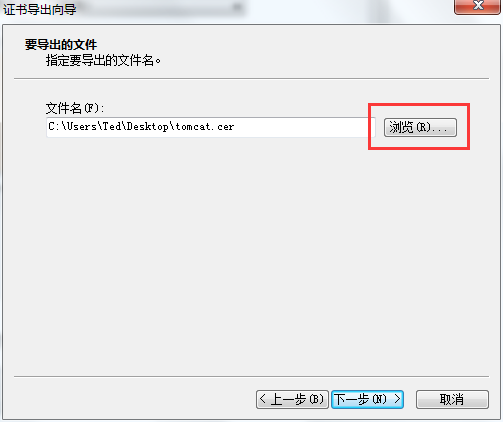

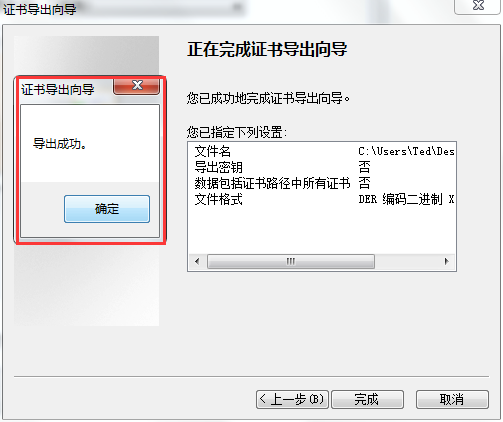
证书--详细信息--复制到文件--下一步--一直到导出文件到桌面文件为tomcat.cer
这里可以双击证书安装下
下面打开浏览器的Internet选项 ----> 内容 ---->
证书
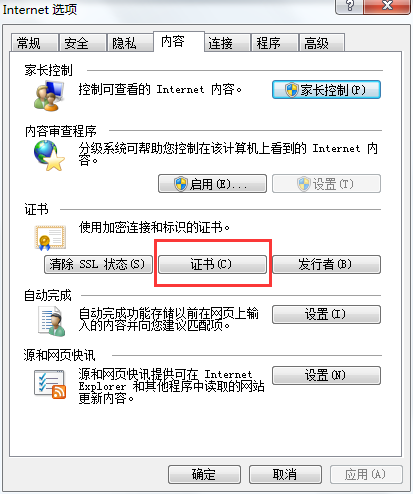
选择"受信任的根证书颁发机构"
----> 导入证书
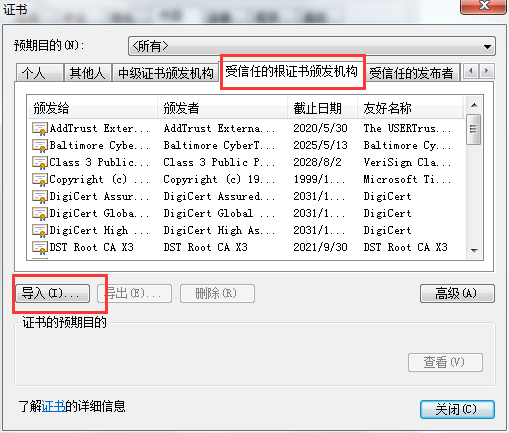
将生成的证书导入进来
完成
参考配置:http://www.cnblogs.com/wanghaoyuhappy/p/5267702.html
标签:http tomcat cti prot org fonts url enabled sni
原文地址:http://blog.csdn.net/lhw244/article/details/69062303

