标签:res 项目 多路复用 ubuntu 管理 response 端口 ati 规范
平时在测试环境下的项目不能承载高并发,需要部署到web server上。
web server:
apache(早期)
ngix(更能承载高并发、轻量级,底层是I/O多路复用epoll)
Django的部署可以有很多方式,采用nginx+uwsgi的方式是其中比较常见的一种方式。
uWSGI是一个Web服务器,它实现了WSGI协议、uwsgi、http等协议。Nginx中HttpUwsgiModule的作用是与uWSGI服务器进行交换。
要注意 WSGI / uwsgi / uWSGI 这三个概念的区分。
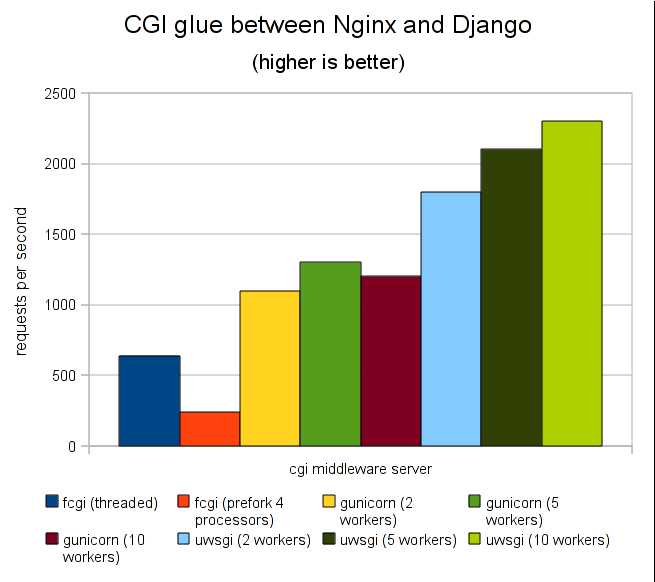
uwsgi性能非常高
uWSGI的主要特点如下
总而言之uwgi是个部署用的好东东,正如uWSGI作者所吹嘘的:
If you are searching for a simple wsgi-only server, uWSGI is not for you, but if you are building a real (production-ready) app that need to be rock-solid, fast and easy to distribute/optimize for various load-average, you will pathetically and morbidly fall in love (we hope) with uWSGI.

1 # Install the latest stable release:
2 pip install uwsgi
3 # ... or if you want to install the latest LTS (long term support) release,
4 pip install https://projects.unbit.it/downloads/uwsgi-lts.tar.gz
基本测试
Create a file called test.py:
1 # test.py
2 def application(env, start_response):
3     start_response(‘200 OK‘, [(‘Content-Type‘,‘text/html‘)])
4     return [b"Hello World"] # python3
5     #return ["Hello World"] # python2
运行
1 uwsgi --http :8000 --wsgi-file test.py #在项目中运行
用uwsgi启动Django
1 uwsgi --http :8000 --module projectname.wsgi
可以把参数写到配置文件里
 1 [uwsgi]
 2 http = :9000
 3 # the local unix socket file than commnuincate to Nginx
 4 socket = 127.0.0.1:8001
 5 # the base directory (full path)
 6 chdir = /home/ubuntu/midware
 7 # Django‘s wsgi file
 8 wsgi-file = midware/wsgi.py
 9 # maximum number of worker processes
10 processes = 4
11 # thread numbers startched in each worker process
12 threads = 2
13 # monitor uwsgi status
14 stats = 127.0.0.1:9191
15 # clear environment on exit
16 vacuum  = true
用uwsgi启动Django
1 /usr/local/bin/uwsgi crazye-uwsgi.ini
1 /usr/local/bin/uwsgi midware-uwsgi.ini
/usr/local/bin/uwsgi crazye-uwsgi.ini
标签:res 项目 多路复用 ubuntu 管理 response 端口 ati 规范
原文地址:http://www.cnblogs.com/yangxiaoling/p/6831530.html
