标签:rand png return 保存图片 array sha ges idt 文件查看
1 import numpy as np
2 matrix = np.load(‘./V1/labels.npy‘)
3
4 print(matrix)
5 print(matrix.shape)
6 print(type(matrix))
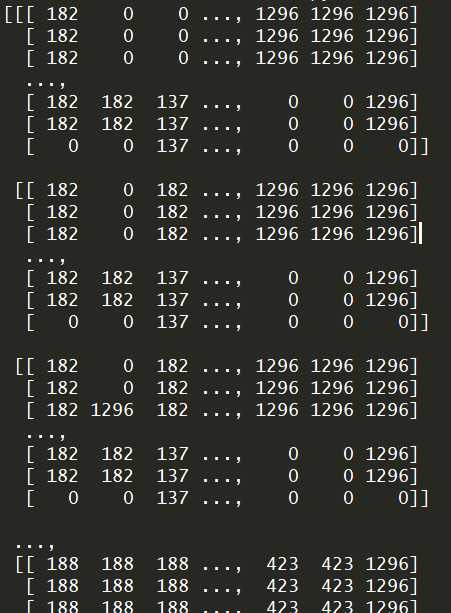
(480, 640, 2284)
<class ‘numpy.ndarray‘>
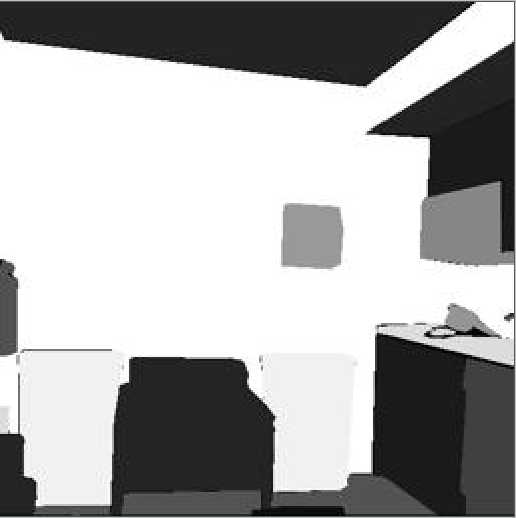
 1 import numpy as np
 2 import  torchvision.transforms as transforms
 3 from PIL import Image
 4
 5 depth_dataset = np.load(‘./V1/labels.npy‘)
 6 # print(dataset.shape)
 7
 8 def __scale_width(img, target_high):
 9     ow, oh = img.size
10     if (ow == target_high):
11         return img
12     h = target_high
13     w = int(target_high * ow / oh)
14     return img.resize((w, h), Image.BICUBIC)
15
16 for i in range(10):  #dataset.shape[2]
17     depth = depth_dataset[:, :, i]#2284
18
19     #归一化
20     depth_min = depth.min()
21     depth_max = depth.max()
22     depth = ((depth-depth_min)/(depth_max-depth_min))*255
23
24     #还原图片
25     images = Image.fromarray(depth)
26
27     if images.mode != ‘RGB‘:
28         images = images.convert(‘RGB‘)
29
30     # images.show()
31     #压缩图片
32     scale = __scale_width(images, 256)
33     # print(scale.size)
34     # scale.show()
35
36     #裁剪图片
37     crop = transforms.RandomCrop((256, 256))
38     crop_img = crop(scale)
39
40     # crop_img.show()
41     #保存图片
42     crop_img.save(‘./V1Labels/%d.jpg‘ %i)

标签:rand png return 保存图片 array sha ges idt 文件查看
原文地址:http://www.cnblogs.com/huangtao36/p/7896348.html