资料
OAuth2 流程:http://www.ruanyifeng.com/blog/2014/05/oauth_2_0.html
博客园晓晨的关于identityServer4的中文文档地址: http://www.cnblogs.com/stulzq/p/8119928.html
Docker中文文档 https://yeasy.gitbooks.io/docker_practice/content/
接下来我们使用客户端模式来实现一个IdentityServer4授权
客户端模式(Client Credentials Grant)
授权服务端
步骤:
添加Nuget包:IdentityServer4

添加Startup配置

添加Config.cs配置类

更改identity server4配置

添加客户端配置
第一步:添加Nuget包:IdentityServer4
首先,新建一个webapi项目 IdentityServerCenter
dotnet new webapi --name IdentityServerCenter
我们可以在vscode中使用ctrl+P键来打开命令面板。然后输入nuget按回车,输入identityserver4后按回车来选择版本进行安装
【注意:重新打开文件夹项目后才能在类中引用IdentityServer4有提示】
第二步:添加Startup配置
引用命名空间:
using IdentityServer4;
添加IdentityServer依赖注入
services.AddIdentityServer()
    .AddDeveloperSigningCredential();//添加开发人员签名凭据
使用IdentityServer
app.UseIdentityServer();//使用IdentityServer
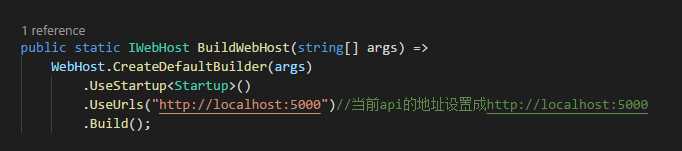
我们可以在Program.cs将当前api的地址设置成http://localhost:5000
第三步:添加Config.cs配置类
我们接下来添加一个Config.cs类,这个类是用来初始化IdentityServer的


using System.Collections;
using System.Collections.Generic;
using IdentityServer4;
using IdentityServer4.Models;

namespace IdentityServerCenter
{
    public class Config
    {
        //所有可以访问的Resource
        public static IEnumerable<ApiResource> GetResources()
        {
            return new List<ApiResource>
            {
                new ApiResource("api","My Api")
            };
        }

        //客户端
        public static IEnumerable<Client> GetClients()
        {
            return new List<Client>
            {
                new Client()
                {
                    ClientId="client",
                    AllowedGrantTypes= GrantTypes.ClientCredentials,//模式:最简单的模式
                    ClientSecrets={//私钥
                        new Secret("secret".Sha256())
                    },
                    AllowedScopes={//可以访问的Resource
                        "api"
                    }
                }
            };
        }

    }
}
第四步:更改identity server4配置
services.AddIdentityServer()
    .AddDeveloperSigningCredential()//添加开发人员签名凭据
    .AddInMemoryApiResources(Config.GetResources());//添加内存apiresource
第五步:添加客户端配置
services.AddIdentityServer()
    .AddDeveloperSigningCredential()//添加开发人员签名凭据
    .AddInMemoryApiResources(Config.GetResources())//添加内存apiresource
    .AddInMemoryClients(Config.GetClients());//添加内存client
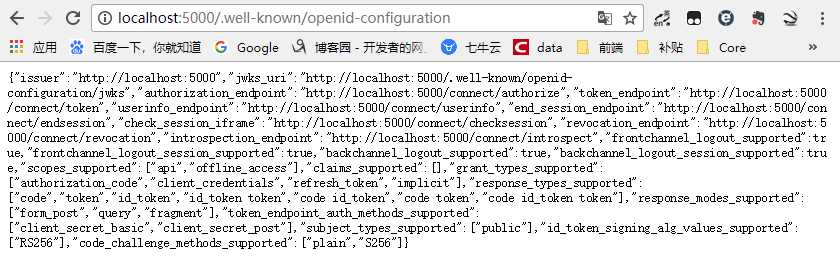
这是后我们执行dotnet run通过http://localhost:5000/.well-known/openid-configuration访问 ;可以看到是一个restful的api;