1、项目环境与技术选型
·JDK:1.8
·IDE环境:Eclipse
·数据库:mysql
·项目管理工具:Maven
·web容器:jetty
·前台:bootstrap
·JEE框架:Spring Web MVC + Spring + Mybatis
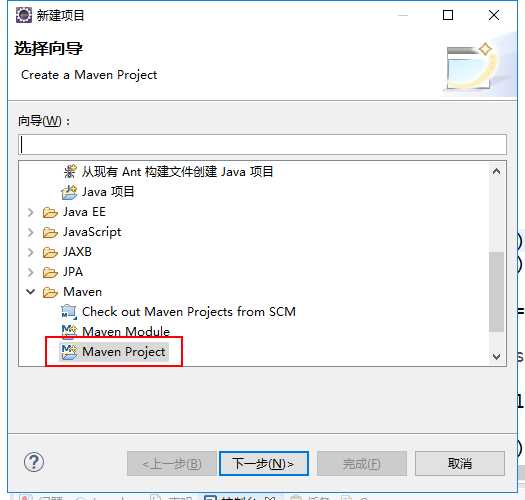
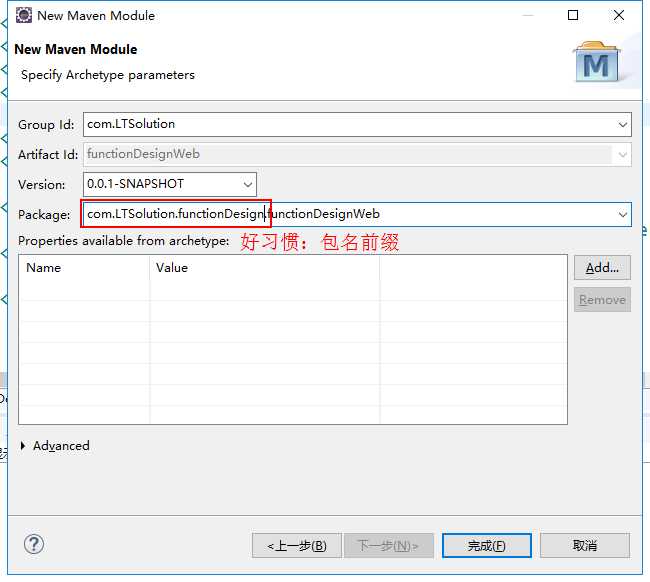
2、Eclipse中创建Maven工程
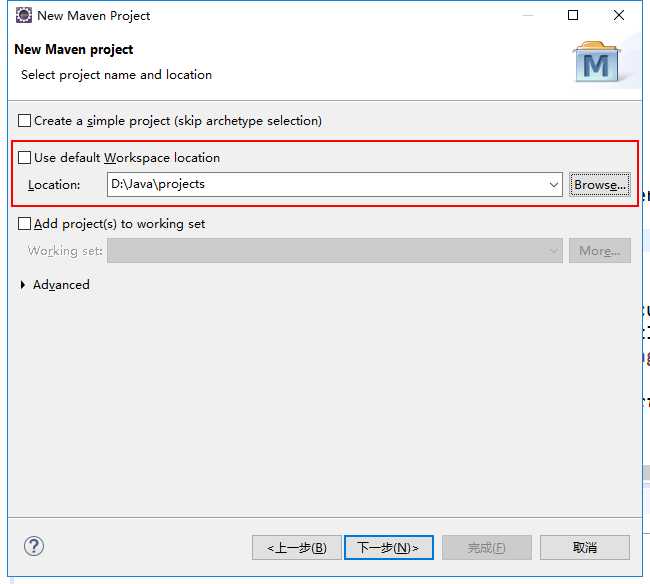
选择项目放置路径
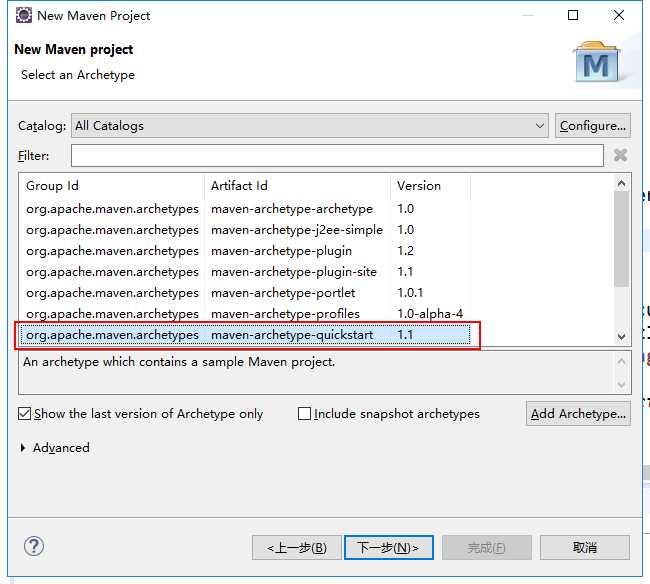
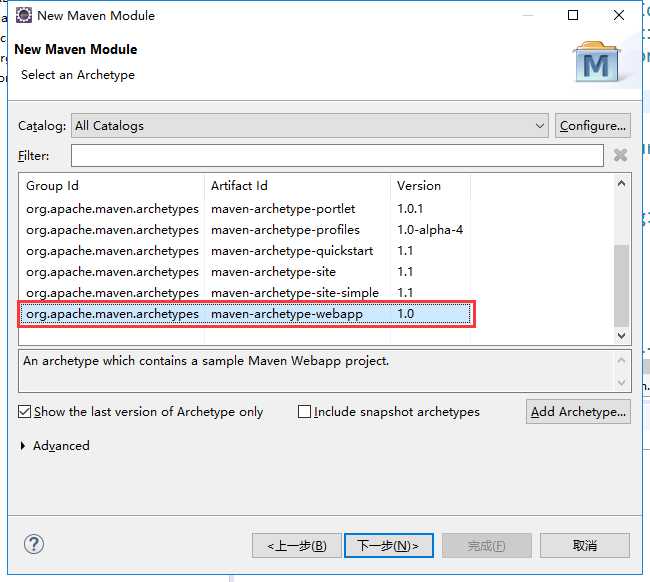
使用quickstart的方式
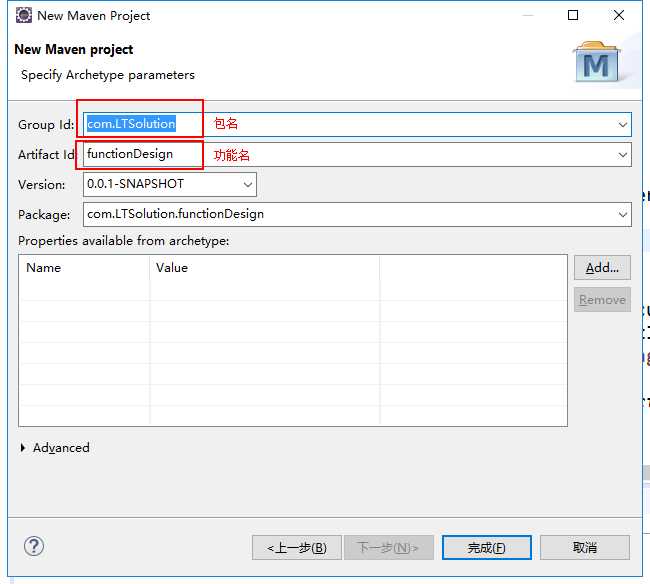
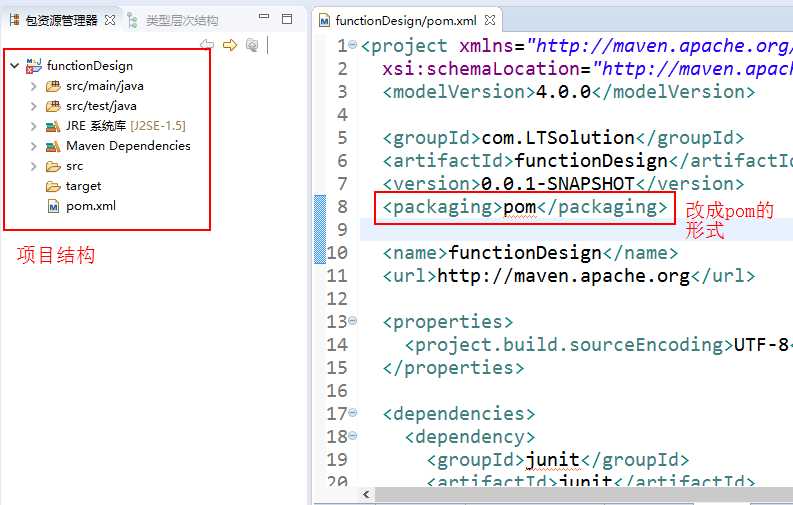
输入包名功能名,完成功能创建
将pom文件的打包方式改成pom,允许增加pom子模块
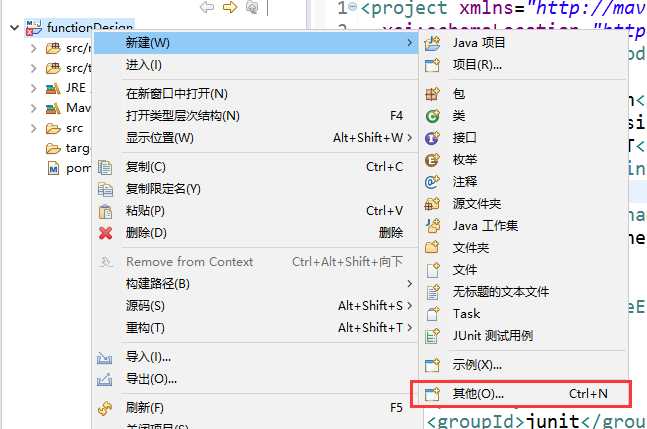
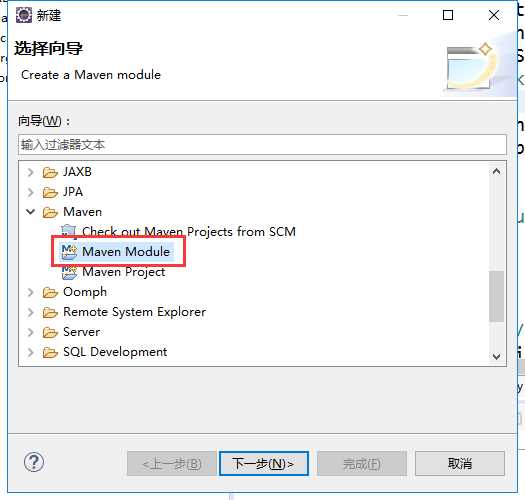
添加web的Maven模块(Maven Module),作为web的总控器

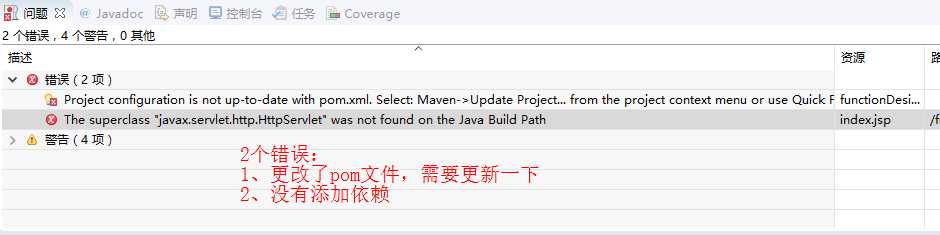
添加项目中需要用到的依赖
把下面代码覆盖主项目的pom文件内dependencies标签即可;第二个错误即可解决


  1     <dependencies>
  2         <!-- web工程的依赖包, jsp-api和servlet-api -->
  3         <dependency>
  4             <groupId>javax.servlet.jsp</groupId>
  5             <artifactId>javax.servlet.jsp-api</artifactId>
  6             <version>2.3.1</version>
  7         </dependency>
  8         <dependency>
  9             <groupId>javax.servlet</groupId>
 10             <artifactId>javax.servlet-api</artifactId>
 11             <version>3.1.0</version>
 12         </dependency>
 13
 14         <!-- cgLib 动态代理,动态生成 -->
 15         <dependency>
 16             <groupId>cglib</groupId>
 17             <artifactId>cglib</artifactId>
 18             <version>3.1</version>
 19         </dependency>
 20         <dependency>
 21             <groupId>asm</groupId>
 22             <artifactId>asm</artifactId>
 23             <version>3.3.1</version>
 24         </dependency>
 25
 26         <!-- spring webmvc相关jar包 -->
 27         <dependency>
 28             <groupId>org.springframework</groupId>
 29             <artifactId>spring-webmvc</artifactId>
 30             <version>4.0.0.RELEASE</version>
 31         </dependency>
 32         <dependency>
 33             <groupId>org.springframework</groupId>
 34             <artifactId>spring-web</artifactId>
 35             <version>4.0.0.RELEASE</version>
 36         </dependency>
 37
 38         <!-- aspectj 一个轻量级的AOP框架 -->
 39         <dependency>
 40             <groupId>org.aspectj</groupId>
 41             <artifactId>aspectjrt</artifactId>
 42             <version>1.7.4</version>
 43         </dependency>
 44
 45         <dependency>
 46             <groupId>org.aspectj</groupId>
 47             <artifactId>aspectjweaver</artifactId>
 48             <version>1.7.4</version>
 49         </dependency>
 50
 51         <!-- dbpool -->
 52         <dependency>
 53             <groupId>com.alibaba</groupId>
 54             <artifactId>druid</artifactId>
 55             <version>1.0.2</version>
 56         </dependency>
 57
 58         <dependency>
 59             <groupId>org.mybatis</groupId>
 60             <artifactId>mybatis-spring</artifactId>
 61             <version>1.2.2</version>
 62         </dependency>
 63
 64         <!-- spring相关的jar包 -->
 65         <dependency>
 66             <groupId>org.springframework</groupId>
 67             <artifactId>spring-context</artifactId>
 68             <version>4.0.0.RELEASE</version>
 69         </dependency>
 70
 71         <dependency>
 72             <groupId>org.springframework</groupId>
 73             <artifactId>spring-context-support</artifactId>
 74             <version>4.0.0.RELEASE</version>
 75         </dependency>
 76
 77         <dependency>
 78             <groupId>org.springframework</groupId>
 79             <artifactId>spring-jdbc</artifactId>
 80             <version>4.0.0.RELEASE</version>
 81         </dependency>
 82
 83         <dependency>
 84             <groupId>org.springframework</groupId>
 85             <artifactId>spring-orm</artifactId>
 86             <version>4.0.0.RELEASE</version>
 87         </dependency>
 88
 89         <dependency>
 90             <groupId>org.springframework</groupId>
 91             <artifactId>spring-tx</artifactId>
 92             <version>4.0.0.RELEASE</version>
 93         </dependency>
 94
 95         <dependency>
 96             <groupId>mysql</groupId>
 97             <artifactId>mysql-connector-java</artifactId>
 98             <version>5.1.28</version>
 99         </dependency>
100
101         <dependency>
102             <groupId>org.mybatis</groupId>
103             <artifactId>mybatis</artifactId>
104             <version>3.2.3</version>
105         </dependency>
106
107         <dependency>
108             <groupId>junit</groupId>
109             <artifactId>junit</artifactId>
110             <version>4.11</version>
111             <scope>test</scope>
112         </dependency>
113
114         <!-- jstl -->
115         <dependency>
116             <groupId>taglibs</groupId>
117             <artifactId>standard</artifactId>
118             <version>1.1.2</version>
119         </dependency>
120         <dependency>
121             <groupId>jstl</groupId>
122             <artifactId>jstl</artifactId>
123             <version>1.2</version>
124         </dependency>
125
126         <!-- json -->
127         <dependency>
128             <groupId>com.fasterxml.jackson.core</groupId>
129             <artifactId>jackson-core</artifactId>
130             <version>2.3.0</version>
131         </dependency>
132
133         <dependency>
134             <groupId>com.fasterxml.jackson.core</groupId>
135             <artifactId>jackson-annotations</artifactId>
136             <version>2.3.0</version>
137         </dependency>
138
139         <dependency>
140             <groupId>com.fasterxml.jackson.core</groupId>
141             <artifactId>jackson-databind</artifactId>
142             <version>2.3.0</version>
143             <exclusions>
144                 <exclusion>
145                     <artifactId>jackson-annotations</artifactId>
146                     <groupId>com.fasterxml.jackson.core</groupId>
147                 </exclusion>
148             </exclusions>
149         </dependency>
150
151     </dependencies>
152
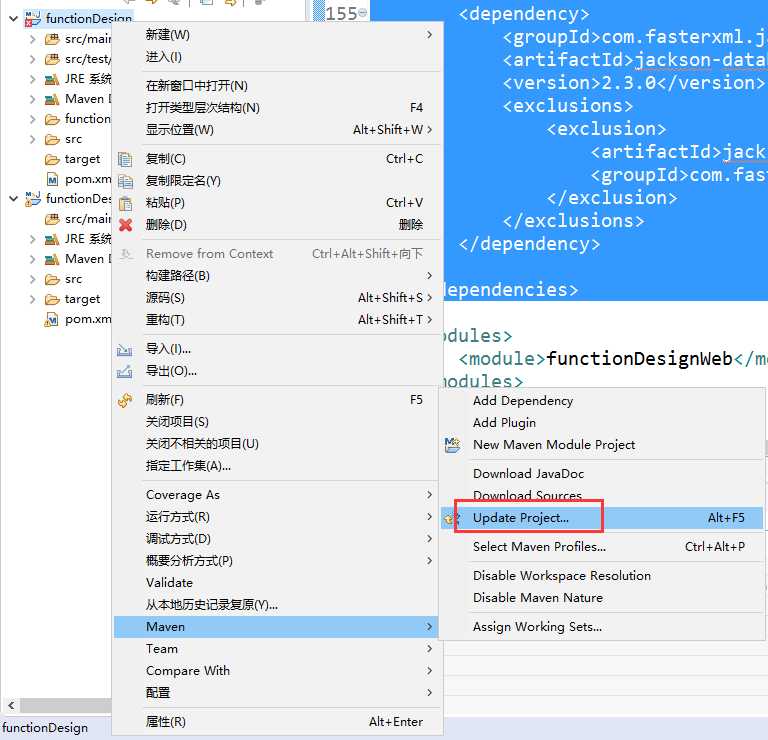
更新Maven工程
第一个错误即可解决
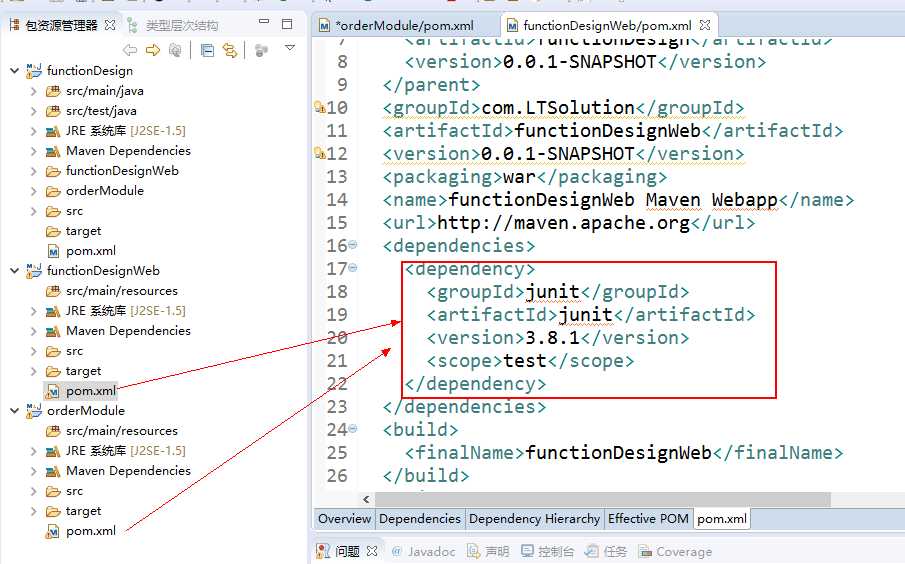
创建逻辑模块,例:订单模块
创建方式和web模块一样,也是创建总项目下一个webapp的模块,命名为orderModule
因为主项目中已经引入好了依赖,所以模块中的依赖可以去掉(删掉红色框内的代码)
将订单模块加入到总控器模块(web模块)中
在web模块的pom文件中替换dependencies和build标签,然后会上面一样的错,只要同样更新下web模块的maven即可
    <dependencies>
        <dependency>
            <groupId>com.LTSolution</groupId>
            <artifactId>orderModule</artifactId>
            <version>0.0.1-SNAPSHOT</version>
            <type>war</type>
        </dependency>
    </dependencies>
    <build>
        <finalName>functionDesignWeb</finalName>
        <plugins>
            <plugin>
                <groupId>org.apache.maven.plugins</groupId>
                <artifactId>maven-war-plugin</artifactId>
                <version>2.4</version>
                <configuration>
                    <overlays>
                        <overlay>
                            <groupId>com.LTSolution</groupId>
                            <artifactId>orderModule</artifactId>
                        </overlay>
                    </overlays>
                </configuration>
            </plugin>
        </plugins>
    </build>
为order模块配置jetty启动容器
把order模块中的build标签,替换成下面代码
    <build>
        <finalName>orderModule</finalName>
        <plugins>
            <plugin>
                <groupId>org.mortbay.jetty</groupId>
                <artifactId>jetty-maven-plugin</artifactId>
                <version>8.1.14.v20131031</version>
                <configuration>
                    <scanIntervalSeconds>10</scanIntervalSeconds>
                    <stopPort>9999</stopPort>
                    <webAppConfig>
                        <contextPath>/order</contextPath>
                    </webAppConfig>
                    <connectors>
                        <connector implementation="org.eclipse.jetty.server.nio.SelectChannelConnector">
                            <port>9080</port>
                            <maxIdleTime>60000</maxIdleTime>
                        </connector>
                    </connectors>
                </configuration>
            </plugin>
        </plugins>
    </build>
按顺序(当时没有按这个顺序,有报错)对order模块,主项目,web模块,分别进行右键——Run as——Maven Install操作,将项目打包到Maven的本地仓库供其它项目使用
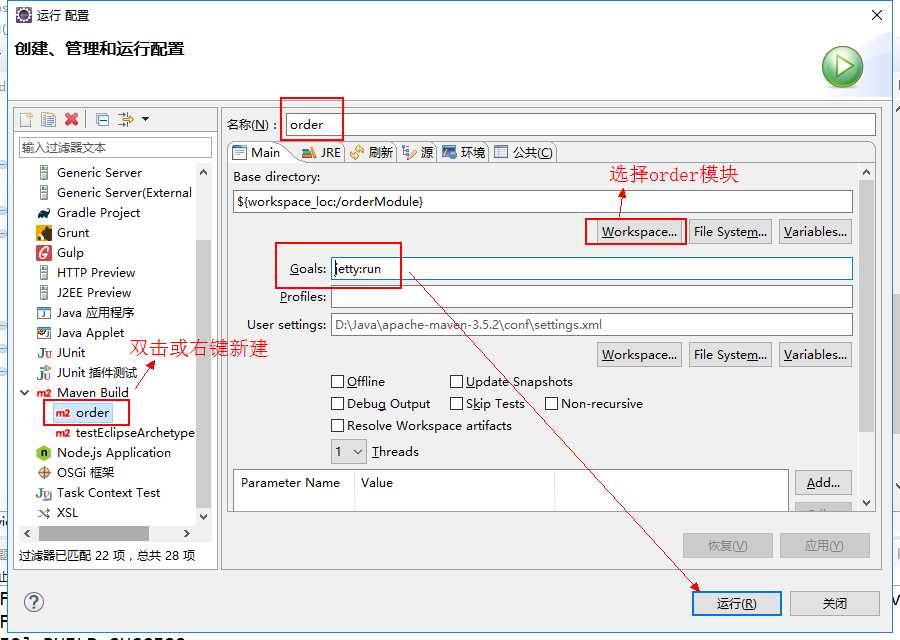
然后在order模块上,右键——Run as——Run Configurations,创建一个jetty的运行配置,然后点运行
通过浏览器访问http://localhost:9080/order/index.jsp,能显示出Hello World页面,代表项目运行成功