nvm、node、npm之间的区别
1. nvm的官方叫法:nodejs版本管理工具。
    nvm相当于是家长,一个家长可以管理多个孩子。
    也就是说:一个nvm可以管理很多node版本和npm版本。
2. nodejs
在项目开发时的所需要的代码库
3. npm
在安装的nodejs的时候,npm也会跟着一起安装,它是包管理工具。
npm管理nodejs中的第三方插件
nvm、nodejs、npm的关系:
nvm是爸爸,管理nodejs和npm这一对双胞胎兄弟。npm是哥哥,npm哥哥可以管理node弟弟的东西。
个人是这么理解的,要是有偏差,请指点。
mac安装nvm
打开https://github.com/creationix/nvm。在下面的简介中找到install这几个字,然后继续往下找,直到找到

curl -o- https://raw.githubusercontent.com/creationix/nvm/v0.33.1/install.sh | bash
(随着时间变哈 ,这个版本可能会出现变化,自行在github上查看)
复制这些字,到Mac的terminal中,就会安装nvm,安装完成后,还暂时不能用,需要复制它提示的两行代码(就是下图拿箭头标出来的两行代码)来配置环境变量:

完成以后 输入
nvm
出现
node version manger
说明nvm安装成功。
mac安装node
如果大家之前做过web服务器的人都知道,nginx+lua与现在流行的node.js都是可以做web服务器的,前者在程序的写法和配置上要比后者麻烦,但用起来都是差不多.在这里建议大家如果对lua脚本语言不了解,可以多了解这门脚本语言,他号称是所有脚本语言执行效率是最高的一门脚本语言.底层是基于C语言的,非常好用,跨平台!
下面我就来给大家配置一下node.js环境.
第一步:打开终端,输入以下命令安装Homebrew
ruby -e “$(curl -fsSL
https://raw.githubusercontent.com/Homebrew/install/master/install);
第二步:安装node,在终端输入以下命令
brew install node
第三步 查看node安装成功与否
node -v
以上三步 node就安装成功了
程序测试
第一步:新建一个文件test.js
var  http=require(‘http‘);//导入Node.Js中的Http的库文件,并获取句柄
//createServer函数,传入回调函数,request,response
var server=http.createServer(function(req,res){
    console.log("Get A Request...");
    res.writeHead(200,{
        "Content-Type":"Text/plain"
    });
    res.write("Hello NodeJs666");
    res.end();
});
server.listen(5000);
第二步:用终端找到其所在的目录运行
node test.js
第三步:通过浏览器进行访问localhost:5000,返回数据
第四步:前端就可以通过调用这个接口进行数据解析了,并且可以在当前页面进行数据展示了.
是不是很简单,如果之前做过web服务接口开发的,这个应该不会陌生,甚至来说非常简单了.
npm相关
npm install
安装本地包
npm install <package_name>:这个命令将在当前目录中创建node_modules目录(如果尚不存在),并将该软件包下载到该目录。该命令默认本地安装。
安装了哪个版本的软件包?
如果本地目录中没有package.json文件,则会安装最新版本的软件包。
如果有package.json文件,则安装满足该package(如果有的话)在package.json中声明的semver规则的最新版本。
安装全局包
npm install -g <package>:全局安装包。
package.json
npm init
npm init:这个命令用于创建一个package.json。
npm init --yes或npm init -y:从当前目录中提取的信息生成默认的package.json。创建过程中不会提问。
如果您的目录中已经有一个package.json文件,并且运行了npm install,那么npm将查看该文件中的dependencies,并下载满足所有这些的最新版本。
package.json文件中的description帮助人们在npm搜索中找到您的包,所以在package.json中进行自定义描述非常有用。
也可以完全自定义package.json文件的内容和在init期间提出的问题。这通过创建自定义.npm-init.js来完成。默认情况下,npm将查找您的主目录。 ?/ .npm-init.js
dependencies与devDependencies
dependencies和devDependencies指定了项目依赖的包。
-
dependencies:这些包在生产中需要。
-
devDependencies:这些包用于开发和测试。
npm install <package_name> --save命令会添加条目到package.json的dependencies中。npm install <package_name> --save-dev命令会添加条目到package.json的devDependencies中。
npm update
更新本地软件包
npm update:用于更新依赖的软件包。需要在package.json文件所在的目录中运行该命令。
更新全局软件包
npm update -g <package>:更新全局软件包。npm update -g:更新所有的全局软件包。npm outdated -g --depth=0:找出需要更新的包。
npm uninstall
卸载本地软件包
npm uninstall <package>:从node_modules目录中移除一个包。
npm uninstall --save <package>:从package.json的dependencies中移除一个包。
npm uninstall --save-dev <package>:从package.json的devDependencies中移除一个包。
实际操作时,发现使用npm uninstall <package>不仅会在node_modules目录下删除该包,还会将该包在package.json中dependencies或devDependencies里面的信息删除。
卸载全局软件包
npm uninstall -g <package>:卸载全局软件包。
总结:本地命令加上-g就是全局命令。
参考自:npm
配置eslint在pycharm中
原文:How to install NPM package in a home directory (PyCharm)
I don’t like to install things as a root user. If it’s possible to install something in my home directory, why not use it?
I use PyCharm for programming and for example to validate JavaScript code it needs http://eslint.org package. Let’s install ESLint in home directory and make it globally accessible.
First, we need to tell NPM that it should install everything in ~/.npm directory.
npm config set prefix ‘~/.npm‘Now every time when you install NPM package using -g option it will install it in ~/.npm directory. You don’t need the root access to do it. All executables will be in ~/.npm/bin directory. For example if I install ESLint using npm install -g eslintcommand then it will be possible to run eslint command from terminal using full path:
~/.npm/bin/eslintIt’s inconvenient, right? It’s better to be able to use just eslint command. To achieve that we need to modify ~/.bash_profilefile. Find in this file line which starts with PATH= and add ~/.npm/bin at the end of the line. In my ~/.bash_profile file it looks like this:
PATH=$PATH:$HOME/.local/bin:$HOME/bin:~/.npm/binIf the line with PATH doesn’t exist then you can add it:
PATH=$PATH:~/.npm/binNow you need to apply changes.
source ~/.bash_profileAnd it’s done. You should be able to run eslint without specifying the full path to the file.
Quick tip about PyCharm. PyCharm needs a full path to the ESLint directory, not to ESLint executable file. In settings you need to use~/.npm/lib/node_modules/eslint path.
 PyCharm - ESLint configuration
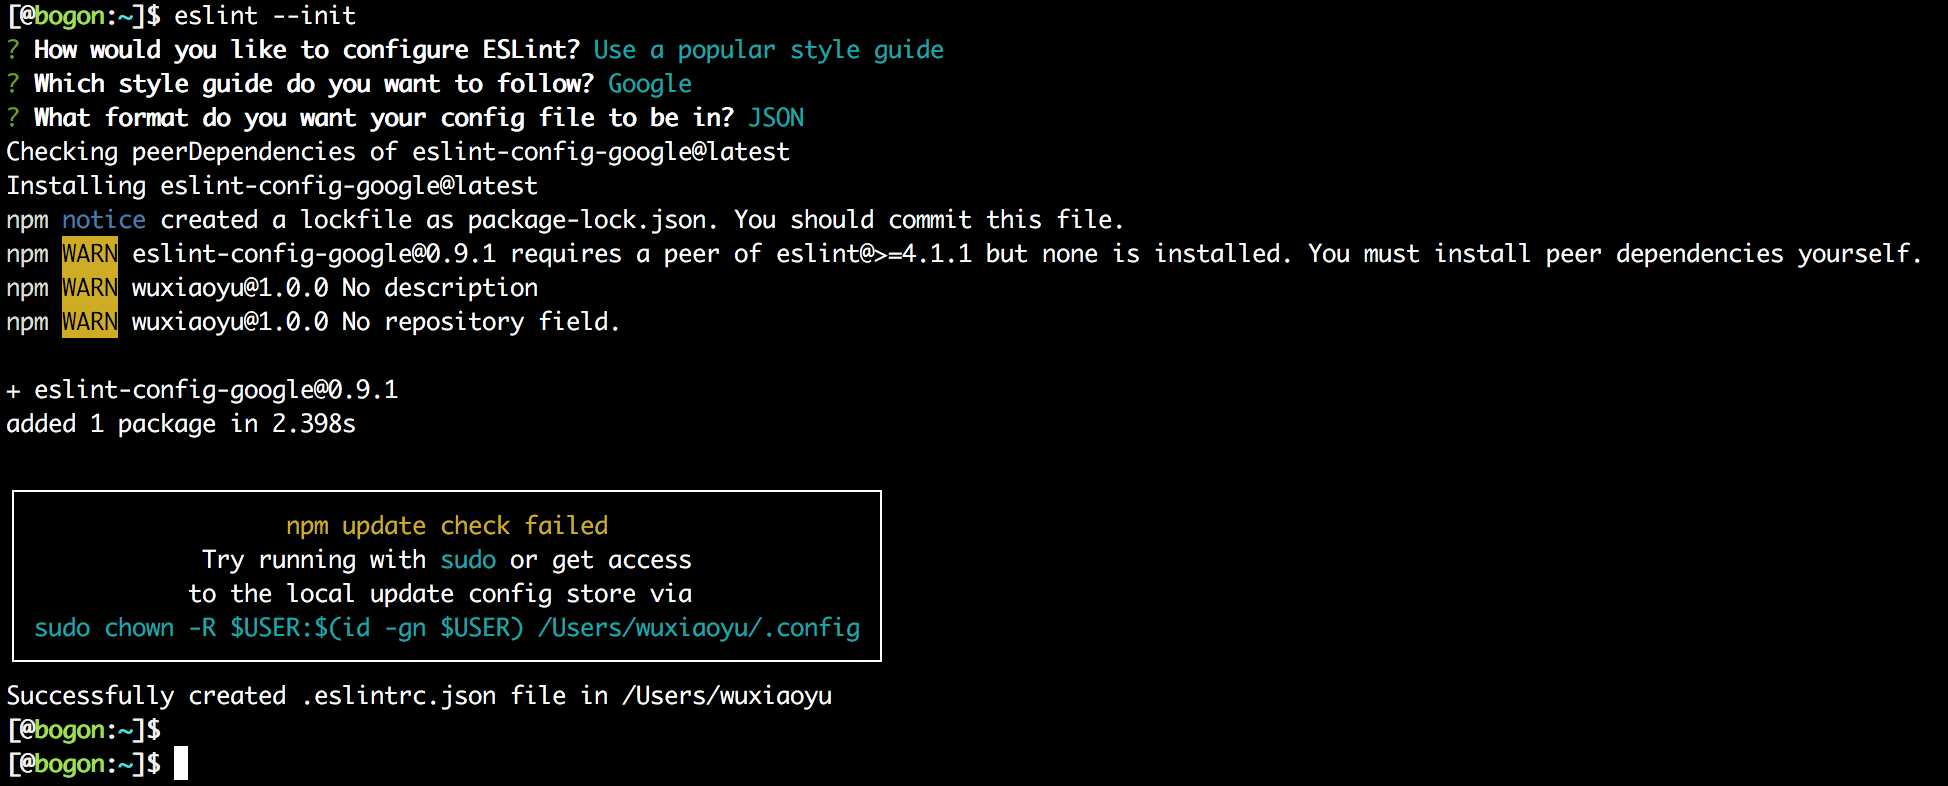
The error you are facing is because your configuration is not present. To configure the eslint type
eslint --init
then configure as your requirement.
then execute the project again.