标签:cloc com call mod tin site mount auto esc
Django的部署可以有很多方式,采用nginx+uwsgi的方式是其中比较常见的一种方式。
在这种方式中,我们的通常做法是,将nginx作为服务器最前端,它将接收WEB的所有请求,统一管理请求。nginx把所有静态请求自己来处理(这是NGINX的强项)。然后,NGINX将所有非静态请求通过uwsgi传递给Django,由Django来进行处理,从而完成一次WEB请求。
可见,uwsgi的作用就类似一个桥接器。起到桥梁的作用。
Linux的强项是用来做服务器,所以,下面的整个部署过程我们选择在Ubuntu下完成。
Nginx是一款轻量级的Web 服务器/反向代理服务器及电子邮件(IMAP/POP3)代理服务器,并在一个BSD-like 协议下发行。其特点是占有内存少,并发能力强,事实上nginx的并发能力确实在同类型的网页服务器中表现较好。
Nginx同样为当前非常流行的web服务器。利用其部署Django,我们在此也做简单的介绍。
wuzlxadmin@WUZLX004:/$ sudo apt-get install nginx # 安装nginx
启动nginx:
wuzlxadmin@WUZLX004:~$ /etc/init.d/nginx start

wuzlxadmin@WUZLX004:~$ /etc/init.d/nginx stop

wuzlxadmin@WUZLX004:~$ /etc/init.d/nginx restart
配置nginx
nginx默认会读取/etc/nginx/sites-enabled/default文件中的配置:
server {
        listen 8080 default_server;
        listen [::]:8080 default_server;
        ...........
输入你的ubuntu ip即可访问, 正常是127.0.0.1:80
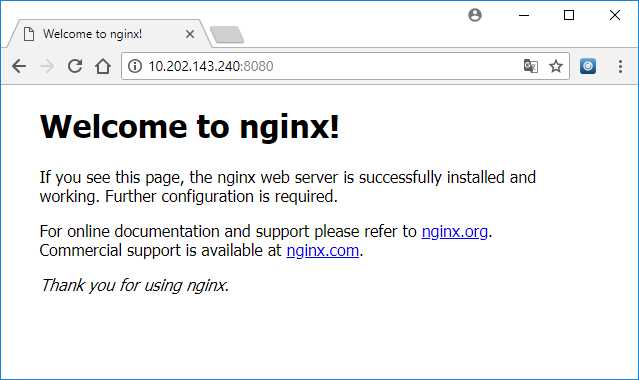
如果出现上图,则说明Nginx已经安装配置成功。
wuzlxadmin@WUZLX004:~$ pip3 install uwsgi
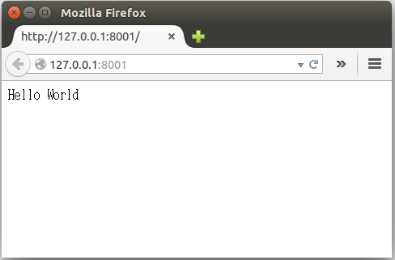
测试uwsgi,创建test.py文件:
def application(env, start_response):
    start_response(‘200 OK‘, [(‘Content-Type‘,‘text/html‘)])
    return [b"Hello World"]
通过uwsgi运行该文件
wuzlxadmin@WUZLX004:~$ uwsgi --http:8001 --wsgi-file test.py
接下来配置Django与uswgi连接。我的Django项目位置为:

uwsgi支持通过配置文件的方式启动,可以接受更多的参数,高度可定制。我们在Django项目的同名目录下新建ini文件default_app_uwsgi.ini
# Django-related settings

socket = :8001

# the base directory (full path)
chdir           = /usr/app/DataAnalysis

# Django s wsgi file
module          = /DataAnalysis.wsgi

# process-related settings
# master
master          = true

# maximum number of worker processes
processes       = 4

# ... with appropriate permissions - may be needed
# chmod-socket    = 664
# clear environment on exit
vacuum          = true
其中chdir是django项目的根目录、module是相对路径指向项目同名目录下的wsgi.py文件
接下来,切换到Django项目目录下,通过uwsgi命令读取default_app_uwsgi.ini文件启动项目。
wuzlxadmin@WUZLX004:/usr/app/DataAnalysis/DataAnalysis$ uwsgi --ini default_app_uwsgi.ini
[uWSGI] getting INI configuration from default_app_uwsgi.ini
*** Starting uWSGI 2.0.17 (64bit) on [Tue Jun  5 13:42:55 2018] ***
compiled with version: 5.4.0 20160609 on 24 May 2018 07:57:22
os: Linux-4.10.0-28-generic #32~16.04.2-Ubuntu SMP Thu Jul 20 10:19:48 UTC 2017
nodename: WUZLX004
machine: x86_64
clock source: unix
detected number of CPU cores: 8
current working directory: /usr/app/DataAnalysis/DataAnalysis
detected binary path: /home/wuzlxadmin/.local/bin/uwsgi
!!! no internal routing support, rebuild with pcre support !!!
chdir() to /usr/app/DataAnalysis
your processes number limit is 15706
your memory page size is 4096 bytes
detected max file descriptor number: 1024
lock engine: pthread robust mutexes
thunder lock: disabled (you can enable it with --thunder-lock)
uwsgi socket 0 bound to TCP address :8001 fd 3
Python version: 3.5.2 (default, Nov 23 2017, 16:37:01)  [GCC 5.4.0 20160609]
*** Python threads support is disabled. You can enable it with --enable-threads ***
Python main interpreter initialized at 0x1d6b0d0
your server socket listen backlog is limited to 100 connections
your mercy for graceful operations on workers is 60 seconds
mapped 364520 bytes (355 KB) for 4 cores
*** Operational MODE: preforking ***
ImportError: No module named ‘/DataAnalysis‘
unable to load app 0 (mountpoint=‘‘) (callable not found or import error)
*** no app loaded. going in full dynamic mode ***
*** uWSGI is running in multiple interpreter mode ***
spawned uWSGI master process (pid: 29756)
spawned uWSGI worker 1 (pid: 29757, cores: 1)
spawned uWSGI worker 2 (pid: 29758, cores: 1)
spawned uWSGI worker 3 (pid: 29759, cores: 1)
spawned uWSGI worker 4 (pid: 29760, cores: 1)
再接下来要做的就是修改nginx.conf配置文件。打开/etc/nginx/nginx.conf文件,添加如下内容。
server {
    listen         8081;
    server_name    10.202.143.240
    charset UTF-8;
    access_log      /var/log/nginx/DataAnalysis_access.log;
    error_log       /var/log/nginx/DataAnalysis_error.log;

    client_max_body_size 75M;

    location / {
        include uwsgi_params;
        uwsgi_pass 10.202.143.240:8001;
        uwsgi_read_timeout 2;
    }
    location /static {
        expires 30d;
        autoindex on;
        add_header Cache-Control private;
        alias /usr/app/DataAnalysis/static/;
     }
 }
listen 指定的是nginx代理uwsgi对外的端口号。
uwsgi_pass 10.202.143.240:8001;指的本机IP的端口号与ini文件配置中的必须一致。
重启nginx。
PS:
操作/etc/nginx/nginx.conf文件的时候,将下面这一句的注释去掉。
server_names_hash_bucket_size 64;
另外注意一下 新加的server的位置问题:
http{
    server{}
}
测试nginx的configuration是否ok
nginx -t -c /etc/nginx/nginx.conf

标签:cloc com call mod tin site mount auto esc
原文地址:https://www.cnblogs.com/wuzdandz/p/9139245.html