标签:技术 loser 方法 Servle 重点 getbean 成本 项目 nbsp
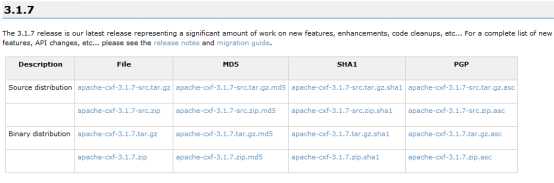
官网:cxf.apache.org
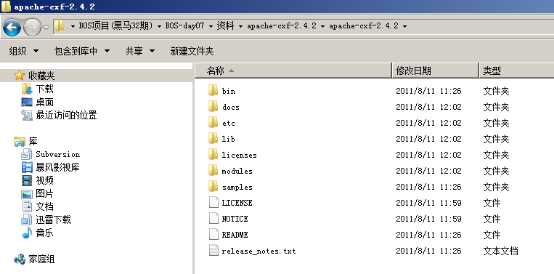
下载CXF的开发包:

Apache CXF = Celtix + Xfire
支持多种协议:
第一步:创建动态web项目
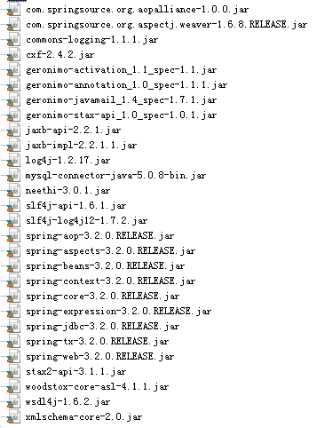
第二步:导入CXF相关jar包
第三步:在web.xml中配置CXF框架提供的一个Servlet
<servlet>
      <servlet-name>cxf</servlet-name>
      <servlet-class>org.apache.cxf.transport.servlet.CXFServlet</servlet-class>
      <init-param>
          <param-name>config-location</param-name>
          <param-value>classpath:cxf.xml</param-value>
      </init-param>
  </servlet>
  <servlet-mapping>
      <servlet-name>cxf</servlet-name>
      <url-pattern>/service/*</url-pattern>
  </servlet-mapping>
第四步:在类路径下提供cxf.xml
<?xml version="1.0" encoding="UTF-8"?>
<beans xmlns="http://www.springframework.org/schema/beans"
xmlns:xsi="http://www.w3.org/2001/XMLSchema-instance"
xmlns:jaxws="http://cxf.apache.org/jaxws"
xmlns:soap="http://cxf.apache.org/bindings/soap"
xsi:schemaLocation="http://www.springframework.org/schema/beans
                    http://www.springframework.org/schema/beans/spring-beans.xsd
                    http://cxf.apache.org/bindings/soap
                    http://cxf.apache.org/schemas/configuration/soap.xsd
                    http://cxf.apache.org/jaxws
                    http://cxf.apache.org/schemas/jaxws.xsd">
    <!-- 引入CXF Bean定义如下,早期的版本中使用 -->
    <import resource="classpath:META-INF/cxf/cxf.xml" />
    <import resource="classpath:META-INF/cxf/cxf-extension-soap.xml" />
    <import resource="classpath:META-INF/cxf/cxf-servlet.xml" />

</beans>
第五步:开发一个接口和实现类
@Service
public interface HelloService {
    public String sayHello(String name);
}
public class HelloServiceImpl implements HelloService {

    @Override
    public String sayHello(String name) {
        System.out.println("基于CXF开发的服务端sayHello方法被调用");
        return "hello" + name;
    }

}
第六步:在cxf.xml中注册服务
<bean id="helloService" class="com.javaweb.service.HelloServiceImpl" />

    <!-- 注册服务 -->
    <jaxws:server id="myService" address="/cxfService">
        <jaxws:serviceBean>
            <ref bean="helloService" />
        </jaxws:serviceBean>
    </jaxws:server>
访问wsdl文档地址为:http://ip:port/项目名/service/cxfService
使用CXF提供的方式(重点)
第一步:创建Java项目并导入CXF相关jar包
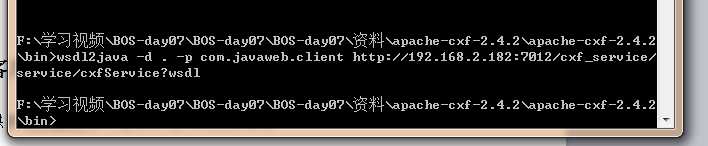
第二步:使用wsimport或者CXF提供wsdl2java生成本地代码,只需要生成接口文件
第三步:将接口文件复制到项目中
第四步:提供spring配置文件,注册客户端代理对象
    <!-- 注册CXF客户端的代理对象,通过spring框架创建这个代理对象,使用代理对象实现远程调用 -->
    <jaxws:client id="myClient" address="http://ip:port/项目名/service/cxfService?wsdl"
                                serviceClass="com.javaweb.client.HelloService">

    </jaxws:client>
第五步:读取spring配置文件,创建spring工厂,从工厂中获取代理对象,实现远程调用
public class App {
    public static void main(String[] args) {
        ApplicationContext ctx = new ClassPathXmlApplicationContext("cxf.xml");
        HelloService proxy = (HelloService) ctx.getBean("myClient");
        String ret = proxy.sayHello("test");
        System.out.println(ret);
    }
}
标签:技术 loser 方法 Servle 重点 getbean 成本 项目 nbsp
原文地址:https://www.cnblogs.com/FanJava/p/9282907.html