标签:tar 虚拟机 gitlab使用 star jenkin rebar stop pass 启动
gitlab的安装与部署
部署环境 centos7.5
一. 安装依赖
[root@localhost ~]# systemctl stop/disable/mask firewalld #中间三个参数都执行一遍
[root@localhost ~]# yum install curl openssh-server openssh-clients postfix cronie
[root@localhost ~]# yum -y install policycoreutils-python iptables iptables-services
[root@localhost ~]# systemctl start postfix #GitLab使用postfix发送邮件
Starting postfix: [ OK ]
[root@localhost ~]# systemclt enable postfix #设置postfix开机自启动
[root@localhost ~]# lokkit -s http -s ssh #配置iptables开放http和ssh端口,这里需要注意,腾讯云安全组选择那里要选择开放所有端口这一步可能会显示failed ip6tables start,这个不需要管,直接运行下面查看是否打开端口就可以了
[root@localhost ~]# iptables -L #输入命令查看是否打开http和ssh端口
Chain INPUT (policy ACCEPT)
target prot opt source destination
ACCEPT all -- anywhere anywhere state RELATED,ESTABLISHED
ACCEPT icmp -- anywhere anywhere
ACCEPT all -- anywhere anywhere
ACCEPT tcp -- anywhere anywhere state NEWtcp dpt:ssh
ACCEPT tcp -- anywhere anywhere state NEWtcp dpt:http #如显示上面的界面则表示已经打开端口
二.安装gitlab
rpm包下载地址 https://mirrors.tuna.tsinghua.edu.cn/gitlab-ce/yum/el7/
[root@bogon ~]# rpm -ivh gitlab-ce-10.0.0-ce.0.el7.x86_64.rpm
[root@localhost ~]# vim /etc/gitlab/gitlab.rb
external_url ‘http://192.168.157.36‘ #将外部URL这行修改为gitlab服务器的IP地址
[root@bogon ~]# cat -n /etc/gitlab/gitlab.rb |grep -w "13"
13 external_url ‘http://192.168.157.36‘
[root@localhost ~]# gitlab-ctl reconfigure #配置gitlab,时间稍微有点长,大概1分钟,这步也是启动gitla
三.登陆gitlab
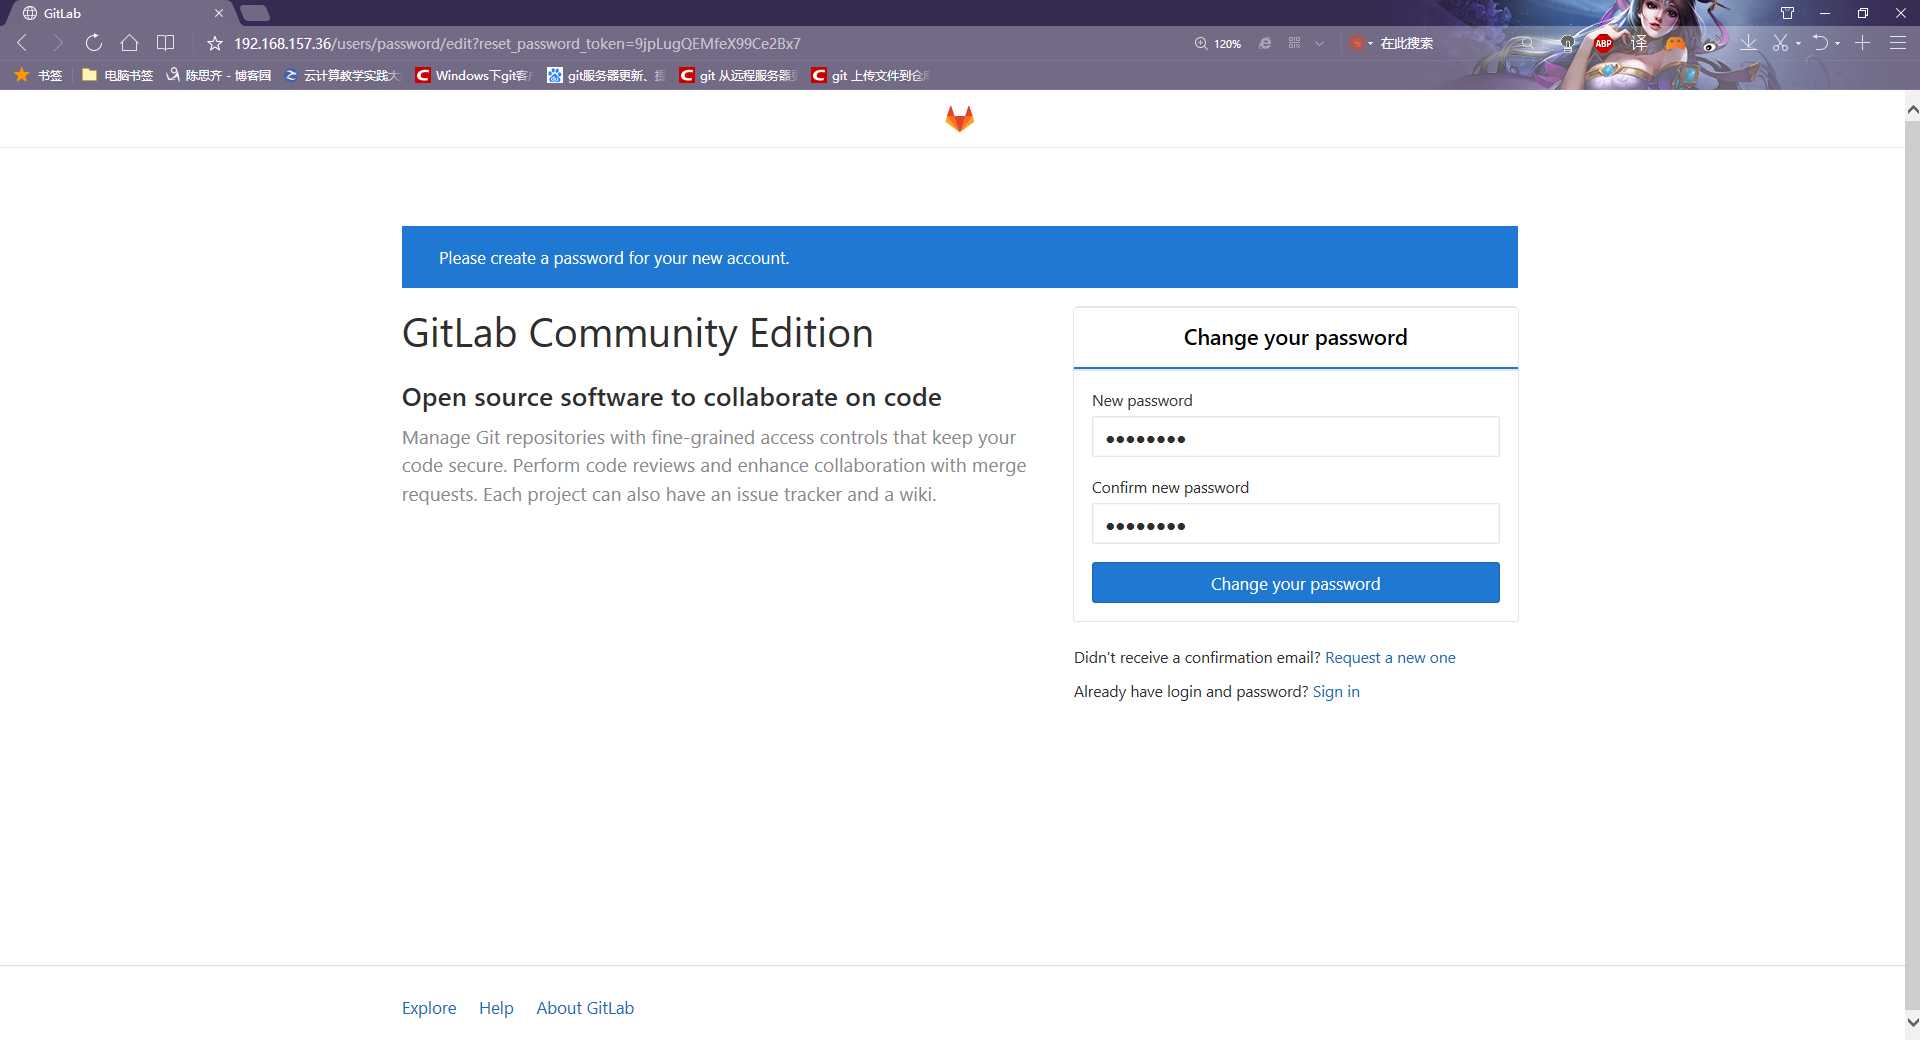
跳转到注册和登陆页面我们先注册一下 , 我注册的name : rebareba password: zixi.519
四.gitlab的简单使用
1.创建一个gitlab项目
创建组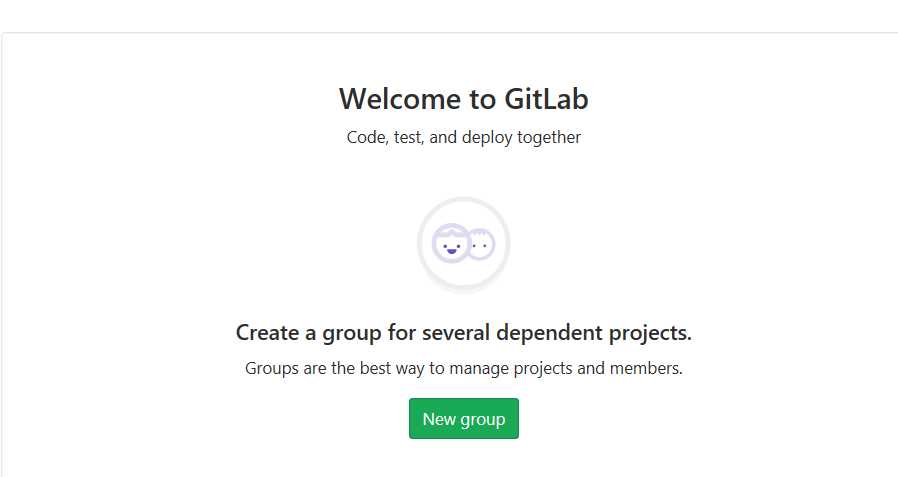
五.在windows上安装git客户端
下载地址 https://git-scm.com/downloads
标签:tar 虚拟机 gitlab使用 star jenkin rebar stop pass 启动
原文地址:https://www.cnblogs.com/panqingpeng/p/9380795.html