标签:register 80端口 reload 运行 技术分享 ansible apt 端口 简单介绍
简单搭建Gitlab CI持续集成环境在没使用过Gitlab之前,我也有一个困惑,到底Gitlab Runner是什么东西、它的作用是什么?</br>GitLab Runner就是来执行这些构建任务的
yum install -y gityum install -y curl openssh-server openssh-clients postfix cronie policycoreutils-pythonsudo systemctl enable sshd
sudo systemctl start sshd
sudo yum install postfix
sudo systemctl enable postfix
sudo systemctl start postfix
sudo firewall-cmd --permanent --add-service=http
sudo systemctl reload firewalldcurl -sS https://packages.gitlab.com/install/repositories/gitlab/gitlab-ce/script.rpm.sh | sudo bash
yum install gitlab-cevim /etc/gitlab/gitlab.rb
## GitLab URL
##! URL on which GitLab will be reachable.
##! For more details on configuring external_url see:
##! https://docs.gitlab.com/omnibus/settings/configuration.html#configuring-the-external-url-for-gitlab
external_url ‘http://gitlab.test.com‘
## Roles for multi-instance GitLabgitlab-ctl reconfigure
gitlab-ctl restart
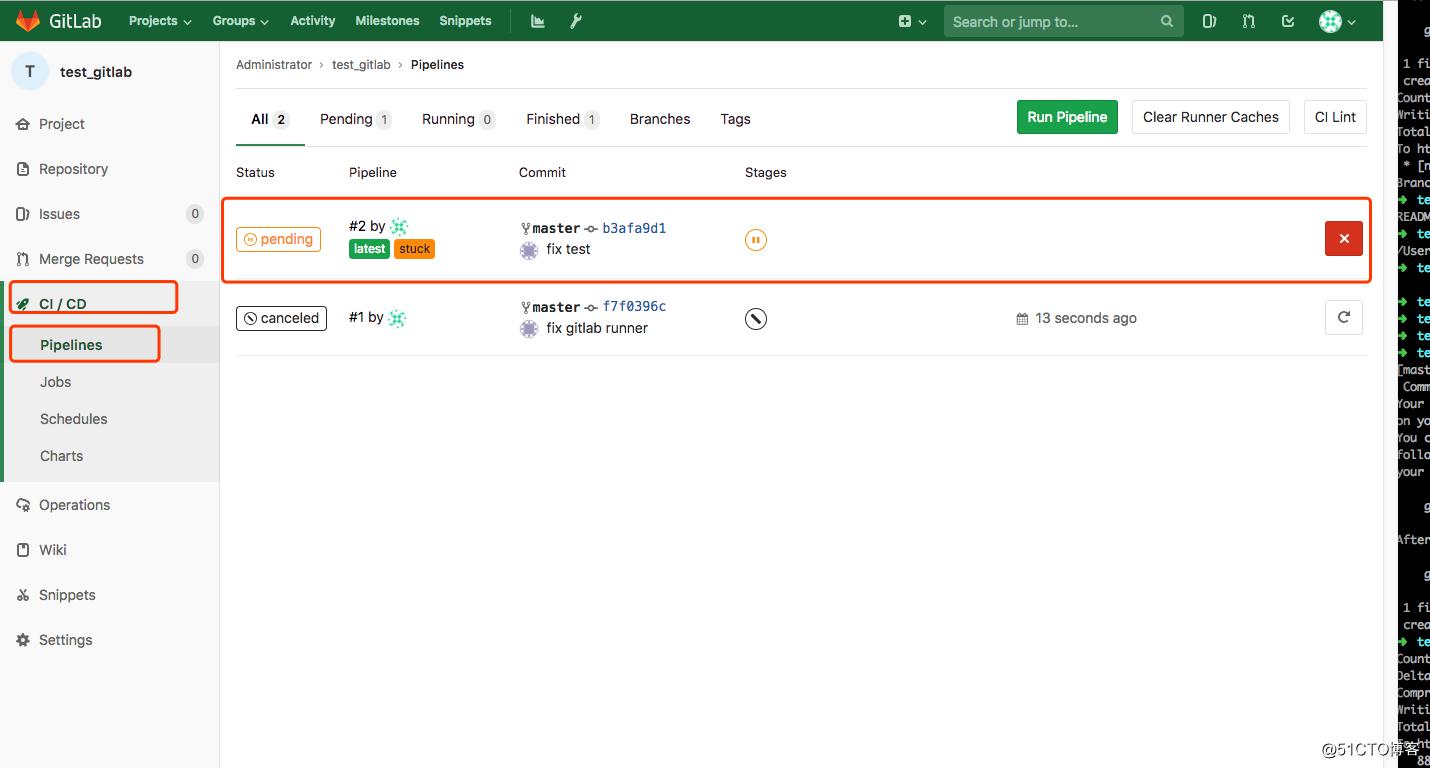
点开Runners可以看到一个设置的manually![]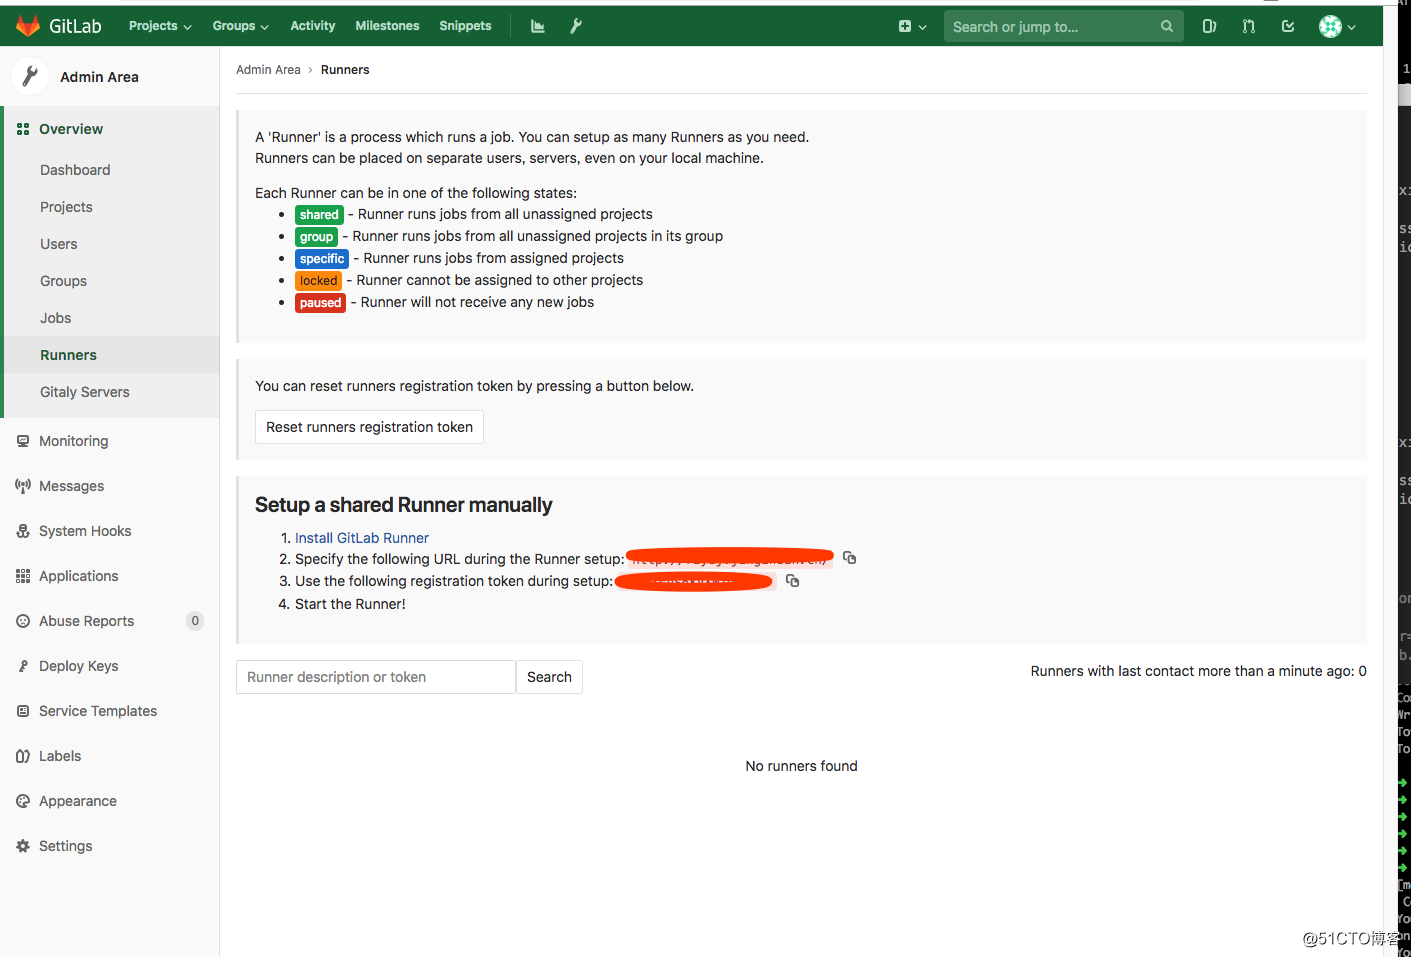
点击install GitLab Runner安装Gitlab Runner
# For Debian/Ubuntu
$ curl -L https://packages.gitlab.com/install/repositories/runner/gitlab-ci-multi-runner/script.deb.sh | sudo bash
$ sudo apt-get install gitlab-ci-multi-runner
# For CentOS
$ curl -L https://packages.gitlab.com/install/repositories/runner/gitlab-ci-multi-runner/script.rpm.sh | sudo bash
$ sudo yum install gitlab-ci-multi-runner指定的Runner可以理解为只能对某个份代码有效的一个Runner,共享Runner可以理解为所有的代码都可以应用得到同一个Runner,但是注册共享Runner只有admin权限又才可。

sudo gitlab-ci-multi-runner register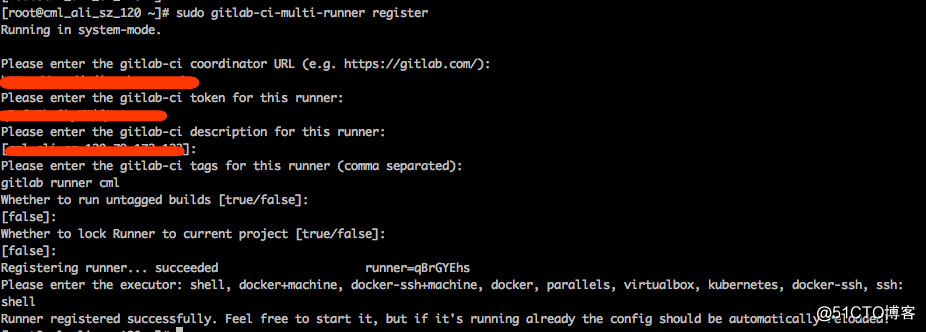
可以查看在Gitlab 共享Runner上多了一条Runner记录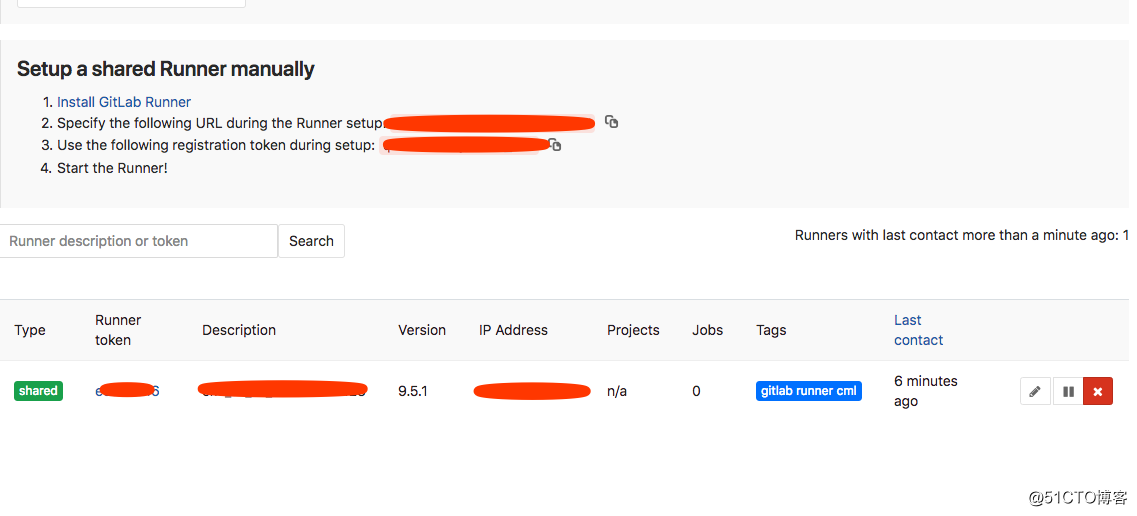
也可以使用list查看Runner的状态:
gitlab-runner  list
Listing configured runners                          ConfigFile=/etc/gitlab-runner/config.toml
cml_test*.*.172.123 Executor=shell Token=ece68d167647507d1aa61d80ca0f05 URL=http://gitlab.test.com/cat .gitlab-ci.yml
# 定义 stages
stages:
- test
# 测试
test:
stage: test
script:
# Deploy test
- ansible cml_test*.*.172.123 -a "cd /home/www/test;git pull"(这里我使用了ansible去管理,更新代码操作)
最后推送到远程代码仓库上去。
git add .
git commit -m "fix .gitlab-ci.yml"
git push
标签:register 80端口 reload 运行 技术分享 ansible apt 端口 简单介绍
原文地址:http://blog.51cto.com/legehappy/2175334