标签:pre 分享 target highlight 小程序 images ofo 开发 strong
选择 Windows Installer 下载对应的系统版本就行,然后一路next,这种方式安装好以后会把环境变量也配置好了,直接在命令行下输入
node --version //出现对应的版本号信息就表示安装成功了<1> 安装:npm install -g json-server
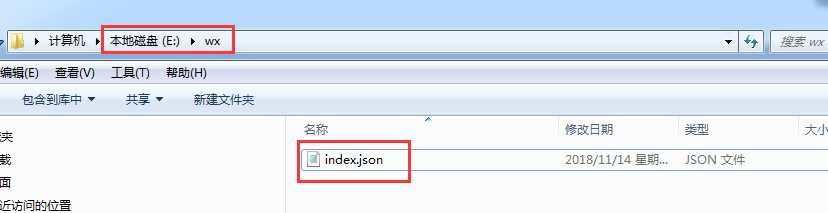
<2>然后选一个文件目录新建一个json文件,例如index.json
index.json 内容
{
  "data": [
    {
      "img": "/images/pro_01.jpg",
      "title": "test",
      "desc": "这是个测试1"
    },
    {
      "img": "/images/pro_02.jpg",
      "title": "test",
      "desc": "这是个测试2"
    },
    {
      "img": "/images/pro_03.jpg",
      "title": "test",
      "desc": "这是个测试3"
    },
    {
      "img": "/images/pro_01.jpg",
      "title": "test",
      "desc": "这是个测试4"
    }
  ]
}
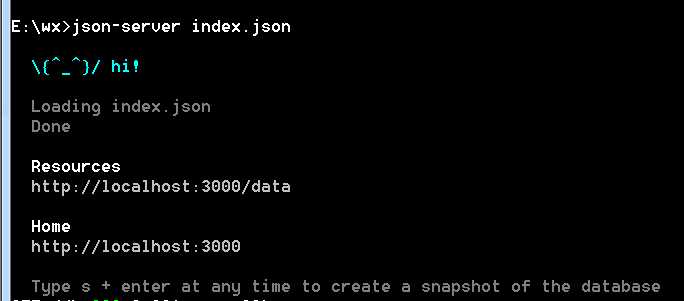
<3> 启动json-server服务:在新建的json文件夹内,运行命令:json-server + 文件名 (先cd 到对应的文件夹内)
标签:pre 分享 target highlight 小程序 images ofo 开发 strong
原文地址:https://www.cnblogs.com/chr506029589/p/9959156.html