标签:ide 主页 代码 prope match bit pen 最新 save
参考:https://blog.csdn.net/qq_36576738/article/details/83754621
我这android这边就不实现发布消息功能。因为我是在服务端那边推送消息。
开发工具android studio。
1》建好项目后添加包(目前最新的是5.7.0):
dependencies {
    implementation ‘com.rabbitmq:amqp-client:5.7.0‘
}
2》在主页面上加个TextView,用来显示服务端推送的消息。
<?xml version="1.0" encoding="utf-8"?>
<android.support.constraint.ConstraintLayout xmlns:android="http://schemas.android.com/apk/res/android"
    xmlns:app="http://schemas.android.com/apk/res-auto"
    xmlns:tools="http://schemas.android.com/tools"
    android:layout_width="match_parent"
    android:layout_height="match_parent"
    tools:context=".MainActivity">

    <TextView
        android:layout_width="wrap_content"
        android:layout_height="wrap_content"
        android:id="@+id/txtrabbitmqt"
        android:text="rabbitmq"
        app:layout_constraintBottom_toBottomOf="parent"
        app:layout_constraintLeft_toLeftOf="parent"
        app:layout_constraintRight_toRightOf="parent"
        app:layout_constraintTop_toTopOf="parent" />

</android.support.constraint.ConstraintLayout>
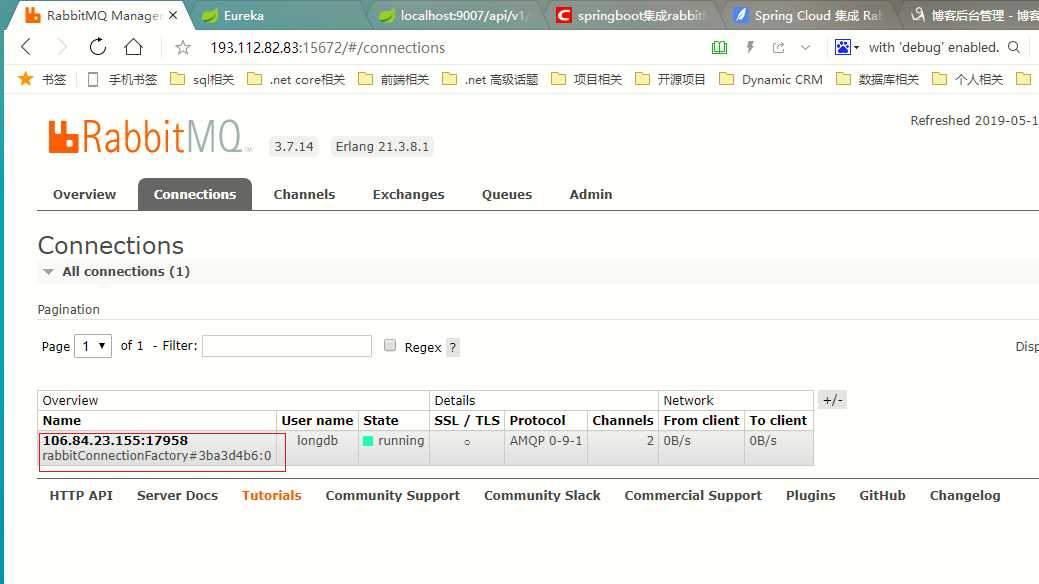
3》连接服务器上的RabbitMq:
   /**
     * 连接设置
     */
    private void setupConnectionFactory() {
        factory =  new ConnectionFactory();
        factory.setHost("服务器ip");
        factory.setPort(rabbitmq端口,默认5672);
        factory.setUsername("自己连接rabbitmq账号");
        factory.setPassword("自己连接rabbitmq的密码");
    }
4》编写订阅代码:
    /**
     * 收消息(从发布者那边订阅消息)
     */
    private void basicConsume(final Handler handler){

        try {
            //连接
            Connection connection = factory.newConnection() ;
            //通道
            final Channel channel = connection.createChannel() ;
            //实现Consumer的最简单方法是将便捷类DefaultConsumer子类化。可以在basicConsume 调用上传递此子类的对象以设置订阅:
            channel.basicConsume("myqueue" , false ,  new DefaultConsumer(channel){
                @Override
                public void handleDelivery(String consumerTag, Envelope envelope, AMQP.BasicProperties properties, byte[] body) throws IOException {
                    super.handleDelivery(consumerTag, envelope, properties, body);

                    String msg = new String(body) ;
                    long deliveryTag = envelope.getDeliveryTag() ;
                    channel.basicAck(deliveryTag , false);
                    //从message池中获取msg对象更高效
                    Message uimsg = handler.obtainMessage();
                    Bundle bundle = new Bundle();
                    bundle.putString("msg", msg);
                    uimsg.setData(bundle);
                    handler.sendMessage(uimsg);

                }
            });
        } catch (IOException e) {
            e.printStackTrace();
        } catch (TimeoutException e) {
            e.printStackTrace();
        }
    }
整个demo代码:

package com.ldb.longdb.rabbitmqapp;

import android.os.Bundle;
import android.os.Handler;
import android.os.Message;
import android.support.v7.app.AppCompatActivity;
import android.util.Log;
import android.widget.TextView;

import com.rabbitmq.client.AMQP;
import com.rabbitmq.client.Channel;
import com.rabbitmq.client.Connection;
import com.rabbitmq.client.ConnectionFactory;
import com.rabbitmq.client.DefaultConsumer;
import com.rabbitmq.client.Envelope;

import java.io.IOException;
import java.util.concurrent.TimeoutException;

public class MainActivity extends AppCompatActivity {

    ConnectionFactory factory;
    @Override
    protected void onCreate(Bundle savedInstanceState) {
        super.onCreate(savedInstanceState);
        setContentView(R.layout.activity_main);

        //连接设置
        setupConnectionFactory();
        //用于从线程中获取数据,更新ui
        final Handler incomingMessageHandler = new Handler() {
            @Override
            public void handleMessage(Message msg) {
                String message = msg.getData().getString("msg");
                TextView tv = (TextView) findViewById(R.id.txtrabbitmqt);
                tv.append(message + ‘\n‘);
                Log.i("test", "msg:" + message);
            }
        };
        //开启消费者线程
        //subscribe(incomingMessageHandler);
        new Thread(new Runnable() {
            @Override
            public void run() {
                basicConsume(incomingMessageHandler);
            }
        }).start();
    }

    /**
     * 连接设置
     */
    private void setupConnectionFactory() {
        factory =  new ConnectionFactory();
        factory.setHost(服务器ip);
        factory.setPort(5672);
        factory.setUsername("longdb");
        factory.setPassword("***");
    }

    /**
     * 收消息(从发布者那边订阅消息)
     */
    private void basicConsume(final Handler handler){

        try {
            //连接
            Connection connection = factory.newConnection() ;
            //通道
            final Channel channel = connection.createChannel() ;
            //实现Consumer的最简单方法是将便捷类DefaultConsumer子类化。可以在basicConsume 调用上传递此子类的对象以设置订阅:
            channel.basicConsume("myqueue" , false ,  new DefaultConsumer(channel){
                @Override
                public void handleDelivery(String consumerTag, Envelope envelope, AMQP.BasicProperties properties, byte[] body) throws IOException {
                    super.handleDelivery(consumerTag, envelope, properties, body);

                    String msg = new String(body) ;
                    long deliveryTag = envelope.getDeliveryTag() ;
                    channel.basicAck(deliveryTag , false);
                    //从message池中获取msg对象更高效
                    Message uimsg = handler.obtainMessage();
                    Bundle bundle = new Bundle();
                    bundle.putString("msg", msg);
                    uimsg.setData(bundle);
                    handler.sendMessage(uimsg);

                }
            });
        } catch (IOException e) {
            e.printStackTrace();
        } catch (TimeoutException e) {
            e.printStackTrace();
        }
    }
}
我是直接打包,然后自己手机安装测试。
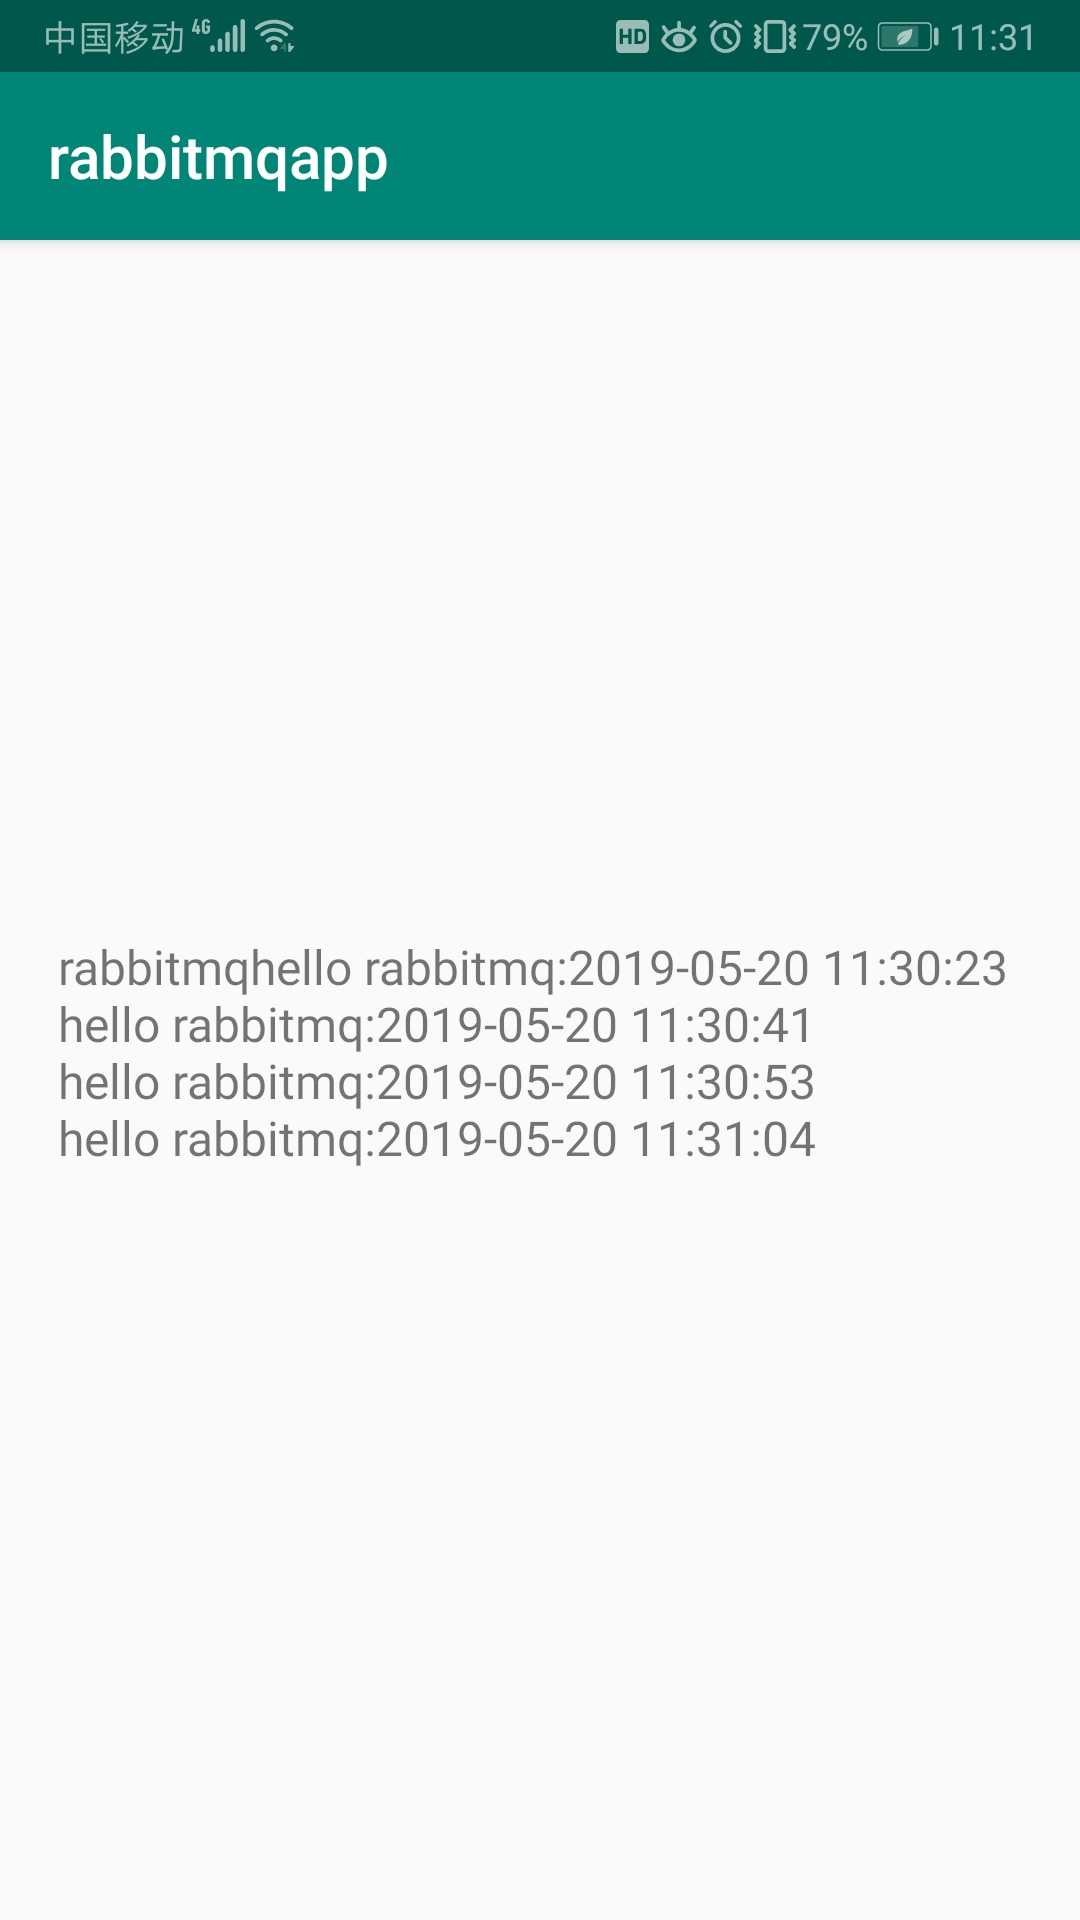
测试步骤:1》app打开
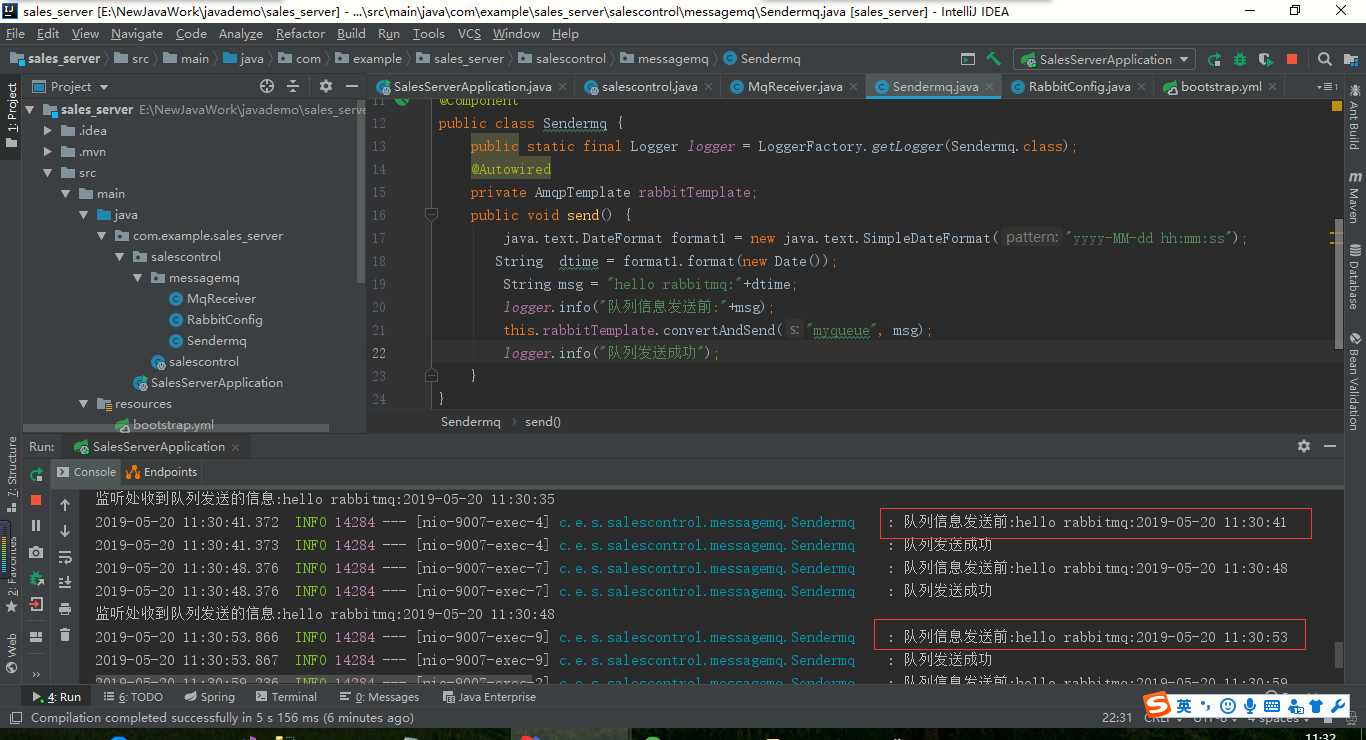
2》springcloud服务(springcloud怎样发布消息,请看上一篇)运行,发送请求。
测试截图:
标签:ide 主页 代码 prope match bit pen 最新 save
原文地址:https://www.cnblogs.com/longdb/p/10893413.html
