标签:convert tab default tom 选择 模块 which pass 链接
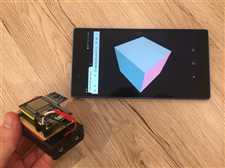
教程 https://www.hackster.io/donowak/esp32-mpu9250-3d-orientation-visualisation-467dc1
项目地址 https://github.com/DominikN/ESP32-MPU9250-web-view/blob/master/html.h
硬件地址
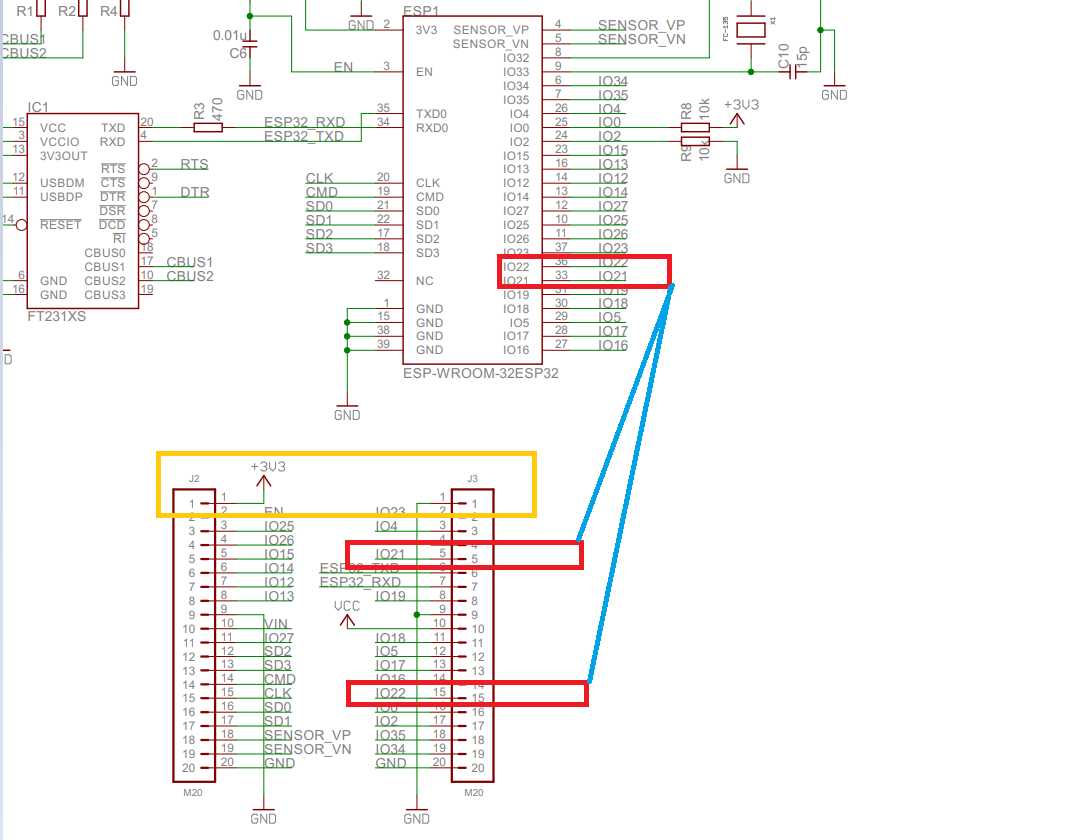
ESP32 <-> MPU9250
P22 <-> SCL
P21 <-> SDA
P19 <-> INT
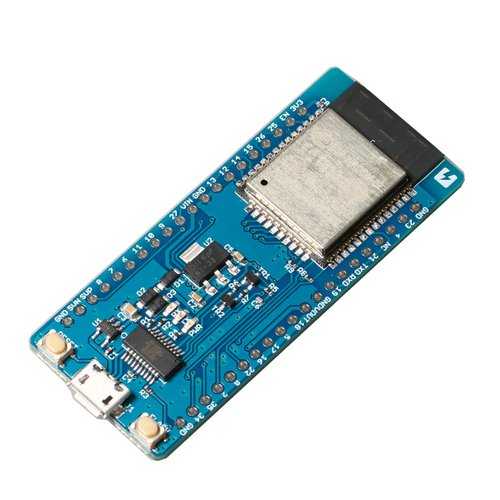
GND <-> GND版型1(中国深圳常买到)

版型2(日本开发板)
https://www.switch-science.com/catalog/3210
电路图
软件
要运行该项目,首先需要配置Arduino IDE:
1.为ESP32安装Husarnet软件包:
File -> Preferenceshttps://files.husarion.com/arduino/package_esp32_index.jsonTools -> Board: ... -> Boards Manager ...esp32-husarnet by Husarion2.选择ESP32开发板:
Tools -> Board3.安装ArduinoJson库:(可不安装)
Tools -> Manage Libraries...ArduinoJson5.13.34.安装arduinoWebSockets库(Husarnet fork):(可不安装)
Sketch -> Include Library -> Add .ZIP Library ...选择刚下载的arduinoWebSockets-master.zip 文件,然后单击打开按钮5.安装SparkFun_MPU-9250-DMP_Arduino_Library:(必须安装)
Sketch -> Include Library -> Add .ZIP Library ...选择您刚刚下载的SparkFun_MPU-9250-DMP_Arduino_Library-master.zip 文件并单击打开按钮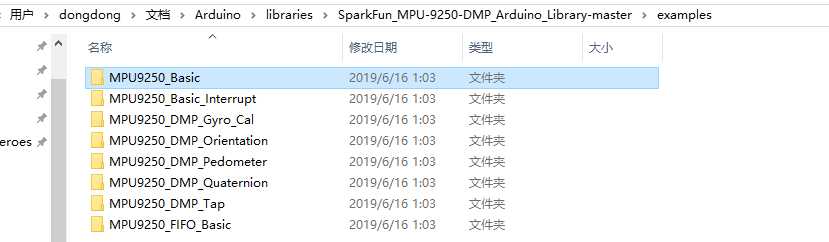
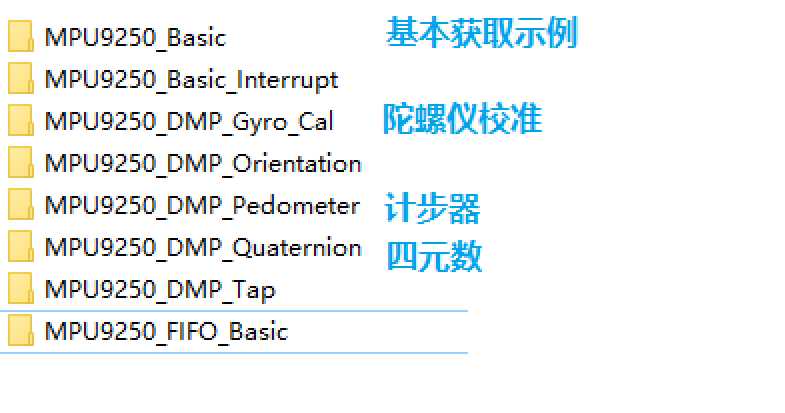
基本读取示例
/************************************************************
MPU9250_Basic
Basic example sketch for MPU-9250 DMP Arduino Library
Jim Lindblom @ SparkFun Electronics
original creation date: November 23, 2016
https://github.com/sparkfun/SparkFun_MPU9250_DMP_Arduino_Library
This example sketch demonstrates how to initialize the
MPU-9250, and stream its sensor outputs to a serial monitor.
Development environment specifics:
Arduino IDE 1.6.12
SparkFun 9DoF Razor IMU M0
Supported Platforms:
- ATSAMD21 (Arduino Zero, SparkFun SAMD21 Breakouts)
*************************************************************/
#include <SparkFunMPU9250-DMP.h>
#define SerialPort Serial
MPU9250_DMP imu;
void setup()
{
SerialPort.begin(115200);
// Call imu.begin() to verify communication with and
// initialize the MPU-9250 to it‘s default values.
// Most functions return an error code - INV_SUCCESS (0)
// indicates the IMU was present and successfully set up
if (imu.begin() != INV_SUCCESS)
{
while (1)
{
SerialPort.println("Unable to communicate with MPU-9250");
SerialPort.println("Check connections, and try again.");
SerialPort.println();
delay(5000);
}
}
// Use setSensors to turn on or off MPU-9250 sensors.
// Any of the following defines can be combined:
// INV_XYZ_GYRO, INV_XYZ_ACCEL, INV_XYZ_COMPASS,
// INV_X_GYRO, INV_Y_GYRO, or INV_Z_GYRO
// Enable all sensors:
imu.setSensors(INV_XYZ_GYRO | INV_XYZ_ACCEL | INV_XYZ_COMPASS);
// Use setGyroFSR() and setAccelFSR() to configure the
// gyroscope and accelerometer full scale ranges.
// Gyro options are +/- 250, 500, 1000, or 2000 dps
imu.setGyroFSR(2000); // Set gyro to 2000 dps
// Accel options are +/- 2, 4, 8, or 16 g
imu.setAccelFSR(2); // Set accel to +/-2g
// Note: the MPU-9250‘s magnetometer FSR is set at
// +/- 4912 uT (micro-tesla‘s)
// setLPF() can be used to set the digital low-pass filter
// of the accelerometer and gyroscope.
// Can be any of the following: 188, 98, 42, 20, 10, 5
// (values are in Hz).
imu.setLPF(5); // Set LPF corner frequency to 5Hz
// The sample rate of the accel/gyro can be set using
// setSampleRate. Acceptable values range from 4Hz to 1kHz
imu.setSampleRate(10); // Set sample rate to 10Hz
// Likewise, the compass (magnetometer) sample rate can be
// set using the setCompassSampleRate() function.
// This value can range between: 1-100Hz
imu.setCompassSampleRate(10); // Set mag rate to 10Hz
}
void loop()
{
// dataReady() checks to see if new accel/gyro data
// is available. It will return a boolean true or false
// (New magnetometer data cannot be checked, as the library
// runs that sensor in single-conversion mode.)
if ( imu.dataReady() )
{
// Call update() to update the imu objects sensor data.
// You can specify which sensors to update by combining
// UPDATE_ACCEL, UPDATE_GYRO, UPDATE_COMPASS, and/or
// UPDATE_TEMPERATURE.
// (The update function defaults to accel, gyro, compass,
// so you don‘t have to specify these values.)
imu.update(UPDATE_ACCEL | UPDATE_GYRO | UPDATE_COMPASS);
printIMUData();
}
}
void printIMUData(void)
{
// After calling update() the ax, ay, az, gx, gy, gz, mx,
// my, mz, time, and/or temerature class variables are all
// updated. Access them by placing the object. in front:
// Use the calcAccel, calcGyro, and calcMag functions to
// convert the raw sensor readings (signed 16-bit values)
// to their respective units.
float accelX = imu.calcAccel(imu.ax);
float accelY = imu.calcAccel(imu.ay);
float accelZ = imu.calcAccel(imu.az);
float gyroX = imu.calcGyro(imu.gx);
float gyroY = imu.calcGyro(imu.gy);
float gyroZ = imu.calcGyro(imu.gz);
float magX = imu.calcMag(imu.mx);
float magY = imu.calcMag(imu.my);
float magZ = imu.calcMag(imu.mz);
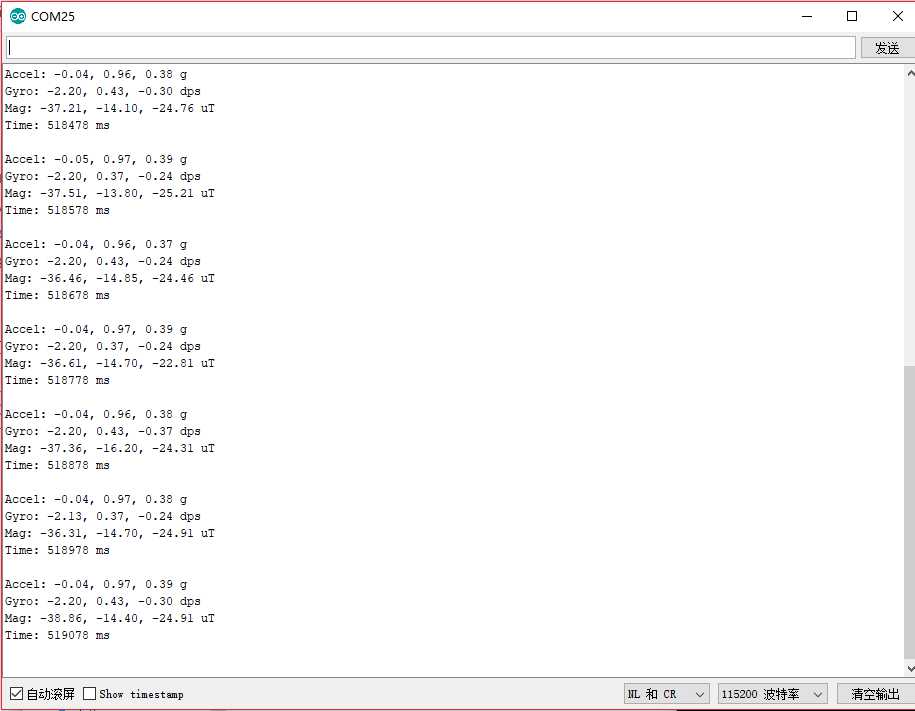
SerialPort.println("Accel: " + String(accelX) + ", " +
String(accelY) + ", " + String(accelZ) + " g");
SerialPort.println("Gyro: " + String(gyroX) + ", " +
String(gyroY) + ", " + String(gyroZ) + " dps");
SerialPort.println("Mag: " + String(magX) + ", " +
String(magY) + ", " + String(magZ) + " uT");
SerialPort.println("Time: " + String(imu.time) + " ms");
SerialPort.println();
}
更多程序
http上传程序
标签:convert tab default tom 选择 模块 which pass 链接
原文地址:https://www.cnblogs.com/kekeoutlook/p/11029447.html