标签:cal creat add img 绿色 caff oba nes 通过
一,概述
flutter一个重要的特性就是组件化。组件分为两种状态,一种是StatefulWidget有状态组件,一种是StatelessWidget无状态组件。 无状态组件不能更新状态,有状态组件具有类似刷新的机制,可更改状态。
功能模块都可以通过继承两种状态组件实现功能模块封装。组件间通信,一般存在一下两种关系。
二, 通信实现方式
//父组件 class ParentWidget extends StatefulWidget { final String title; ParentWidget({Key key,this.title}):super(key:key); @override State<StatefulWidget> createState() { return new ParentWidgetState(); } } class ParentWidgetState extends State<ParentWidget> { Color containerBg = Colors.orange;
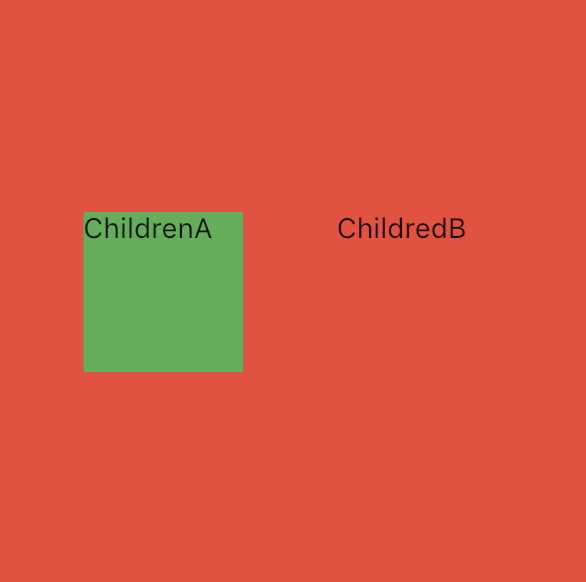
//回调函数 void changeBackgroundColor(Color newColor){ setState(() { containerBg = newColor;//修改状态 }); } @override Widget build(BuildContext context) { return new Scaffold( appBar: new AppBar( title: new Text(widget.title), ), body: new Center( child: new GestureDetector( onTap: (){ changeBackgroundColor(Colors.orange); }, child: new Container( width: 300, height: 300, color: containerBg, alignment: Alignment.center, child: new Row( mainAxisAlignment: MainAxisAlignment.spaceEvenly, children: <Widget>[ new childrenA(childrenACallBack: changeBackgroundColor), new childrenB(childrenBCallBack: changeBackgroundColor), ], ), ), ) ), ); } } //子组件(组件A) class childrenA extends StatelessWidget {
//定义接收父类回调函数的指针
final ValueChanged<Color> childrenACallBack;
  childrenA({Key key,this.childrenACallBack}):super(key:key);
  @override
  Widget build(BuildContext context) {
    return new GestureDetector(
      onTap: (){
       //调用回调函数传值
        childrenACallBack(Colors.green);
      },
      child: new Container(
          width: 80,
          height: 80,
          color: Colors.green,
          child: new Text(‘ChildrenA‘),
      ),
    );
  }
}

//子组件(组件B)
class childrenB extends StatelessWidget {
  final ValueChanged<Color> childrenBCallBack;
  childrenB({Key key,this.childrenBCallBack}):super(key:key);

 @override
  Widget build(BuildContext context) {
    return new GestureDetector(
      onTap:(){
          childrenBCallBack(Colors.red);
      },
      child: new Container(
        width: 80,
        height: 80,
        color: Colors.red,
        child: new Text(‘ChildredB‘),
      ),
    );
  }
}
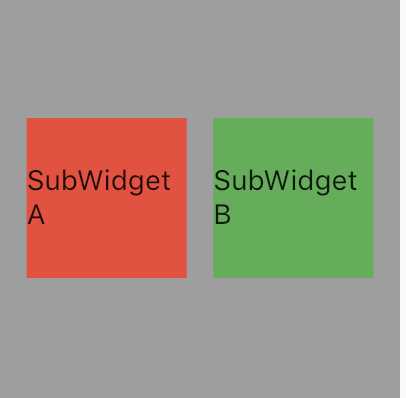
功能实现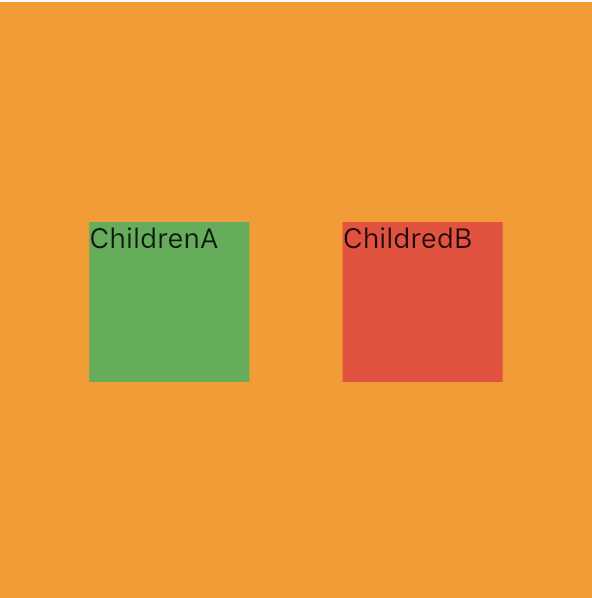

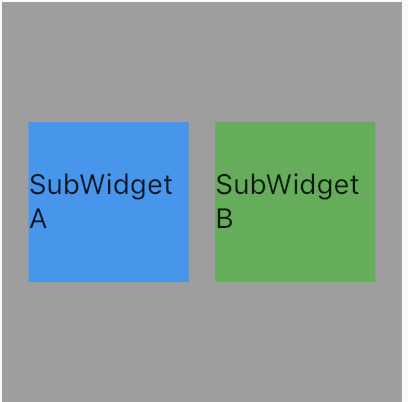
//父组件
class ParentWidget extends  StatefulWidget {
  @override
  State<StatefulWidget> createState() {
    return new ParentWidgetState();
  }
}

class ParentWidgetState extends State<ParentWidget> {
  @override
  Widget build(BuildContext context) {

    return new Scaffold(
      appBar: new AppBar(
        title:  new Text(‘组件化‘),
      ),
      body: new Center(
        child: new Container(
          color: Colors.grey,
          width: 200,
          height: 200,
          child: new Row(
            mainAxisAlignment: MainAxisAlignment.spaceEvenly,
            children: <Widget>[
              new SubWidgetA(key: subAkey),
              new SubWidgetB(key: subBkey)
            ],
          ),
        ),
      ),
    );
  }
}


//子组件A

class SubWidgetA extends StatefulWidget {
  SubWidgetA({Key key}):super(key:key);
 @override
  State<StatefulWidget> createState() {
    return new SubWidgetAState();
  }
}

class SubWidgetAState extends State <SubWidgetA> {

   Color _backgroundColors = Colors.red;//红色
   void updateBackGroundColors(Color colos){
     setState(() {
            _backgroundColors = colos;
     });
   }

   @override
   Widget build(BuildContext context) {
    return new GestureDetector(
      onTap: (){
         subBkey.currentState.updateBackGroundColors(Colors.blue);
          setState(() {
            _backgroundColors = Colors.red;
          });
      },
      child: new Container(
      width: 80,
      height: 80,
      color:_backgroundColors,
      alignment: Alignment.center,
      child: new Text(‘SubWidgetA‘),
    ),
    );
  }
}


//子组件B
class SubWidgetB extends StatefulWidget {
  SubWidgetB({Key key}):super(key:key);
   @override
  State<StatefulWidget> createState() {
    // TODO: implement createState
    return new SubWidgetBState();
  }
}

class SubWidgetBState extends State<SubWidgetB> {

   Color _backgroundColors = Colors.green;//绿色
  void updateBackGroundColors(Color colos){
    setState(() {
            _backgroundColors = colos;
    });
  }

  @override
  Widget build(BuildContext context) {
    return new GestureDetector(
      onTap: (){
          subAkey.currentState.updateBackGroundColors(Colors.blue);
          setState(() {
            _backgroundColors = Colors.green;
          });

      },
      child: new Container(
      width: 80,
      height: 80,
      color: _backgroundColors,
      alignment: Alignment.center,
      child: new Text(‘SubWidgetB‘),
    ),
    );
  }
}

class ValueNotifierData extends ValueNotifier<String> {
  ValueNotifierData(value) : super(value);
}
_WidgetOne,包含一个ValueNotifierData的实例。class _WidgetOne extends StatefulWidget { _WidgetOne({this.data}); final ValueNotifierData data; @override _WidgetOneState createState() => _WidgetOneState(); }
_WidgetOneState中给ValueNotifierData实例添加监听。@override initState() { super.initState(); widget.data.addListener(_handleValueChanged); info = ‘Initial mesage: ‘ + widget.data.value; } void _handleValueChanged() { setState(() { info = ‘Message changed to: ‘ + widget.data.value; });
ValueNotifierCommunication组件中实例化_WidgetOne,可以通过改变ValueNotifierData实例的value来触发_WidgetOneState的更新。@override Widget build(BuildContext context) { ValueNotifierData vd = ValueNotifierData(‘Hello World‘); return Scaffold( appBar: AppBar(title: Text(‘Value Notifier Communication‘),), body: _WidgetOne(data: vd), floatingActionButton: FloatingActionButton(child: Icon(Icons.refresh),onPressed: () { vd.value = ‘Yes‘; }), ); }
import ‘package:event_bus/event_bus.dart‘;
event_bus用法。
新建消息监测类
import ‘package:event_bus/event_bus.dart‘;
  EventBus eventBus = new EventBus();
  class TransEvent{
   String text;
   TransEvent(this.text);
  }
监测类变化
eventBus.on<TransEvent>().listen((TransEvent data) => show(data.text));
void show(String val) {
 setState(() {
  data = val;
 });
}
触发消息变化
eventBus.fire(new TransEvent(‘$inputText‘));
标签:cal creat add img 绿色 caff oba nes 通过
原文地址:https://www.cnblogs.com/lxlx1798/p/11172246.html