标签:use 客户 hunk intercept 参数 header routes one 二级路由
使用reducer之后
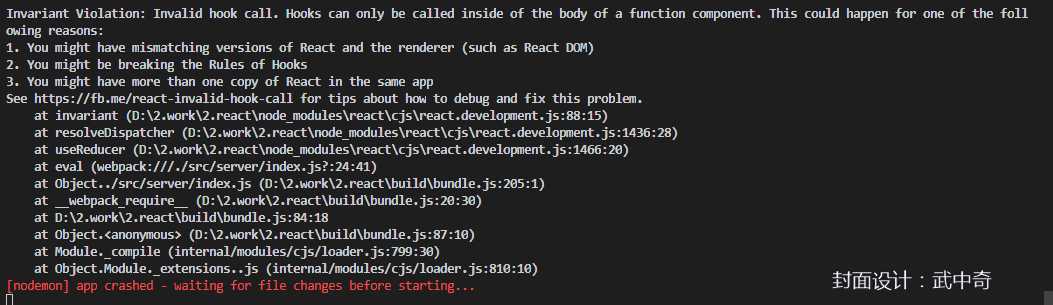
我们现如今无法使用reducer来替代createStore来实现服务端的渲染!
const Store = createStore(Rducer,window.info,applyMiddleware(thunk));
//浏览器端发送代码 相当于请求的是localhost:3000/api/news...
return fetch(‘/api/news.json?secret=PP87ANTIPIRATE‘)
     .then((res)=>{
         return res.json();
     })
//后端proxy代理
const proxy = require(‘http-proxy-middleware‘);
app.use(‘/api‘,proxy({
    target: ‘http://47.95.113.63/ssr‘
}))
//客户端
const baseUrl = ‘‘;
const  fetchClient = (url) => {
    return fetch(baseUrl+url);
}
export default fetchClient;
//服务端
import fetch from ‘node-fetch‘

const baseUrl = ‘http://47.95.113.63/ssr‘;
const fetchServer = (url) => {
    return fetch(baseUrl+url);
}
export default  fetchServer;
//客户端
const Store = createStore(Rducer,window.info,applyMiddleware(thunk.withExtraArgument(fetchClient)));

//服务端
const Store = createStore(Reducer, applyMiddleware(thunk.withExtraArgument(fetchServer)));
发送请求的代码,会接受第三个参数,就是我们自定义的额外参数
export const getHomeList = (dispatch, getState, fetch) => {
    return fetch(‘/api/news.json?secret=PP87ANTIPIRATE‘)
     .then((res)=>{
         return res.json();
     })
}
//router.js
export default [
    {
        path: ‘/‘,
        component: Header, //共用的header头部
        routes: [
            {
                path: ‘/‘,
                exact: true,
                getData: Home.getData,
                component: Home,
            },
            {
                path: ‘/Login‘,
                getData: ()=>{console.log(‘getData login‘)},
                component: Login
            }
        ]
    }
]
在header里面需要继续渲染二级路由
const Header = (props) => {
    return (
        <div>
            <Link to=‘/‘>Home</Link>
            <br/>
            <Link to=‘/Login‘>Login</Link>
            { renderRoutes(props.route.routes) }
        </div>
    )
}
react服务端渲染(九)proxy代理&&多级路由&&数据的脱水和注水
标签:use 客户 hunk intercept 参数 header routes one 二级路由
原文地址:https://www.cnblogs.com/longlongdan/p/11316850.html