标签:rest 管理员 rbo status obs network doc tps 进入
Harbor是用于存储和分发Docker镜像的镜像仓库服务,相比Docker Registry,Harbor在安全、标识、管理等方面做了增强,更适合企业使用;
官方开源:https://github.com/goharbor/harbor
docker-compose:1.23.2
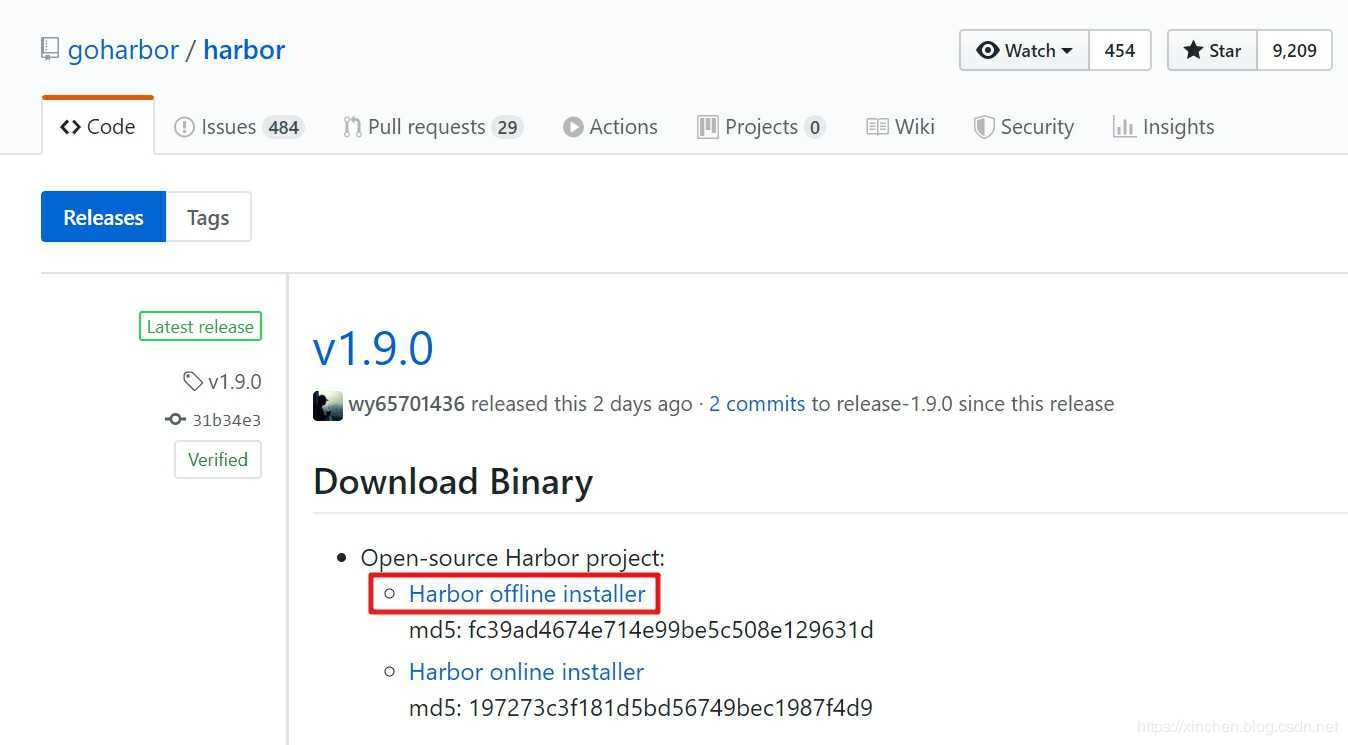
tar -zxvf harbor-offline-installer-v1.9.0.tgz解压的结果是个名为harbor的文件夹,进入该文件夹;
a. hostname:填写本机的IP地址或者hostname,如果已经和域名绑定了也可以填域名;
b. harbor_admin_password:管理员初始密码;
更多配置例如https、存储等,请参考官方文档按需设置;
Creating network "harbor_harbor" with the default driver
Creating harbor-log ... done
Creating registryctl ... done
Creating registry ... done
Creating harbor-db ... done
Creating redis ... done
Creating harbor-portal ... done
Creating harbor-core ... done
Creating nginx ... done
Creating harbor-jobservice ... done
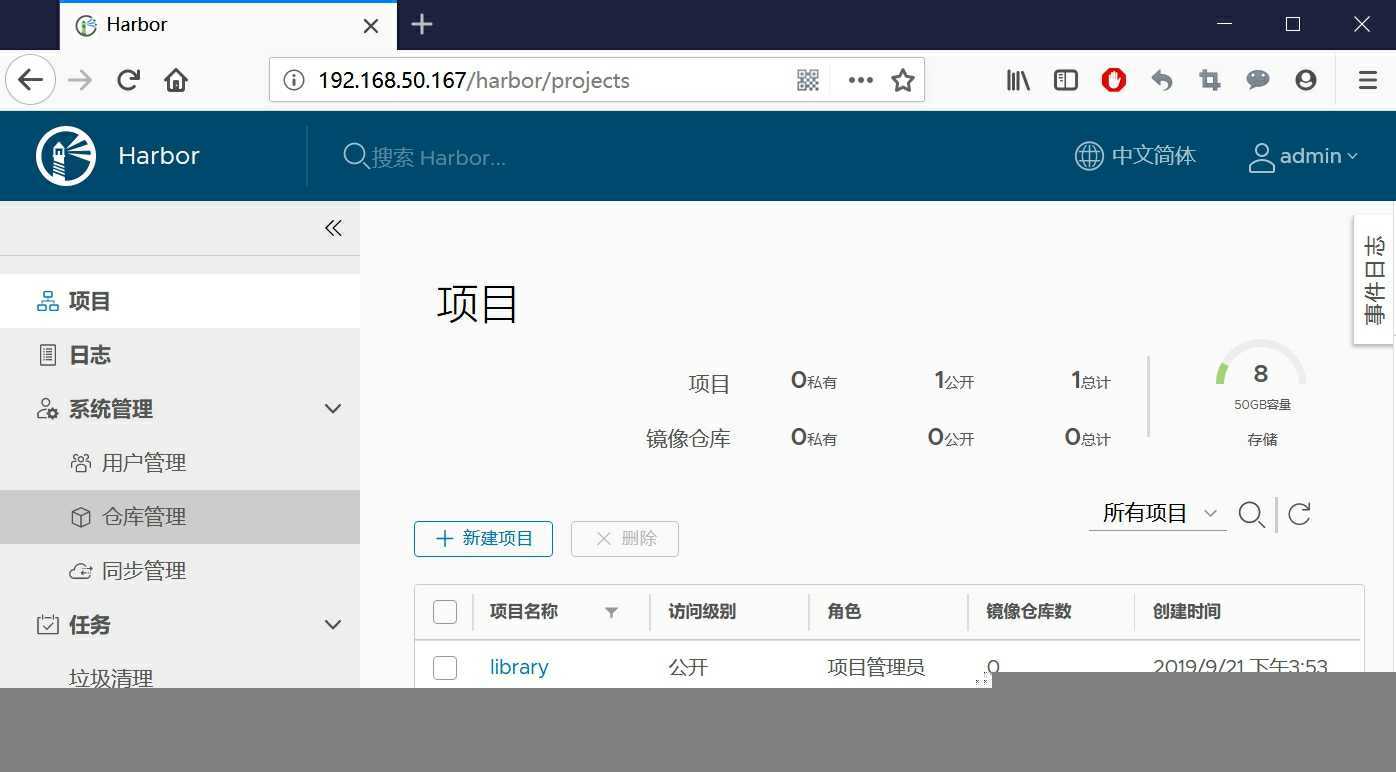
? ----Harbor has been installed and started successfully.----
Now you should be able to visit the admin portal at http://192.168.50.167.
For more details, please visit https://github.com/goharbor/harbor .[root@vostro ~]# docker ps
CONTAINER ID IMAGE COMMAND CREATED STATUS PORTS NAMES
dac02ab21a1f goharbor/harbor-jobservice:v1.9.0 "/harbor/harbor_jobs…" 3 hours ago Up 3 hours (healthy) harbor-jobservice
998fa5676a08 goharbor/nginx-photon:v1.9.0 "nginx -g 'daemon of…" 3 hours ago Up 3 hours (healthy) 0.0.0.0:80->8080/tcp nginx
bc87d9a5a7f7 goharbor/harbor-core:v1.9.0 "/harbor/harbor_core" 3 hours ago Up 3 hours (healthy) harbor-core
ce495560ef35 goharbor/harbor-db:v1.9.0 "/docker-entrypoint.…" 3 hours ago Up 3 hours (healthy) 5432/tcp harbor-db
25a13fddd607 goharbor/harbor-portal:v1.9.0 "nginx -g 'daemon of…" 3 hours ago Up 3 hours (healthy) 8080/tcp harbor-portal
b9f72d4da022 goharbor/redis-photon:v1.9.0 "redis-server /etc/r…" 3 hours ago Up 3 hours (healthy) 6379/tcp redis
3804003153ae goharbor/harbor-registryctl:v1.9.0 "/harbor/start.sh" 3 hours ago Up 3 hours (healthy) registryctl
d8d570e88874 goharbor/registry-photon:v2.7.1-patch-2819-v1.9.0 "/entrypoint.sh /etc…" 3 hours ago Up 3 hours (healthy) 5000/tcp registry
2d940d7fd271 goharbor/harbor-log:v1.9.0 "/bin/sh -c /usr/loc…" 3 hours ago Up 3 hours (healthy) 127.0.0.1:1514->10514/tcp harbor-log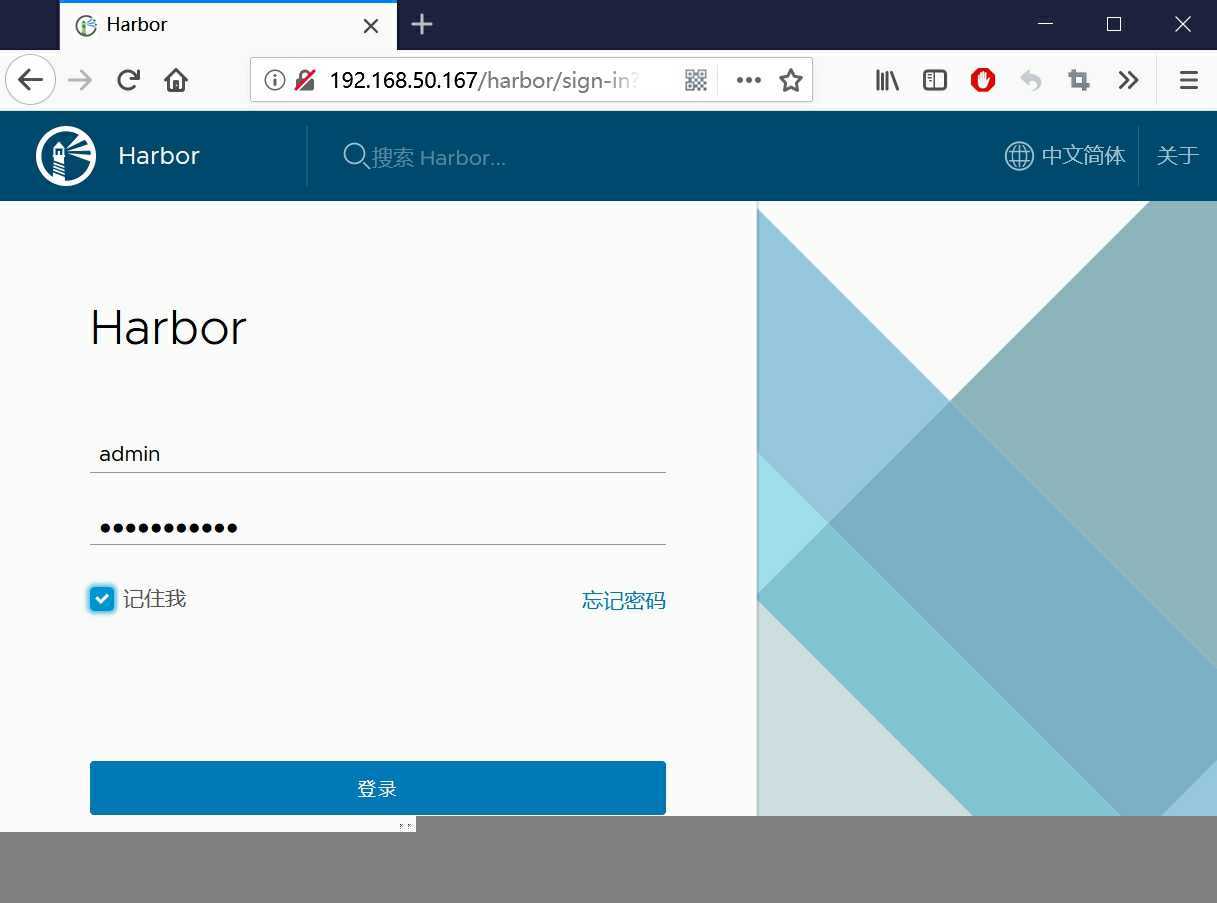
接下来我们要验证Harbor服务是否可用,验证方式是从另一台Linux电脑(下面称之为A电脑)远程推送镜像到Harbor机器;
Harbor默认是不允许http连接的,这里可以修改设置来支持http连接,以便后续的验证操作;
{
  "insecure-registries":["192.168.50.167"]
}systemctl daemon-reload && systemctl restart docker再次提醒:这里修改是远程连接Harbor服务的机器的配置,而不是Harbor服务器的配置;
接下来验证Harbor的服务,在A电脑上尝试将本机的镜像推送到Harbor;
root@hedy:~# docker images
REPOSITORY                          TAG                 IMAGE ID            CREATED             SIZE
jenkinsci/blueocean 1.19.0 11e2757c8bc1 7 days ago 553MBdocker tag 11e2757c8bc1 192.168.50.167/library/jenkinsci/blueocean:1.19.0上述命令中,192.168.50.167是安装harbor的时候,harbor.yml文件中配置的hostname的值,library是harbor默认的项目名称;
docker login 192.168.50.167 -u admin -p Harbor12345root@hedy:~# docker push 192.168.50.167/library/jenkinsci/blueocean:1.19.0
The push refers to repository [192.168.50.167/library/jenkinsci/blueocean]
2963284ab4ce: Pushing [================================================> ] 58.27MB/60.25MB
c4a4de444fad: Pushing [========> ] 47.87MB/267.6MB
850b4f512dc8: Pushed
abdaf43f94b6: Pushed
a6a27b82134d: Pushed
d6bee87a74b8: Pushed
28c6bdb5fda9: Pushed
bb25d1c7cc8a: Pushed
e2419390abaa: Pushing [========================> ] 37.29MB/77.36MB
d6982687f77e: Pushed
c9659702491d: Pushed
ed4e100c24a1: Pushing [==========================================> ] 36.71MB/43.37MB
ceaf9e1ebef5: Pushing [======> ] 12.58MB/99.29MB
9b9b7f3d56a0: Waiting
f1b5933fe4b5: Waiting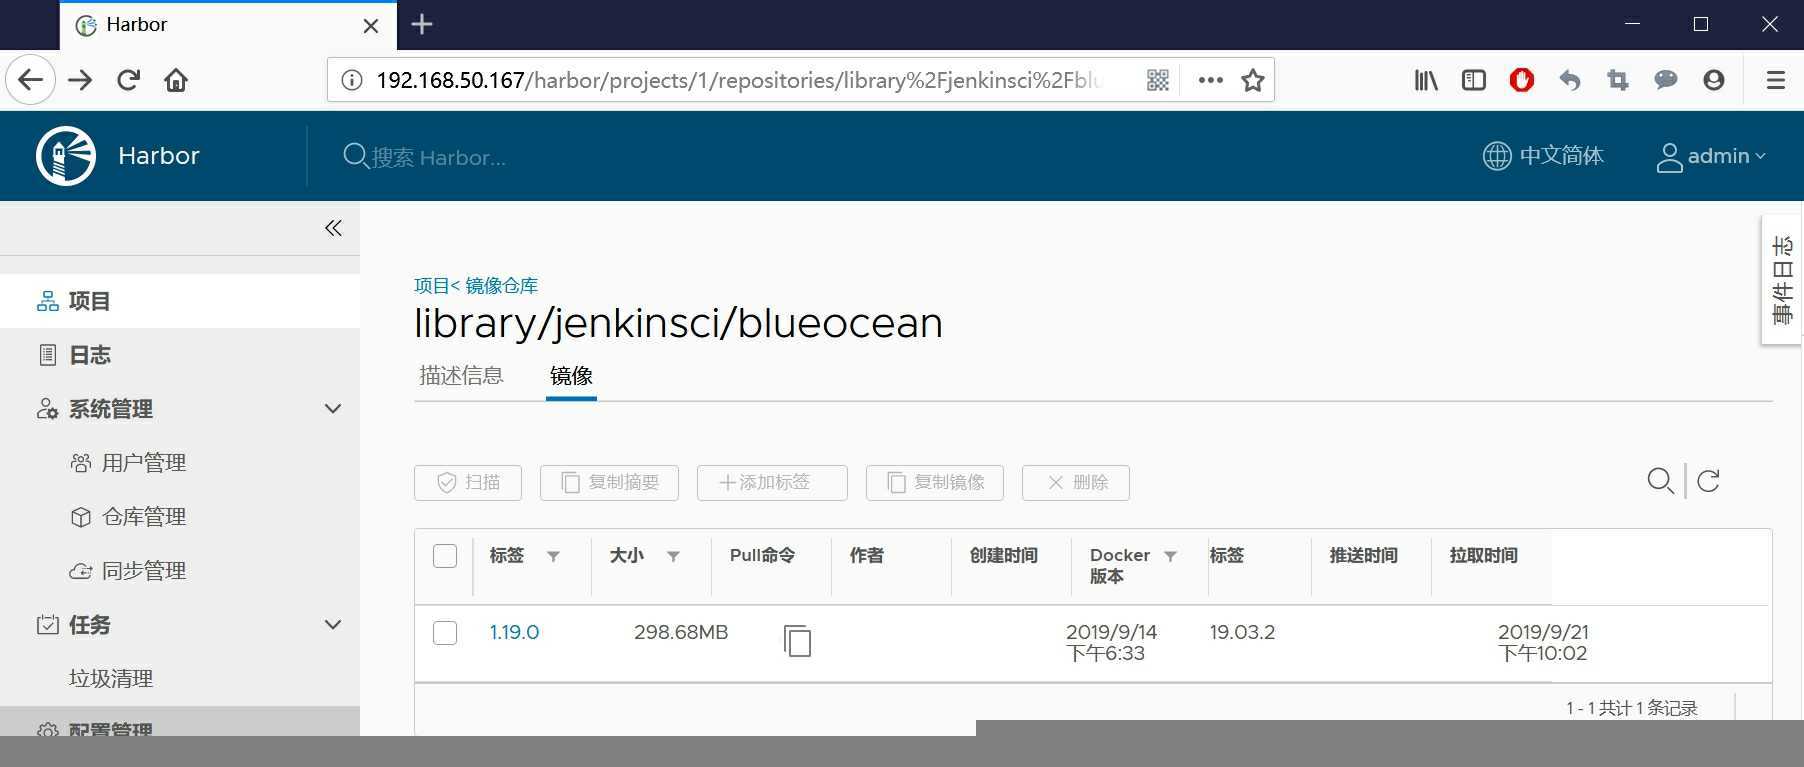
标签:rest 管理员 rbo status obs network doc tps 进入
原文地址:https://www.cnblogs.com/bolingcavalry/p/11565901.html