标签:页面 个数 false 标签 btn enter safe min 技术
一通CV大法:
<!DOCTYPE html>
<html lang="en">
<head>
    <meta charset="UTF-8">
    <title>Title</title>
    <script src="https://cdn.bootcss.com/jquery/3.4.1/jquery.min.js"></script>

    {% load static %}
    <link rel="stylesheet" href="{% static 'bootstrap-3.3.7-dist/css/bootstrap.min.css' %}">
    <link rel="stylesheet" href="{% static 'dist/sweetalert.css' %}">
    <script src="{% static 'bootstrap-3.3.7-dist/js/bootstrap.min.js' %}"></script>
    <script src="{% static 'dist/sweetalert.min.js' %}"></script>

</head>
<body>

<div class="container-fluid">
    <div class="row">
        <div class="col-md-8 col-md-offset-2">
            <h2 class="text-center">数据展示</h2>
            <br>
            <table class="table-bordered table table-striped table-hover">
                <thead>
                <tr>
                    <th>序号</th>
                    <th>用户名</th>
                    <th>年龄</th>
                    <th>性别</th>
                    <th class="text-center">操作</th>
                </tr>
                </thead>
                <tbody>
                {% for user in user_queryset %}
                    <tr>
                        <td>{{ forloop.counter }}</td>
                        <td>{{ user.username }}</td>
                        <td>{{ user.age }}</td>
                        <td>{{ user.get_gender_display }}</td>
                        <td class="text-center">
                            <a href="#" class="btn btn-primary btn-sm">编辑</a>
                            <a href="#" class="btn btn-danger btn-sm cancel">删除</a>
                        </td>
                    </tr>
                {% endfor %}

                </tbody>
            </table>
        </div>
    </div>
</div>

<script>
    $('.cancel').click(function () {
        swal({
                title: "你确定删除吗?",
                text: "如果删了,你就跑路吧!",
                type: "warning",
                showCancelButton: true,
                confirmButtonClass: "btn-danger",
                confirmButtonText: "是的,我就要删!",
                cancelButtonText: "不删了",
                closeOnConfirm: false,
                closeOnCancel: false
            },
            function (isConfirm) {
                if (isConfirm) {
                    swal("准备跑路吧!", "跑不了了。。。", "success");
                } else {
                    swal("取消删除", "数据还在", "error");
                }
            });
    })
</script>

</body>
</html>
这里有个问题,发现汉字被挡住了。。。
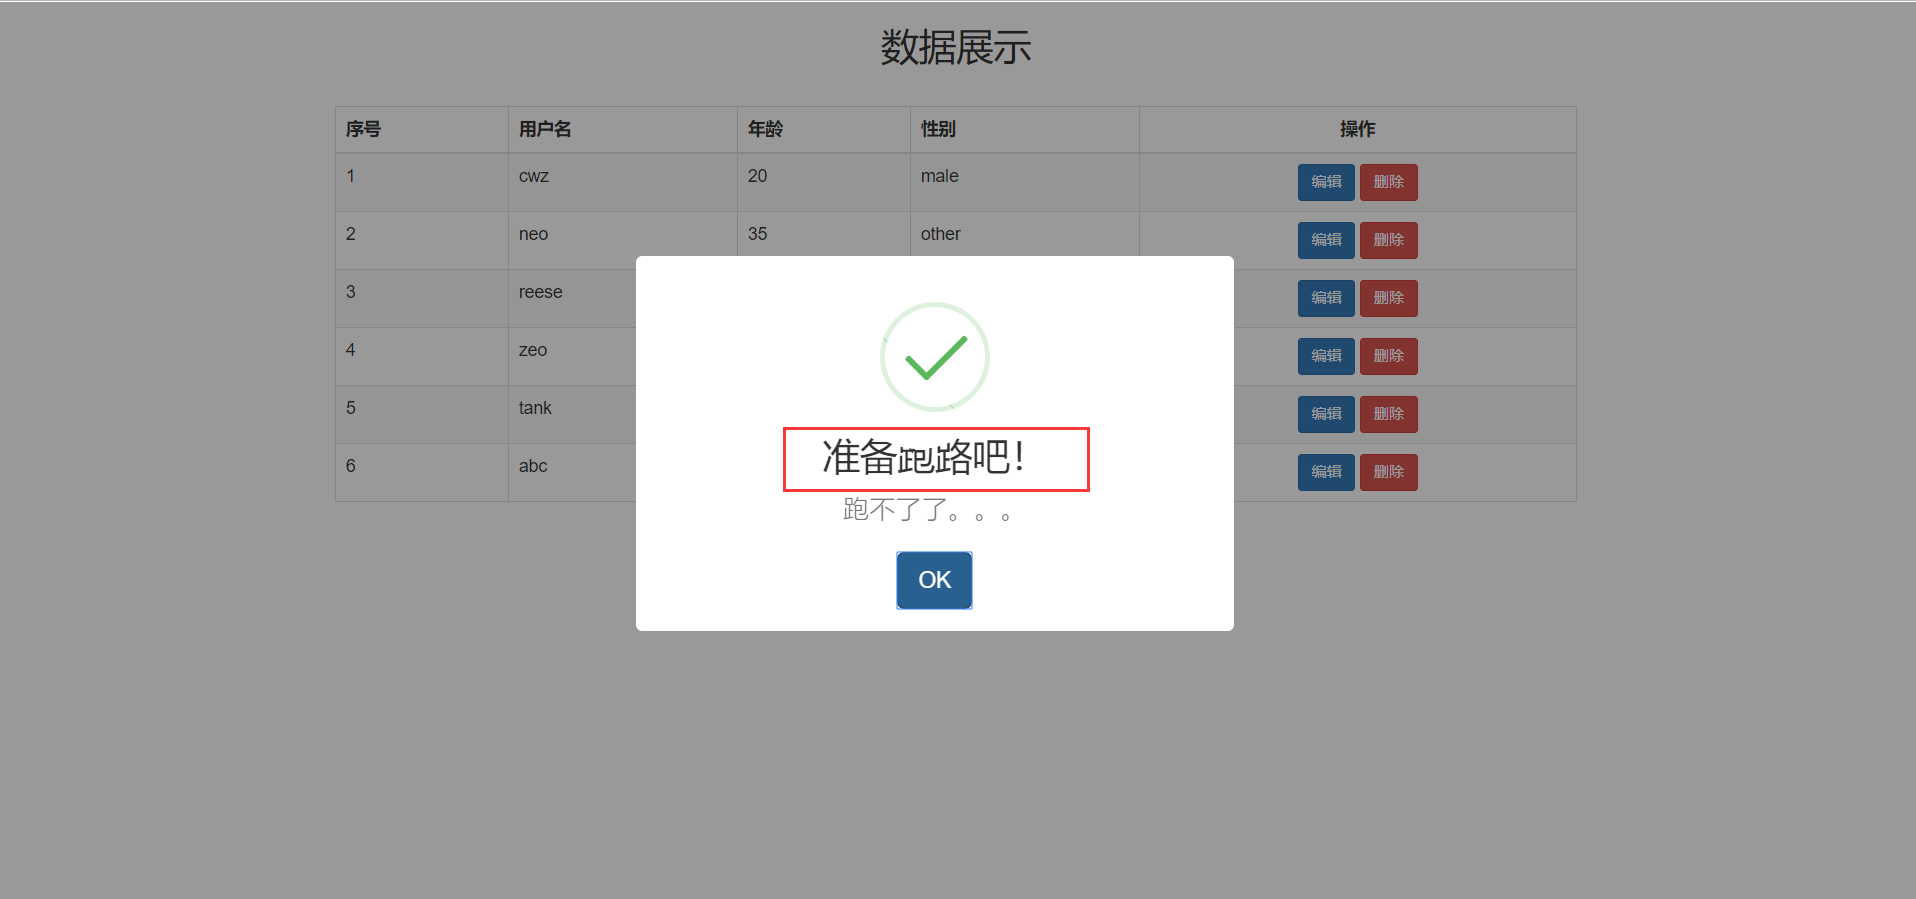
通过谷歌浏览器的检查,查看html元素修改,加上样式即可:
<style>
    div.sweet-alert h2 {
    padding: 10px;
    }
</style
最终的实例:
<!DOCTYPE html>
<html lang="en">
<head>
    <meta charset="UTF-8">
    <title>Title</title>
    <script src="https://cdn.bootcss.com/jquery/3.4.1/jquery.min.js"></script>

    {% load static %}
    <link rel="stylesheet" href="{% static 'bootstrap-3.3.7-dist/css/bootstrap.min.css' %}">
    <link rel="stylesheet" href="{% static 'dist/sweetalert.css' %}">
    <script src="{% static 'bootstrap-3.3.7-dist/js/bootstrap.min.js' %}"></script>
    <script src="{% static 'dist/sweetalert.min.js' %}"></script>
    <style>
        div.sweet-alert h2 {
            padding: 10px;
        }
    </style>
</head>
<body>

<div class="container-fluid">
    <div class="row">
        <div class="col-md-8 col-md-offset-2">
            <h2 class="text-center">数据展示</h2>
            <br>
            <table class="table-bordered table table-striped table-hover">
                <thead>
                <tr>
                    <th>序号</th>
                    <th>用户名</th>
                    <th>年龄</th>
                    <th>性别</th>
                    <th class="text-center">操作</th>
                </tr>
                </thead>
                <tbody>
                {% for user in user_queryset %}
                    <tr>
                        <td>{{ forloop.counter }}</td>
                        <td>{{ user.username }}</td>
                        <td>{{ user.age }}</td>
                        <td>{{ user.get_gender_display }}</td>
                        <td class="text-center">
                            <a href="#" class="btn btn-primary btn-sm">编辑</a>
                            <a href="#" class="btn btn-danger btn-sm cancel" userId = {{ user.pk }}>删除</a>
                        </td>
                    </tr>
                {% endfor %}

                </tbody>
            </table>
        </div>
    </div>
</div>

<script>
    $('.cancel').click(function () {
        var $btn = $(this);
        swal({
                title: "你确定删除吗?",
                text: "如果删了,你就跑路吧!",
                type: "warning",
                showCancelButton: true,
                confirmButtonClass: "btn-danger",
                confirmButtonText: "是的,我就要删!",
                cancelButtonText: "不删了",
                closeOnConfirm: false,
                closeOnCancel: false,
                showLoaderOnConfirm: true
            },
            function (isConfirm) {
                if (isConfirm) {

                    // 朝后端发送ajax请求
                    $.ajax({
                        url: '',
                        type: 'post',
                        data: {'delete_id': $btn.attr('userId')},
                        success: function (data) {
                            if(data.code==1000){
                                swal("准备跑路吧!", data.msg, "success");

                                // 通过DOM操作直接操作标签
                                $btn.parent().parent().remove()

                            }else {
                                swal("有bug", "发生了未知错误", "warning")
                            }
                        }
                    });

                } else {
                    swal("取消删除", "数据还在", "error");
                }
            });
    })
</script>

</body>
</html>
后端views.py
def home(request):

    if request.is_ajax():
        back_dic = {'code': 1000, 'msg': ''}
        delete_id = request.POST.get('delete_id')
        time.sleep(3)
        models.User.objects.filter(pk=delete_id).delete()
        back_dic['msg'] = '数据已经被我删掉了'
        return JsonResponse(back_dic)

    user_queryset = models.User.objects.all()
return render(request, 'home.html', locals())在django向数据库插入多条数据, 按照原本最笨的方法:
def index(request):
    for i in range(1000):
        models.Book.objects.create(title=f'第{i}本书')
这种插入方式很耗时间,对数据库的压力也很大
使用bulk_create 方法 批量插入数据:
def index(request):


    book_list = []
    for i in range(10000):
        book_list.append(models.Book(title=f'第{i}本书'))
    models.Book.objects.bulk_create(book_list)

    book_queryset = models.Book.objects.all()
return render(request, 'index.html', locals())分页器组件
class Pagination(object):
    def __init__(self,current_page,all_count,per_page_num=2,pager_count=11):
        """
        封装分页相关数据
        :param current_page: 当前页
        :param all_count:    数据库中的数据总条数
        :param per_page_num: 每页显示的数据条数
        :param pager_count:  最多显示的页码个数

        用法:
        queryset = model.objects.all()
        page_obj = Pagination(current_page,all_count)
        page_data = queryset[page_obj.start:page_obj.end]
        获取数据用page_data而不再使用原始的queryset
        获取前端分页样式用page_obj.page_html
        """
        try:
            current_page = int(current_page)
        except Exception as e:
            current_page = 1

        if current_page <1:
            current_page = 1

        self.current_page = current_page

        self.all_count = all_count
        self.per_page_num = per_page_num


        # 总页码
        all_pager, tmp = divmod(all_count, per_page_num)
        if tmp:
            all_pager += 1
        self.all_pager = all_pager

        self.pager_count = pager_count
        self.pager_count_half = int((pager_count - 1) / 2)

    @property
    def start(self):
        return (self.current_page - 1) * self.per_page_num

    @property
    def end(self):
        return self.current_page * self.per_page_num

    def page_html(self):
        # 如果总页码 < 11个:
        if self.all_pager <= self.pager_count:
            pager_start = 1
            pager_end = self.all_pager + 1
        # 总页码  > 11
        else:
            # 当前页如果<=页面上最多显示11/2个页码
            if self.current_page <= self.pager_count_half:
                pager_start = 1
                pager_end = self.pager_count + 1

            # 当前页大于5
            else:
                # 页码翻到最后
                if (self.current_page + self.pager_count_half) > self.all_pager:
                    pager_end = self.all_pager + 1
                    pager_start = self.all_pager - self.pager_count + 1
                else:
                    pager_start = self.current_page - self.pager_count_half
                    pager_end = self.current_page + self.pager_count_half + 1

        page_html_list = []
        # 添加前面的nav和ul标签
        page_html_list.append('''
                    <nav aria-label='Page navigation>'
                    <ul class='pagination'>
                ''')
        first_page = '<li><a href="?page=%s">首页</a></li>' % (1)
        page_html_list.append(first_page)

        if self.current_page <= 1:
            prev_page = '<li class="disabled"><a href="#">上一页</a></li>'
        else:
            prev_page = '<li><a href="?page=%s">上一页</a></li>' % (self.current_page - 1,)

        page_html_list.append(prev_page)

        for i in range(pager_start, pager_end):
            if i == self.current_page:
                temp = '<li class="active"><a href="?page=%s">%s</a></li>' % (i, i,)
            else:
                temp = '<li><a href="?page=%s">%s</a></li>' % (i, i,)
            page_html_list.append(temp)

        if self.current_page >= self.all_pager:
            next_page = '<li class="disabled"><a href="#">下一页</a></li>'
        else:
            next_page = '<li><a href="?page=%s">下一页</a></li>' % (self.current_page + 1,)
        page_html_list.append(next_page)

        last_page = '<li><a href="?page=%s">尾页</a></li>' % (self.all_pager,)
        page_html_list.append(last_page)
        # 尾部添加标签
        page_html_list.append('''
                                           </nav>
                                           </ul>
                                       ''')
        return ''.join(page_html_list)
使用方法:
在app应用下先建utils文件夹,在utils下先建mypage.py,复制上述的分页器代码
在views.py中:
from app01.utils.mypage import Pagination

def index(request):
    book_queryset = models.Book.objects.all()   # 你想要分页展示的数据

    current_page = request.GET.get('page', 1)    # 获取当前页
    all_count = book_queryset.count()           # 统计数据的总条数
    page_obj = Pagination(current_page=current_page, all_count=all_count, per_page_num=10, pager_count=5)   # 生成一个分页器对象
    page_queryset = book_queryset[page_obj.start:page_obj.end]

    return render(request, 'index.html', locals())
前端:
{% for book in book_queryset %}
    <p>{{ book }}</p>
{% endfor %}

{{ page_obj.page_html|safe }} 标签:页面 个数 false 标签 btn enter safe min 技术
原文地址:https://www.cnblogs.com/setcreed/p/11973801.html