标签:mct rac 阿里 timezone 远程 系统 nmp openssl nbsp
本安装操作系统为centos7.5。
安装前准备:
1.1 安装依赖包:
yum -y install wget net-snmp-devel OpenIPMI-devel httpd openssl-devel java lrzsz fping libcurl-devel perl-DBI pcre-devel libxml2 libxml2-devel mysql-devel gcc php php-bcmath php-gd php-xml php-mbstring php-ldap php-mysql.x86_64 php-pear php-xmlrpc net-tools
1.2 关闭防火墙及selinux
# systemctl stop firewalld.service
# systemctl disable firewalld.service
关闭selinux
# sed -i "s/SELINUX=enforcing/SELINUX=disabled/g" /etc/selinux/config
1.3 安装lamp环境,包含mysql数据库
# yum -y install mariadb mariadb-server
配置mysql数据库
设置开机自启动mysql,并启动mysql,使用如下命令:
[root@zabbix ~]# systemctl enable mariadb.service
[root@zabbix ~]# systemctl start mariadb.service
初始化mysql数据库,并配置root用户密码。使用如下命令:
# mysql_secure_installation
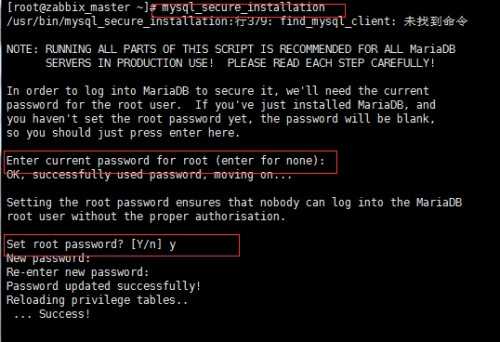

注意:在上图中的Enter current passwdord for root处,我们直接敲回车键即可。因为centos7上mysql的默认root用户密码为空。
上图中主要是为root用户配置密码,并刷新相关权限。(密码设为123456,只为实验用,生产环境自定义)
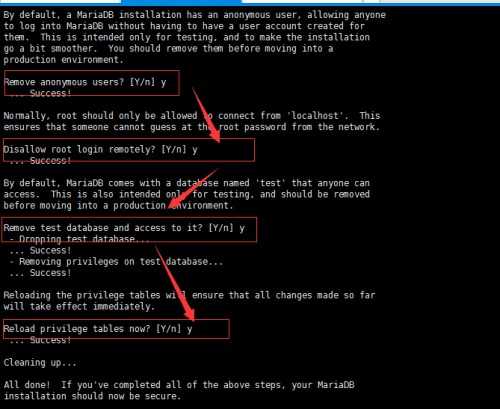
Remove anonymous users? 删除匿名用户?
Disallow root login remotely? 禁止root远程登陆
Remove test database and access to it? 删除测试数据库并且和访问它
Reload privilege tables now? 重新载入特权表
上图中主要是配置匿名用户、test用户以及root用户远程连接等相关配置。
mysql初始化完毕后,我们现在来创建zabbix数据库及其用户,使用如下命令
# mysql -uroot –p123456 -e "create database zabbix default character set utf8 collate utf8_bin;"
# mysql -uroot –p123456
MariaDB [(none)]> GRANT ALL PRIVILEGES ON zabbix.* TO ‘zabbix‘@‘localhost‘ \
IDENTIFIED BY ‘zabbix‘;
现在来测试刚刚创建的zabbix用户,是否可以连接mysql数据库,如下:
[root@zabbix ~]# mysql -uzabbix -pzabbix
MariaDB [(none)]> show databases;
MariaDB [(none)]> quit
启动apache以及开放80端口,如下:
[root@zabbix ~]# systemctl start httpd.service
[root@zabbix ~]# netstat -ltun
到此lamp环境已经全部搭建完毕。
1.4 安装zabbix server4.4
rpm -ivh https://mirrors.aliyun.com/zabbix/zabbix/4.4/rhel/7/x86_64/zabbix-release-4.4-1.el7.noarch.rpm
yum源为国外,可能导致无法安装zabbix相关包,更改yum源为阿里云的,信息如下:
[root@zabbix yum.repos.d]# pwd
/etc/yum.repos.d
[root@zabbix yum.repos.d]# ls -ls
总用量 36
4 -rw-r--r--. 1 root root 1664 4月 29 2018 CentOS-Base.repo
4 -rw-r--r--. 1 root root 1309 4月 29 2018 CentOS-CR.repo
4 -rw-r--r--. 1 root root 649 4月 29 2018 CentOS-Debuginfo.repo
4 -rw-r--r--. 1 root root 314 4月 29 2018 CentOS-fasttrack.repo
4 -rw-r--r--. 1 root root 630 4月 29 2018 CentOS-Media.repo
4 -rw-r--r--. 1 root root 1331 4月 29 2018 CentOS-Sources.repo
8 -rw-r--r--. 1 root root 4768 4月 29 2018 CentOS-Vault.repo
4 -rw-r--r--. 1 root root 644 1月 26 15:22 zabbix.repo
[root@zabbix yum.repos.d]# cat zabbix.repo
[zabbix]
name=Zabbix Official Repository - $basearch
baseurl=https://mirrors.aliyun.com/zabbix/zabbix/4.4/rhel/7/$basearch/
enabled=1
gpgcheck=0
gpgkey=file:///etc/pki/rpm-gpg/RPM-GPG-KEY-ZABBIX-A14FE591
[zabbix-debuginfo]
name=Zabbix Official Repository debuginfo - $basearch
baseurl=http://repo.zabbix.com/zabbix/4.4/rhel/7/$basearch/debuginfo/
enabled=0
gpgkey=file:///etc/pki/rpm-gpg/RPM-GPG-KEY-ZABBIX-A14FE591
gpgcheck=0
[zabbix-non-supported]
name=Zabbix Official Repository non-supported - $basearch
baseurl=http://repo.zabbix.com/non-supported/rhel/7/$basearch/
enabled=1
gpgkey=file:///etc/pki/rpm-gpg/RPM-GPG-KEY-ZABBIX
gpgcheck=0
以上安装完毕后,我们现在来正式安装zabbix4.4,使用如下命令:
# yum -y install zabbix-server-mysql zabbix-web-mysql zabbix-agent
# mysql -uroot -p

password

mysql> create database zabbix character set utf8 collate utf8_bin;

mysql> grant all privileges on zabbix.* to zabbix@localhost identified by ‘password‘;

mysql> quit;
导入初始架构和数据,系统将提示您输入新创建的密码。
# zcat /usr/share/doc/zabbix-server-mysql*/create.sql.gz | mysql -uzabbix -p zabbix
编辑配置文件 /etc/zabbix/zabbix_server.conf
DBPassword=password
编辑配置文件 /etc/httpd/conf.d/zabbix.conf, uncomment and set the right timezone for you.
# php_value date.timezone Asia/Shanghai
启动Zabbix server和agent进程,并为它们设置开机自启:
 # systemctl restart zabbix-server zabbix-agent httpd

# systemctl enable zabbix-server zabbix-agent httpd
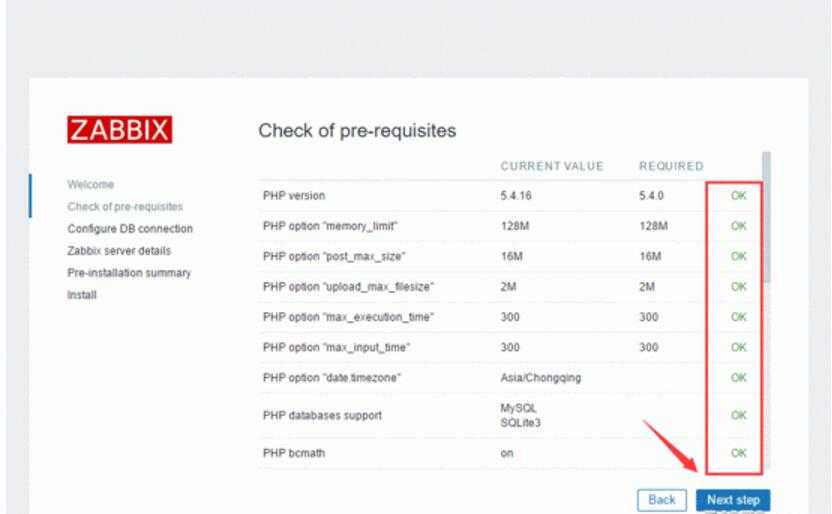
连接到新安装的Zabbix前端: http://server_ip_or_name/zabbix
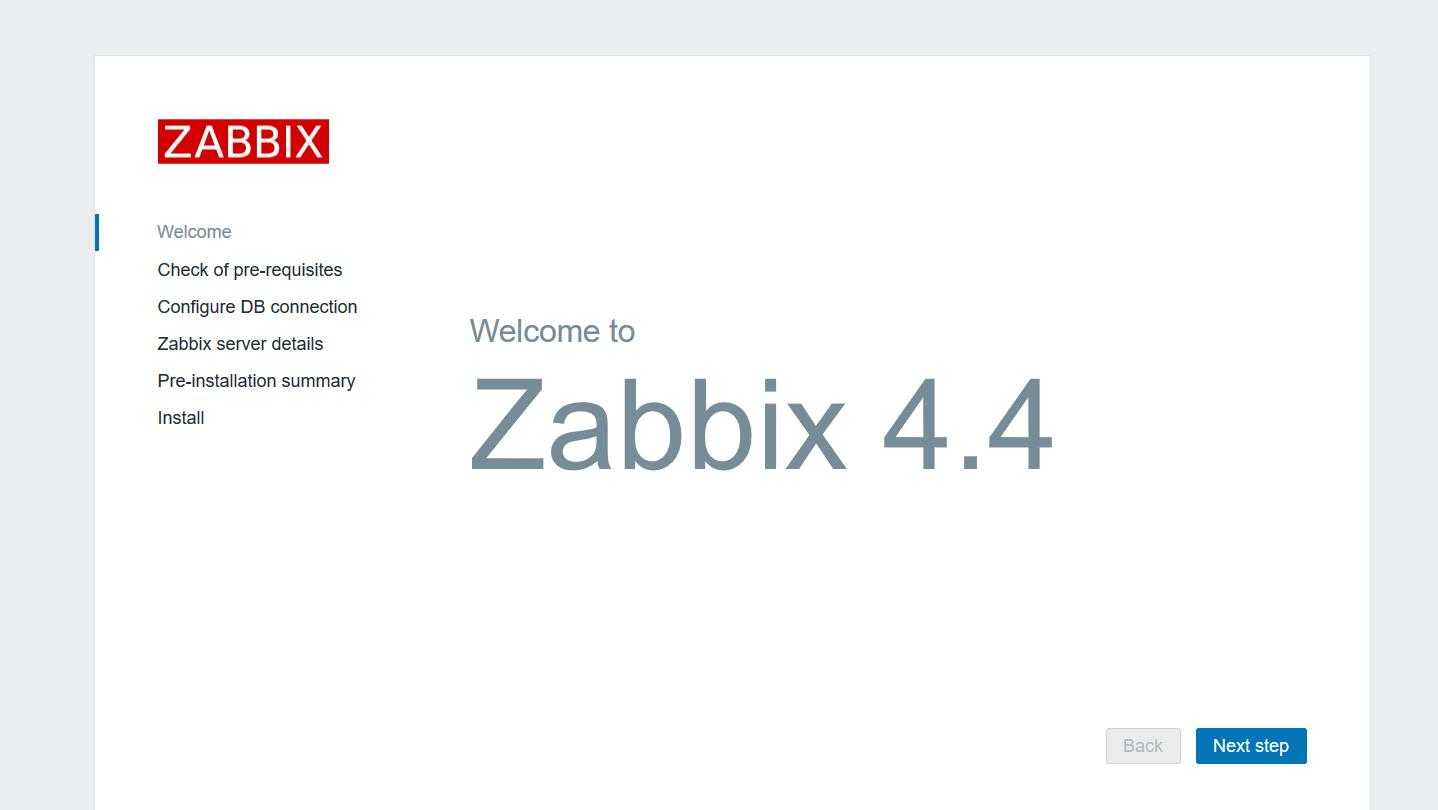
next step
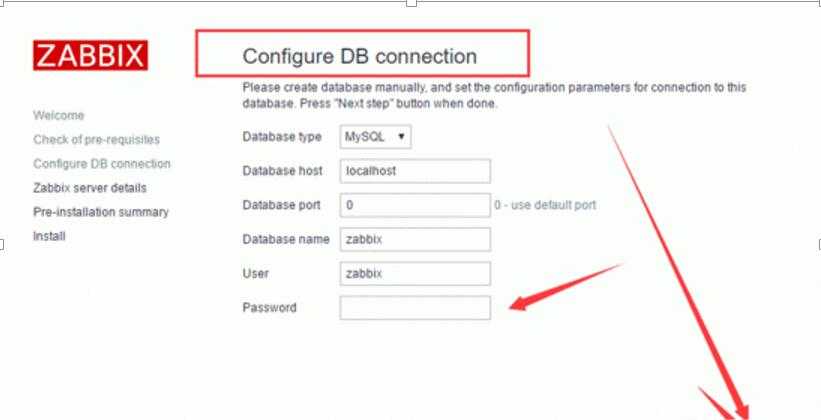
以上密码输入zabbix.

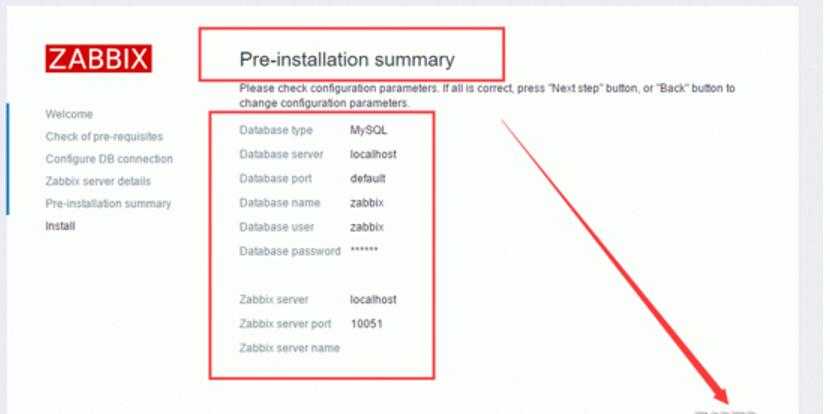
默认用户名是Admin 密码 zabbix 然后点击sign in
标签:mct rac 阿里 timezone 远程 系统 nmp openssl nbsp
原文地址:https://www.cnblogs.com/cloud-datacenter/p/12234486.html