标签:注入 创建组 export 组件 html private png nbsp tle
1、使用命令创建登录组件
ng g component login
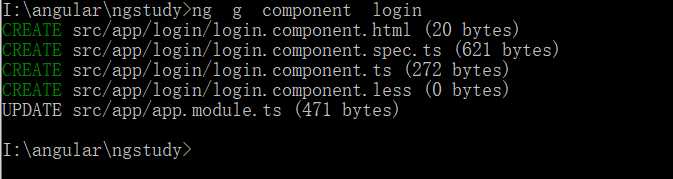
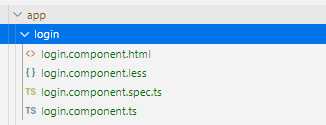
2、直接生成组件
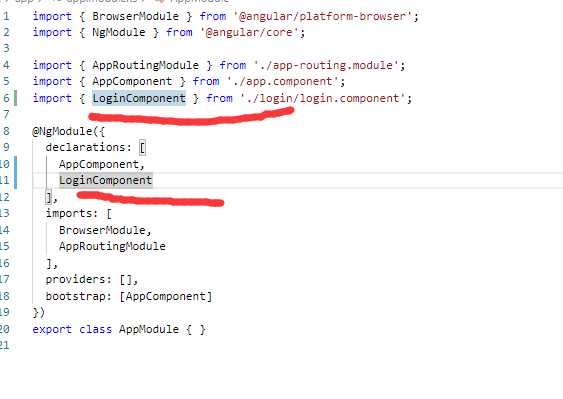
3、也自动添加组件定义到如下位置
4、下面是关键
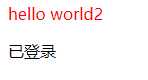
<div class="header" (click)="test()">{{info}}</div>
<app-login><app-login>
<router-outlet></router-outlet>
要注意,这里要和自定义组件中的selector一致
不要写成<Login>
5、添加一个自定义属性
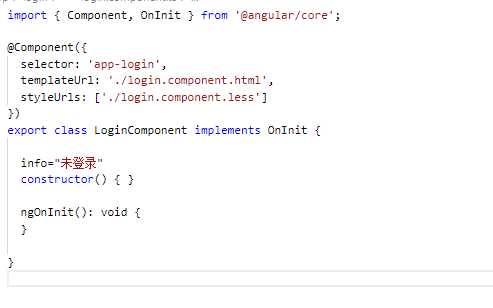
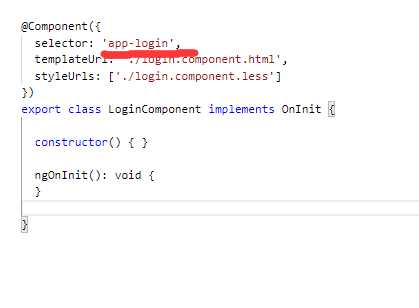
6、修改login页面
<p>{{info}}</p>
7、现在通过点击父组件修改子组件状态,使用ViewChild方式
import { Component, ViewChild } from ‘@angular/core‘;
import { LoginComponent } from ‘./login/login.component‘;
@Component({
  selector: ‘app-root‘,
  templateUrl: ‘./app.component.html‘,
  styleUrls: [‘./app.component.less‘],

})

export class AppComponent {
  @ViewChild(LoginComponent)         // 使用viewChild导入引用
  private loginComponent: LoginComponent;   // 将子组件注入到私有属性

  title = ‘ngstudy‘;
  info="hello world1";
  @ViewChild(‘app-login‘) login: any;
  test() {
    this.info="hello world2";
    console.log(this.login);
    this.loginComponent.info="已登录";
  }
}
注意@ViewChild定义位置
8、现在点击HelloWorld
标签:注入 创建组 export 组件 html private png nbsp tle
原文地址:https://www.cnblogs.com/zhaogaojian/p/12355145.html