标签:toc linu zip 安装过程 图片 protocol selinux shell session
系统版本:CentOS Linux release 7.3.1611 (Core)
软件版本:Gitlab-ce-11.10.1
硬件要求:最低2核4GB,建议4核8GB
[root@localhost ~]# yum -y install curl policycoreutils-python openssh-server [root@localhost ~]# systemctl enable sshd
[root@localhost ~]# systemctl start sshd
[root@localhost ~]# systemctl stop firewalld
[root@localhost ~]# systemctl disable firewalld
[root@localhost ~]# sed -i 's/SELINUX=enforcing/SELINUX=disabled/' /etc/sysconfig/selinux
[root@localhost ~]# setenforce 0我们使用清华大学提供的YUM源,以提高下载速度。
[root@localhost ~]# vim /etc/yum.repos.d/gitlab-ce.repo
[gitlab-ce]
name=Gitlab CE Repository
baseurl=https://mirrors.tuna.tsinghua.edu.cn/gitlab-ce/yum/el$releasever/
gpgcheck=0
enabled=1
[root@localhost ~]# yum makecache我们选择安装最新版本的Gitlab。
[root@localhost ~]# yum install -y gitlab-ce
可以访问"https://mirrors.tuna.tsinghua.edu.cn/gitlab-ce/yum/el7/"查看Gitlab-ce的版本。
安装历史版本请使用下面命令:
[root@localhost ~]# yum install -y gitlab-ce-{VERSION}建议使用HTTPS。
[root@localhost ~]# vim /etc/gitlab/gitlab.rb
### 基础配置 ###
external_url 'https://gitlab.xxx.cn'
gitlab_rails['time_zone'] = 'Asia/Shanghai'

### SSH配置 ###
gitlab_rails['gitlab_shell_ssh_port'] = 10222

### 邮箱配置 ###
gitlab_rails['smtp_enable'] = true
gitlab_rails['smtp_address'] = "smtp.exmail.qq.com"
gitlab_rails['smtp_port'] = 465
gitlab_rails['smtp_user_name'] = "xxx@xxx.cn"
gitlab_rails['smtp_password'] = "xxx"
gitlab_rails['smtp_authentication'] = "login"
gitlab_rails['smtp_enable_starttls_auto'] = true
gitlab_rails['smtp_tls'] = true
gitlab_rails['gitlab_email_from'] = 'xxx@xxx.cn'

### WEB配置 ###
nginx['enable'] = true
nginx['client_max_body_size'] = '250m'
nginx['redirect_http_to_https'] = true
nginx['ssl_certificate'] = "/etc/gitlab/ssl/gitlab.xxx.cn.pem"
nginx['ssl_certificate_key'] = "/etc/gitlab/ssl/gitlab.xxx.cn.key"
nginx['ssl_protocols'] = "TLSv1.1 TLSv1.2"
nginx['ssl_session_cache'] = "builtin:1000  shared:SSL:10m"
nginx['ssl_session_timeout'] = "5m"
nginx['listen_addresses'] = ['*', '[::]']
nginx['gzip_enabled'] = true[root@localhost ~]# ll /etc/gitlab/ssl/
total 28
drwxr-xr-x 2 root root 4096 Apr 25 11:48 ./
drwxrwxr-x 4 root root 4096 Apr 25 12:50 ../
-rw-r--r-- 1 root root 1675 Apr 25 11:45 gitlab.xxx.cn.key
-rw-r--r-- 1 root root 3671 Apr 25 11:45 gitlab.xxx.cn.pem当配置文件发生变化时,或者是第一次启动时,我们需要刷新配置。
[root@localhost ~]# systemctl restart gitlab-runsvdir
[root@localhost ~]# gitlab-ctl reconfigure[root@localhost ~]# gitlab-ctl restart
[root@localhost ~]# gitlab-ctl status
run: alertmanager: (pid 13541) 2171s; run: log: (pid 13221) 2192s
run: gitaly: (pid 13557) 2170s; run: log: (pid 12463) 2266s
run: gitlab-monitor: (pid 13580) 2169s; run: log: (pid 13103) 2208s
run: gitlab-workhorse: (pid 13602) 2169s; run: log: (pid 12887) 2226s
run: logrotate: (pid 13617) 2168s; run: log: (pid 12959) 2218s
run: nginx: (pid 13628) 2168s; run: log: (pid 12927) 2222s
run: node-exporter: (pid 13714) 2168s; run: log: (pid 13002) 2214s
run: postgres-exporter: (pid 13720) 2167s; run: log: (pid 13270) 2188s
run: postgresql: (pid 13740) 2167s; run: log: (pid 12669) 2258s
run: prometheus: (pid 13748) 2166s; run: log: (pid 13181) 2198s
run: redis: (pid 13761) 2166s; run: log: (pid 11907) 2293s
run: redis-exporter: (pid 13800) 2165s; run: log: (pid 13143) 2202s
run: sidekiq: (pid 13821) 2163s; run: log: (pid 12872) 2227s
run: unicorn: (pid 13833) 2162s; run: log: (pid 12832) 2233s我们在启动完成后测试一下邮件发送功能是否正常工作。
[root@localhost ~]# gitlab-rails console
irb(main):001:0> Notify.test_email('邮箱地址', '标题', '内容').deliver_now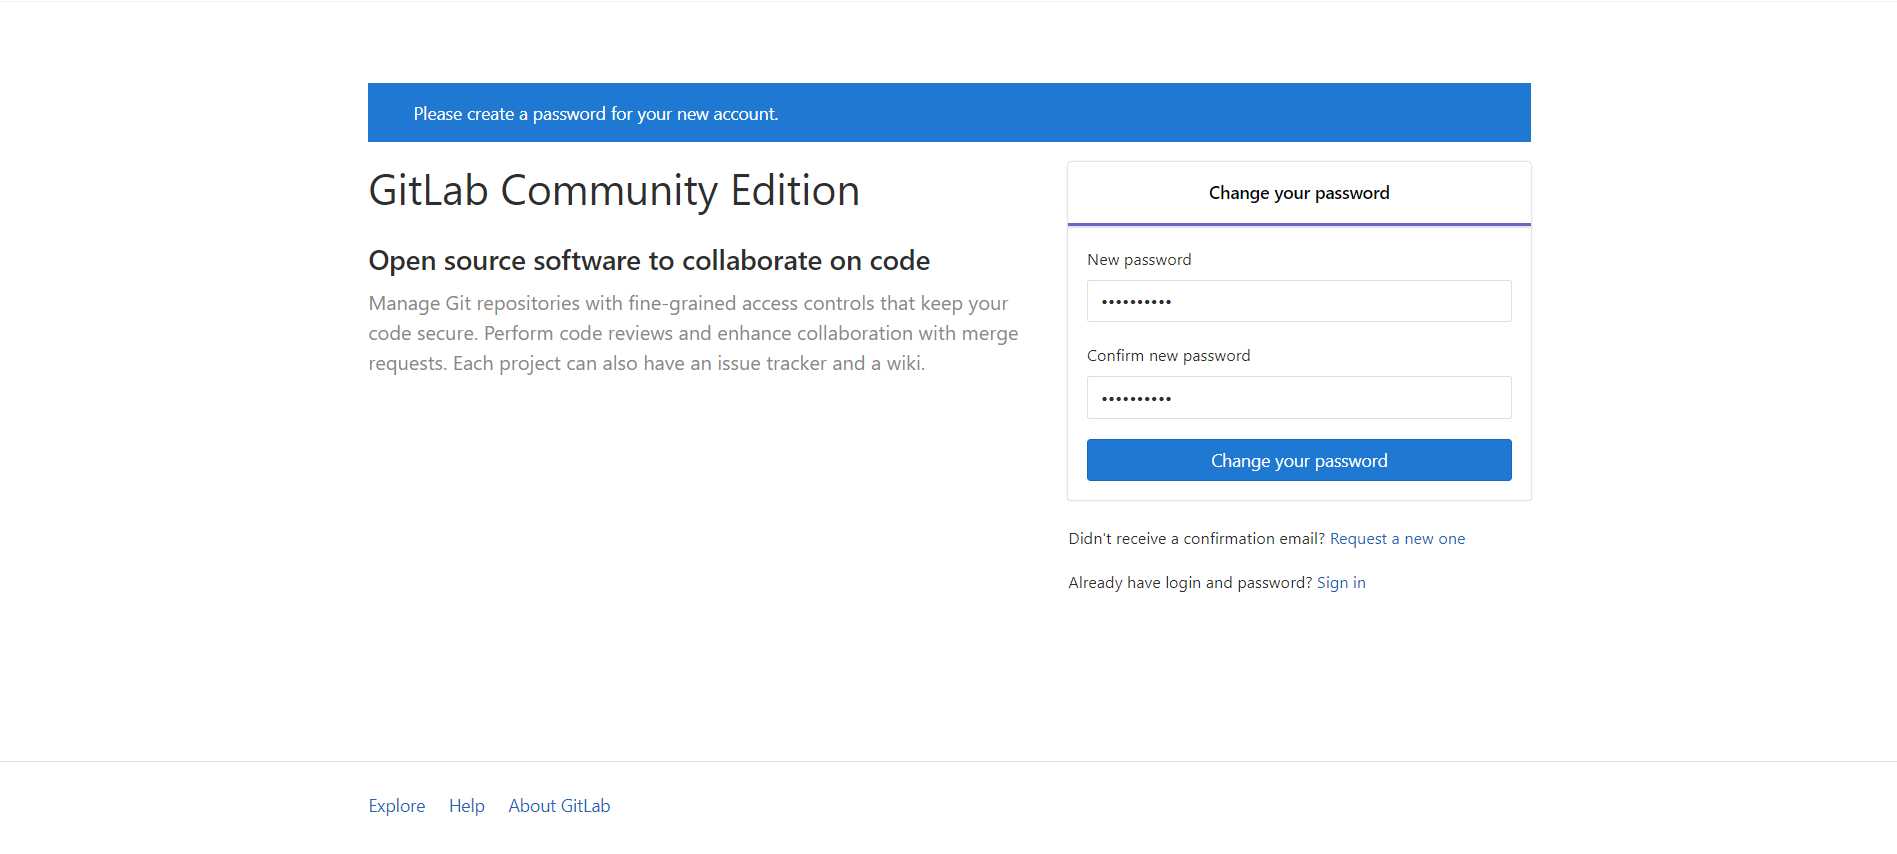
irb(main):002:0> exit第一次需要输入新的超级管理员(root)密码。
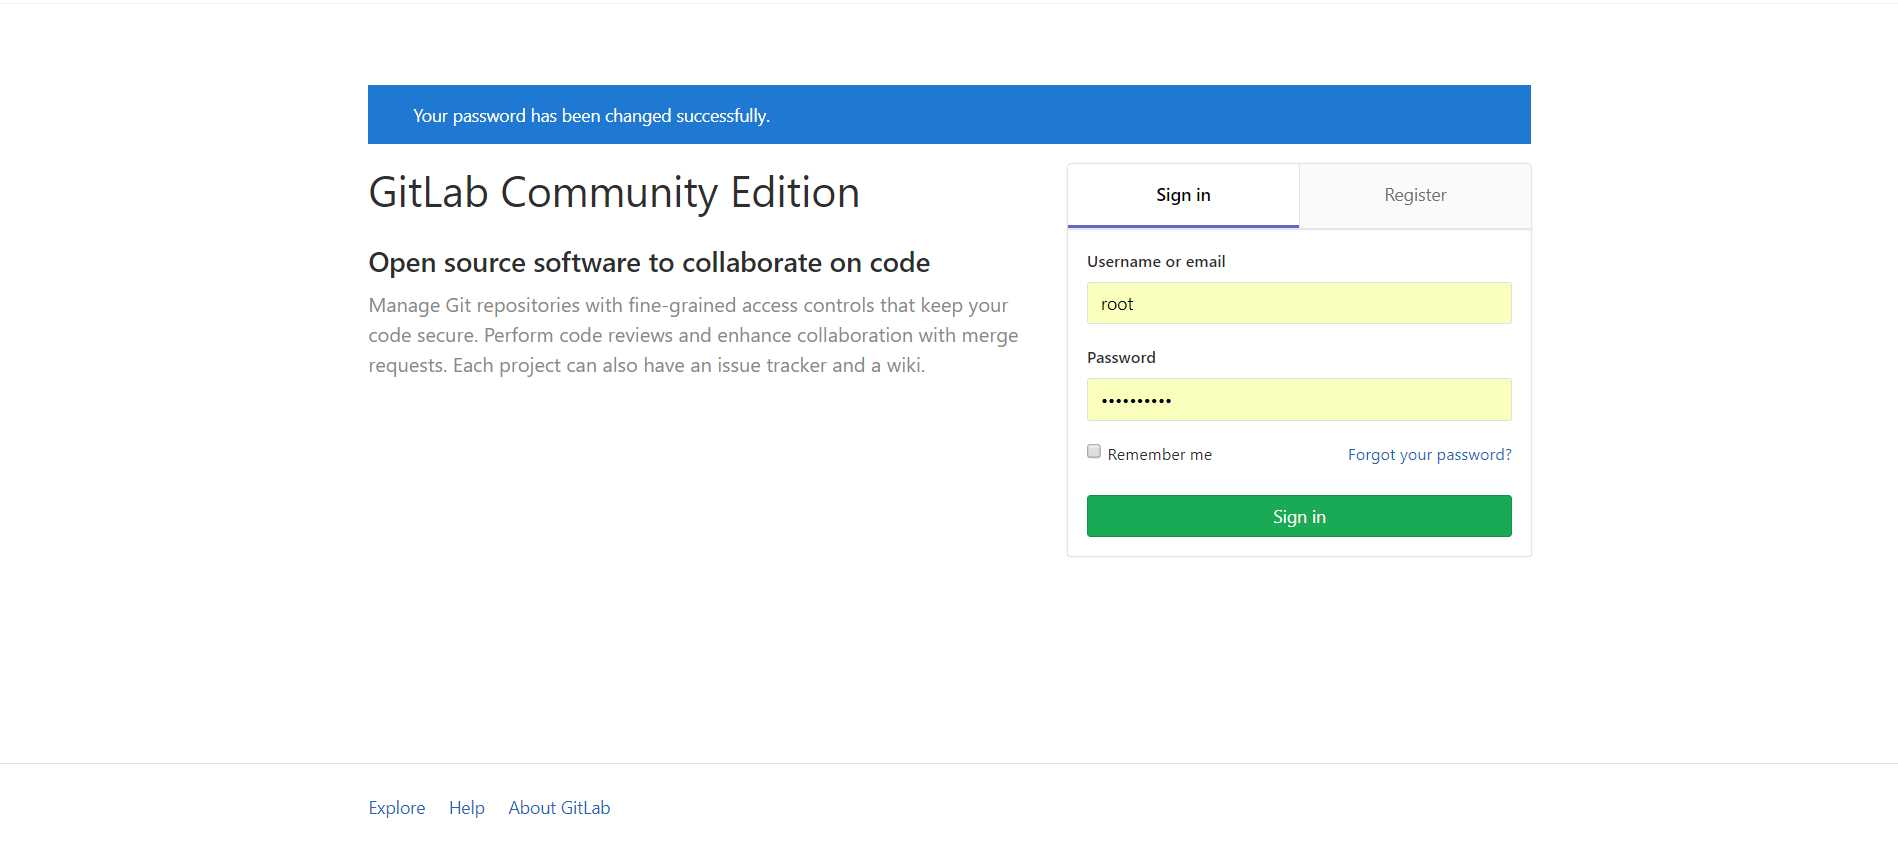
修改成功后,我们使用超级管理员用户“root”账号登录Gitlab管理平台。
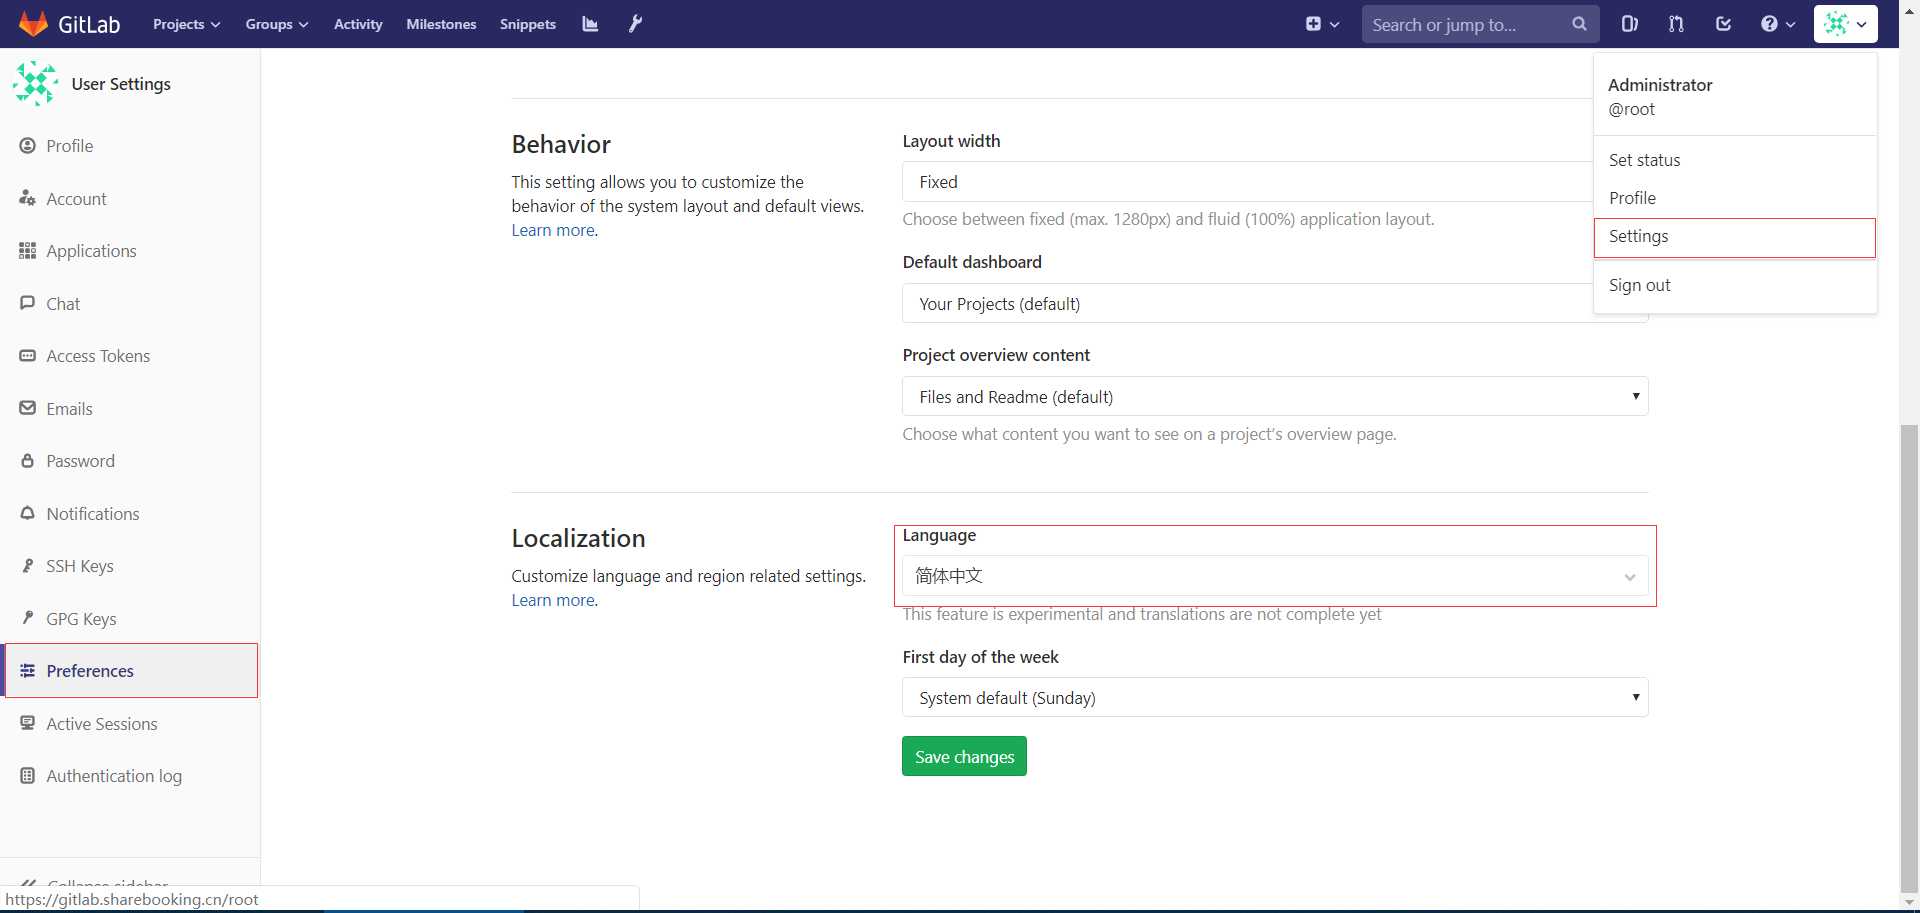
为了避免用户随便注册账号,我们将注册功能关闭。
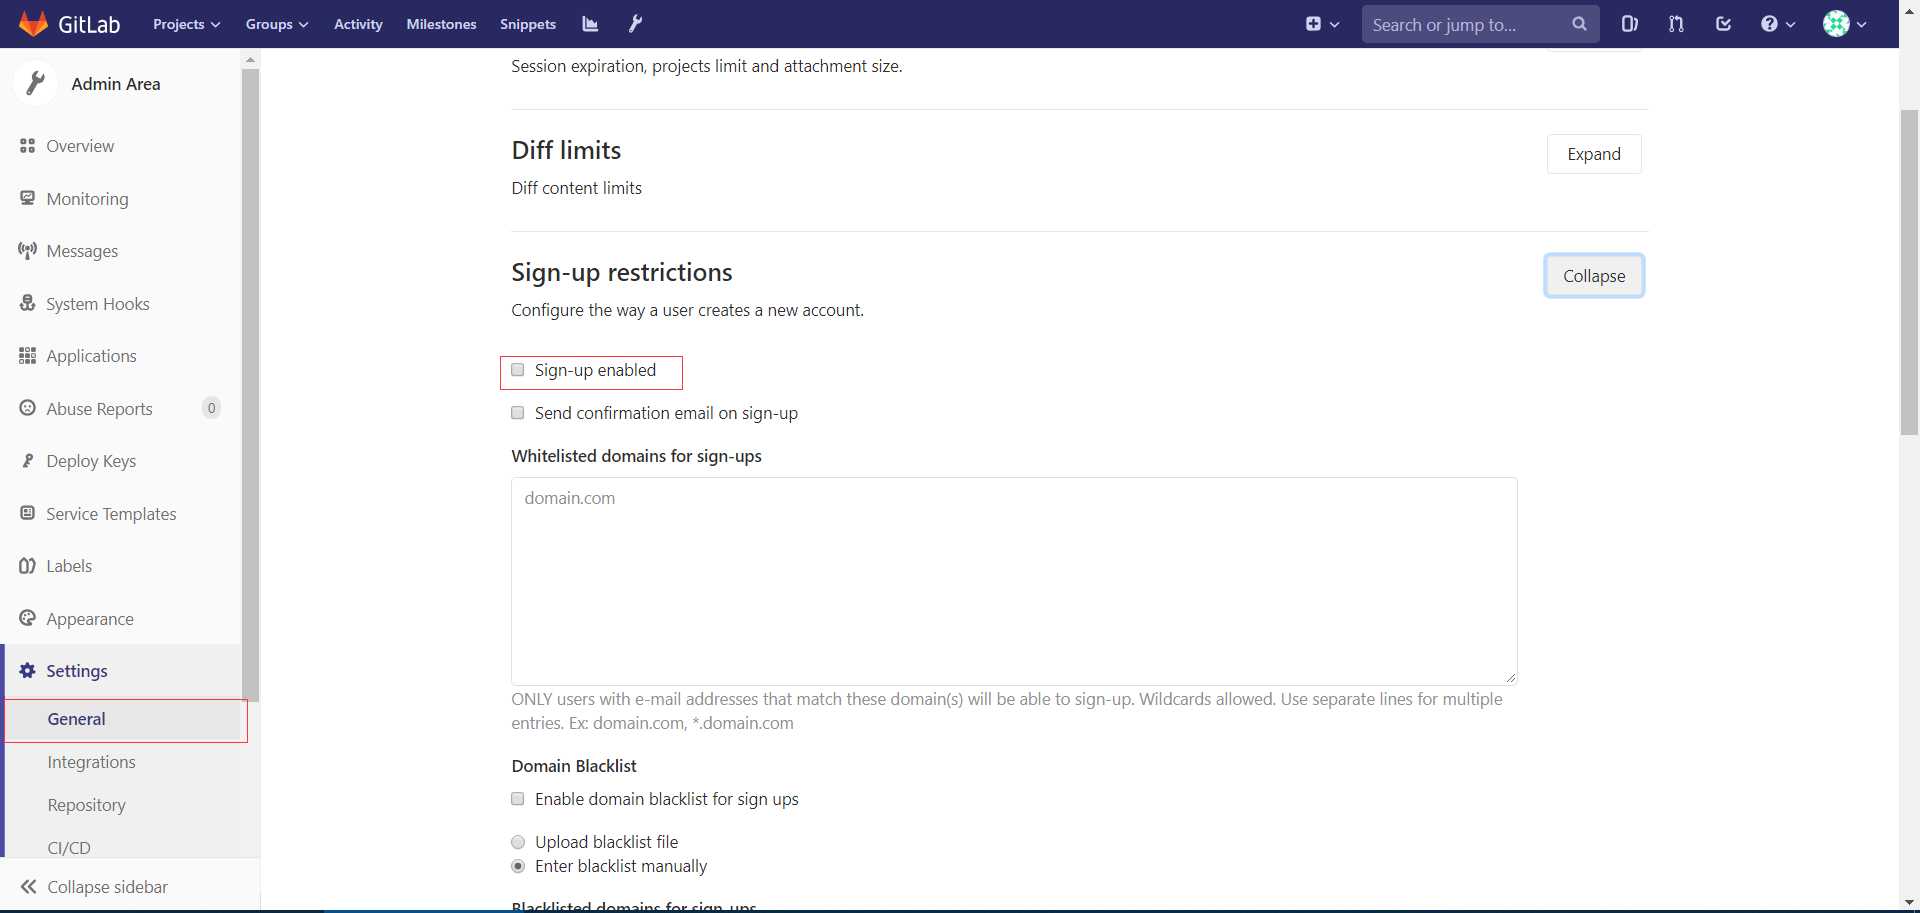
保存后重启登陆即可。
标签:toc linu zip 安装过程 图片 protocol selinux shell session
原文地址:https://www.cnblogs.com/network-ren/p/12377267.html