标签:参考 pil html 网站 选择 top containe images cmd
下载地址:https://digi.bib.uni-mannheim.de/tesseract/
github地址:https://github.com/tesseract-ocr/tesseract
具体安装参考博文:https://www.wj0511.com/site/detail.html?id=250
DLL动态链接库:https://www.polarxiong.com/archives/python-pytesser-tesseract.html
在这里我没有听取博主的建议,直接在安装的时候选择了语言安装包,结果真的很慢很慢……
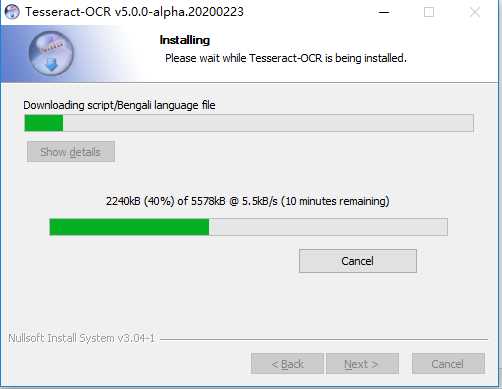
在安装成功之后,环境变量也配置好之后,在命令行进行验证:tesseract --version

查看已安装的语言包:tesseract --list-langs
简单测试将图片内容提取出来:tesseract image.png result

我在这里的验证码有干扰线,暂时还没能识别出来,只是做了简单的二值化灰度处理: 代码如下:
import re  # 用于正则
from PIL import Image  # 用于打开图片和对图片处理
import pytesseract  # 用于图片转文字
from selenium import webdriver  # 用于打开网站
import time  # 代码运行停顿

from wx.lib.pubsub.py2and3 import xrange


class VerificationCode:
    def __init__(self):
        self.driver = webdriver.Chrome()
        self.find_element = self.driver.find_element_by_css_selector
        print(self.driver.capabilities[‘browserVersion‘])

    def get_pictures(self):
        self.driver.get(‘http://10.98.0.224:5201/V4/index.html#/login‘)  # 打开登陆页面
        self.driver.save_screenshot(‘pictures.png‘)  # 全屏截图
        page_snap_obj = Image.open(‘pictures.png‘)
        img = self.driver.find_element_by_xpath("/html/body/div/div/div/div[3]/div/div[1]/ul/li[4]/img")  # 验证码元素位置
        time.sleep(1)
        location = img.location
        size = img.size  # 获取验证码的大小参数
        left = location[‘x‘]
        top = location[‘y‘]
        right = left + size[‘width‘]
        bottom = top + size[‘height‘]
        image_obj = page_snap_obj.crop((left, top, right, bottom))  # 按照验证码的长宽,切割验证码
        # image_obj.show()  # 打开切割后的完整验证码
        self.driver.close()  # 处理完验证码后关闭浏览器
        return image_obj

    def processing_image(self):
        image_obj = self.get_pictures()  # 获取验证码
        img = image_obj.convert("L")  # 转灰度
        pixdata = img.load()
        w, h = img.size
        threshold = 150
        # 遍历所有像素,大于阈值的为黑色
        for y in range(h):
            for x in range(w):
                if pixdata[x, y] < threshold:
                    pixdata[x, y] = 0
                else:
                    pixdata[x, y] = 255
        return img

    def delete_spot(self):      # 去除噪音
        images = self.processing_image()
        data = images.getdata()
        w, h = images.size
        black_point = 0
        for x in range(1, w - 1):
            for y in range(1, h - 1):
                mid_pixel = data[w * y + x]  # 中央像素点像素值
                if mid_pixel < 50:  # 找出上下左右四个方向像素点像素值
                    top_pixel = data[w * (y - 1) + x]
                    left_pixel = data[w * y + (x - 1)]
                    down_pixel = data[w * (y + 1) + x]
                    right_pixel = data[w * y + (x + 1)]
                    # 判断上下左右的黑色像素点总个数
                    if top_pixel < 10:
                        black_point += 1
                    if left_pixel < 10:
                        black_point += 1
                    if down_pixel < 10:
                        black_point += 1
                    if right_pixel < 10:
                        black_point += 1
                    if black_point < 1:
                        images.putpixel((x, y), 255)
                    black_point = 0
        images.show()
        return images

    # def get_left_start_point(self):
    #     image = self.delete_spot()
    #     start_point = (0, 0)
    #     found = False
    #     w, h = image.size
    #     data = list(image.getdata())
    #
    #     print(data)
    #
    #     # for x in xrange(w):
    #     #     for y in xrange(h):
    #     #         if data[y * w + x] != white:
    #     #             found = True
    #     #             start_point = (x, y)
    #     #             break
    #     #         if found:
    #     #             break
    #     return start_point

    def image_str(self):
        image = self.delete_spot()
        pytesseract.pytesseract.tesseract_cmd = r"E:\tesseract\tesseract.exe"  # 设置pyteseract路径
        result = pytesseract.image_to_string(image)  # 图片转文字
        resultj = re.sub(u"([^\u4e00-\u9fa5\u0030-\u0039\u0041-\u005a\u0061-\u007a])", "", result)  # 去除识别出来的特殊字符
        result_four = resultj[0:4]  # 只获取前4个字符
        print(resultj)  # 打印识别的验证码
        return result_four


if __name__ == ‘__main__‘:
    a = VerificationCode()
    a.image_str()
结果展示:
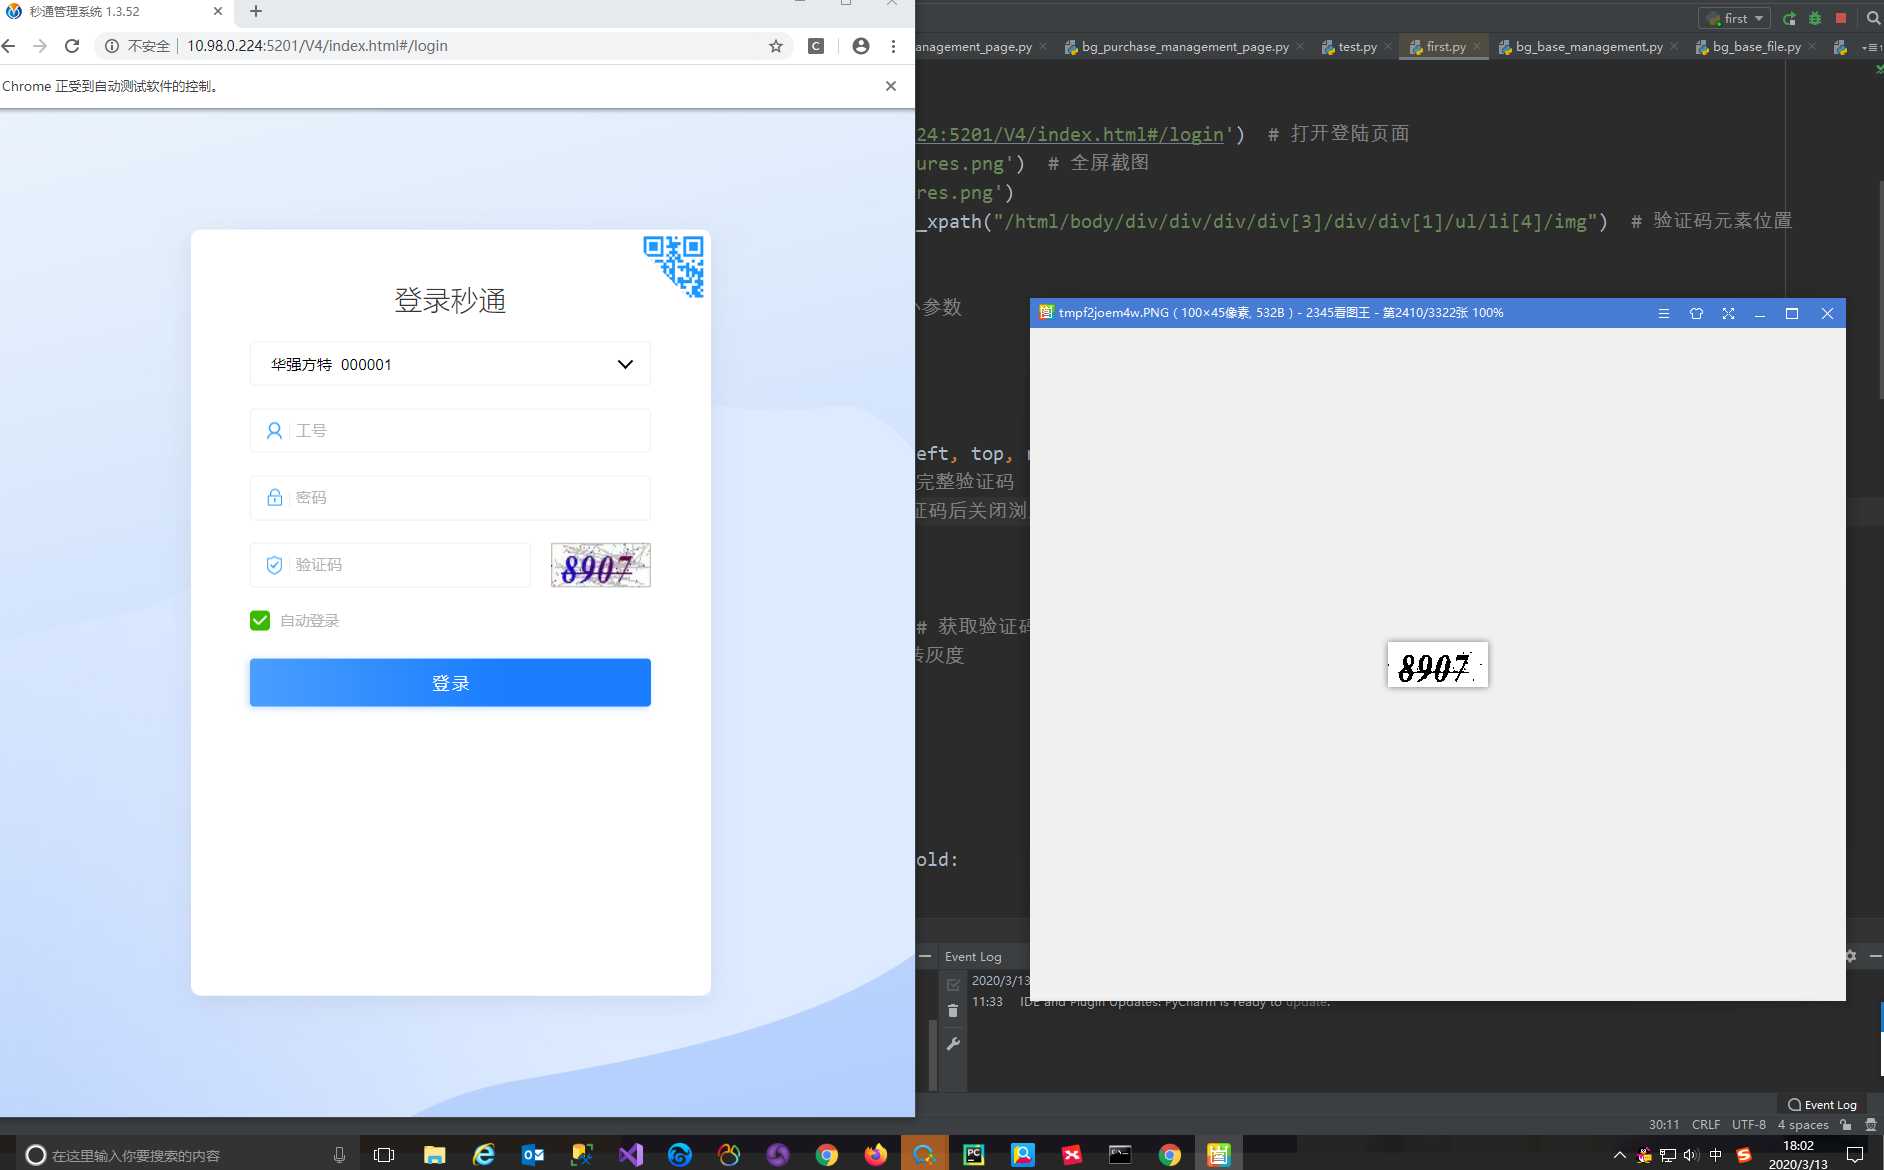
结果识别出来是空的……
标签:参考 pil html 网站 选择 top containe images cmd
原文地址:https://www.cnblogs.com/pegawayatstudying/p/12402146.html