标签:oid get new cee 过期 显示 config import setname
在微服务架构中如何去监控服务的状态是否正常,非常重要。为例保证微服务的可用性,防止程序断路器模型。运维人员需要一个友好的程序来监控微服务的状态, Hystrix Dashboard作为断路器监控的一个重要组件,提供了数据监控及非常友好的图形化界面,方便运维人员对服务进行监控;,通过界面反馈的信息可以快速发现系统中存在的问题。另外Hystrix Dashboard是一个独立的服务结点,不需要配置任何的注册中心。1、新建项目sc-hystrix-dashboard,对用的pom.xml文件如下
<project xmlns="http://maven.apache.org/POM/4.0.0" xmlns:xsi="http://www.w3.org/2001/XMLSchema-instance"
xsi:schemaLocation="http://maven.apache.org/POM/4.0.0 http://maven.apache.org/xsd/maven-4.0.0.xsd">
<modelVersion>4.0.0</modelVersion>
<groupId>spring-cloud</groupId>
<artifactId>sc-hystrix-dashboard</artifactId>
<version>0.0.1-SNAPSHOT</version>
<packaging>jar</packaging>
<name>sc-hystrix-dashboard</name>
<url>http://maven.apache.org</url>
<parent>
<groupId>org.springframework.boot</groupId>
<artifactId>spring-boot-starter-parent</artifactId>
<version>2.0.4.RELEASE</version>
</parent>
<dependencyManagement>
<dependencies>
<dependency>
<groupId>org.springframework.cloud</groupId>
<artifactId>spring-cloud-dependencies</artifactId>
<version>Finchley.RELEASE</version>
<type>pom</type>
<scope>import</scope>
</dependency>
</dependencies>
</dependencyManagement>
<properties>
<project.build.sourceEncoding>UTF-8</project.build.sourceEncoding>
<maven.compiler.source>1.8</maven.compiler.source>
<maven.compiler.target>1.8</maven.compiler.target>
</properties>
<dependencies>
<!-- <dependency>
<groupId>org.springframework.cloud</groupId>
<artifactId>spring-cloud-starter-hystrix-dashboard</artifactId>
<version>1.4.5.RELEASE</version>
</dependency> -->
<dependency>
<groupId>org.springframework.cloud</groupId>
<artifactId>spring-cloud-starter-netflix-hystrix-dashboard</artifactId>
</dependency>
<!-- <dependency>
<groupId>org.springframework.cloud</groupId>
<artifactId>spring-cloud-starter-hystrix</artifactId>
<version>1.4.5.RELEASE</version>
</dependency> -->
<dependency>
<groupId>org.springframework.cloud</groupId>
<artifactId>spring-cloud-starter-netflix-hystrix</artifactId>
</dependency>
<dependency>
<groupId>org.springframework.boot</groupId>
<artifactId>spring-boot-starter-actuator</artifactId>
</dependency>
</dependencies>
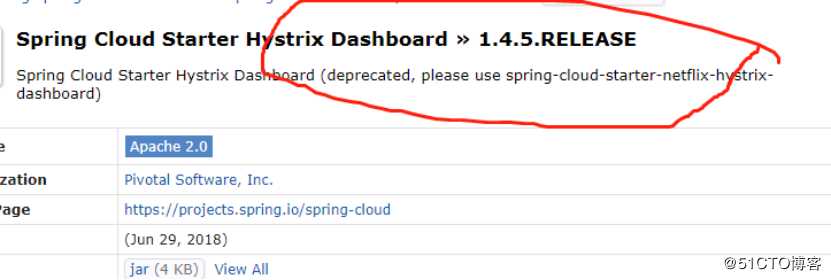
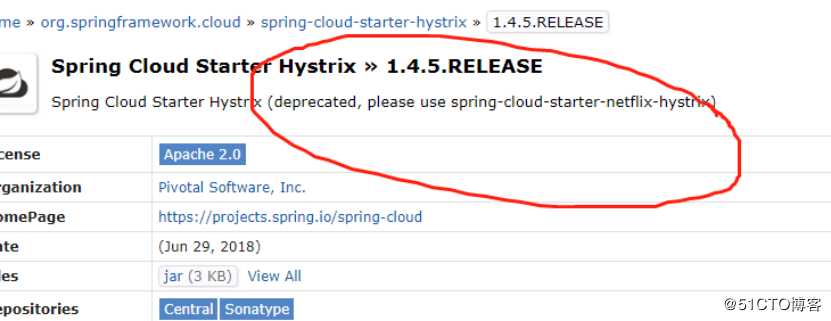
</project>说明:spring cloud 2.x之后spring-cloud-starter-hystrix-dashboard和spring-cloud-starter-hystrix都标志为过期,具体推荐使用两个依赖请看下面的图片
2、新建spring boot启动类DashboardApplication.java
package sc.hystrix.dashboard;

import org.springframework.boot.SpringApplication;
import org.springframework.boot.autoconfigure.SpringBootApplication;
import org.springframework.cloud.netflix.hystrix.dashboard.EnableHystrixDashboard;

@SpringBootApplication
@EnableHystrixDashboard
public class DashboardApplication {

    public static void main(String[] args) {
        SpringApplication.run(DashboardApplication.class, args);
    }

}
只需添加注解EnableHystrixDashboard,启动Hystrix Dashboard即可
3、配置Hystrix Dashboard对应的Servlet
package sc.hystrix.dashboard;

import org.springframework.boot.web.servlet.ServletRegistrationBean;
import org.springframework.context.annotation.Bean;
import org.springframework.context.annotation.Configuration;

import com.netflix.hystrix.contrib.metrics.eventstream.HystrixMetricsStreamServlet;

@Configuration
public class DashboardServletConfig {

    @Bean
    public ServletRegistrationBean getDashboardServlet(){

        HystrixMetricsStreamServlet servlet = new HystrixMetricsStreamServlet();
        ServletRegistrationBean bean = new ServletRegistrationBean(servlet);
        bean.setLoadOnStartup(1);
        bean.addUrlMappings("/hystrix.stream");
        bean.setName("hystrix");
        return bean;
    }

}
4、新建配置文件bootstrap.yml
spring:
    application:
        name: sc-hystrix-dashboard

server:
    port: 2001
5、启动并验证是否启动成功
方法一:查看日志配置的端口2001,在日志中标志启动成功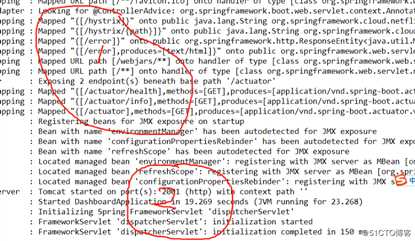
方法二:从上图标志的1中可以知道可以方法地址:http://127.0.0.1:2001/hystrix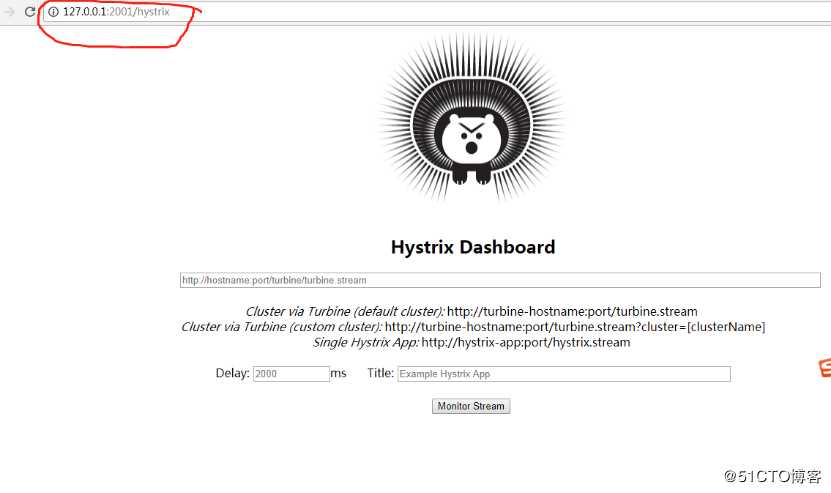
6、分析一下下图中的英文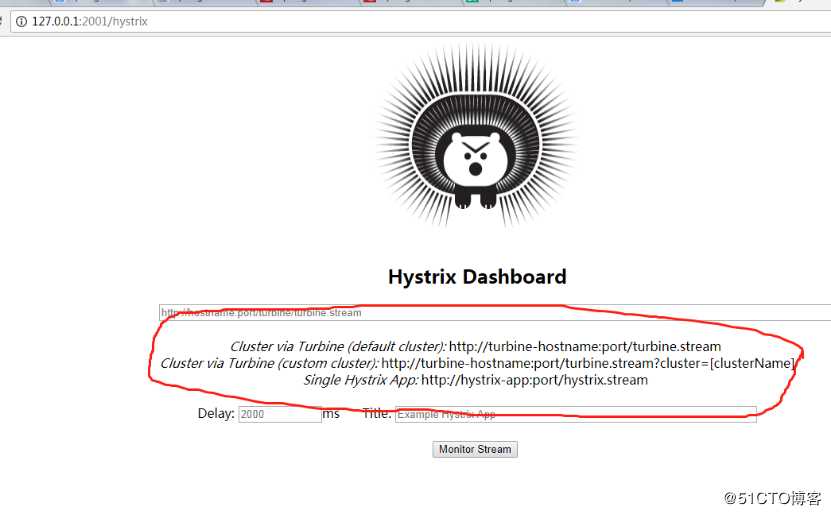
大概的意思是:如果查看默认集群使用第一个url,查看指定集群使用第二个url,单个应用监控使用最后一个
7、在url中输入http://127.0.0.1:2001/hystrix.stream
然后点击Monitor Stream按钮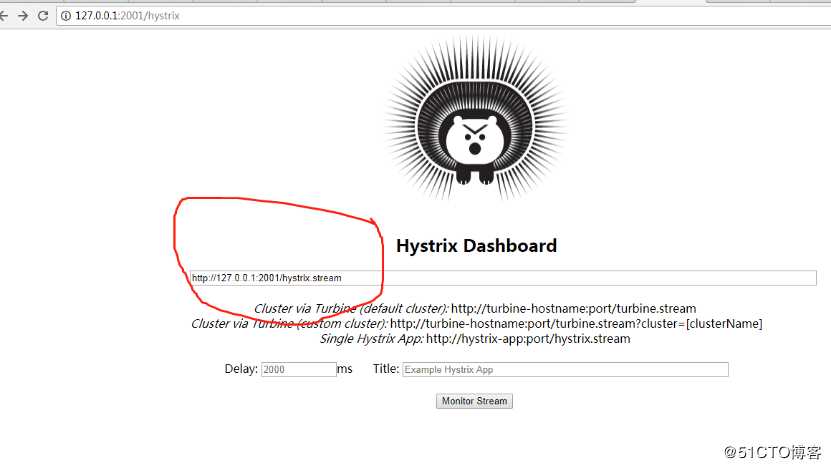
或者访问http://localhost:2001/hystrix.stream也会不断的显示ping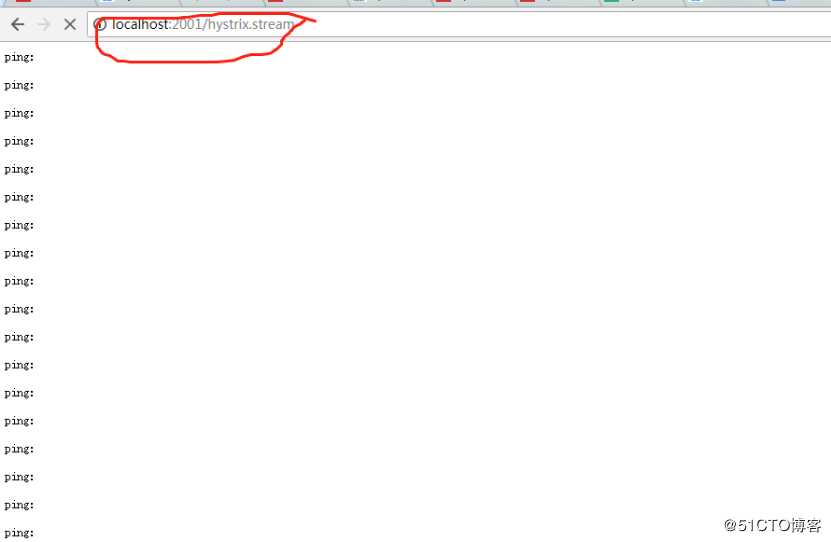
标签:oid get new cee 过期 显示 config import setname
原文地址:https://blog.51cto.com/13538361/2491353