标签:pgp img top 开始 一个 sch ntop 不能 理解
第二次,本牛崽十分从容,今天咱们来讲讲Android Q之布局,我遇到的问题与自己学到的,大牛不要嘲笑哈,有错误可以指出来,本牛崽看到就改了。
今天我的学长跟我们开始了布局,布局看资料说好像有5种,又不止五种,但是嘞,基本上后面的都不用了,主要是线性布局和帧布局。
首先咱们来讲讲线性布局,本牛崽说说自己理解的哈,如果有质疑,大牛们可以提。
我了解到的概念哈,线性布局是相当于把每块区域用一根线穿起来,有水平和垂直两种重要的布局规格。
纵向:android:orientation="vertical",也叫垂直方向布局一般都是相当于数学作业本那种样式,一般每行一个区域。
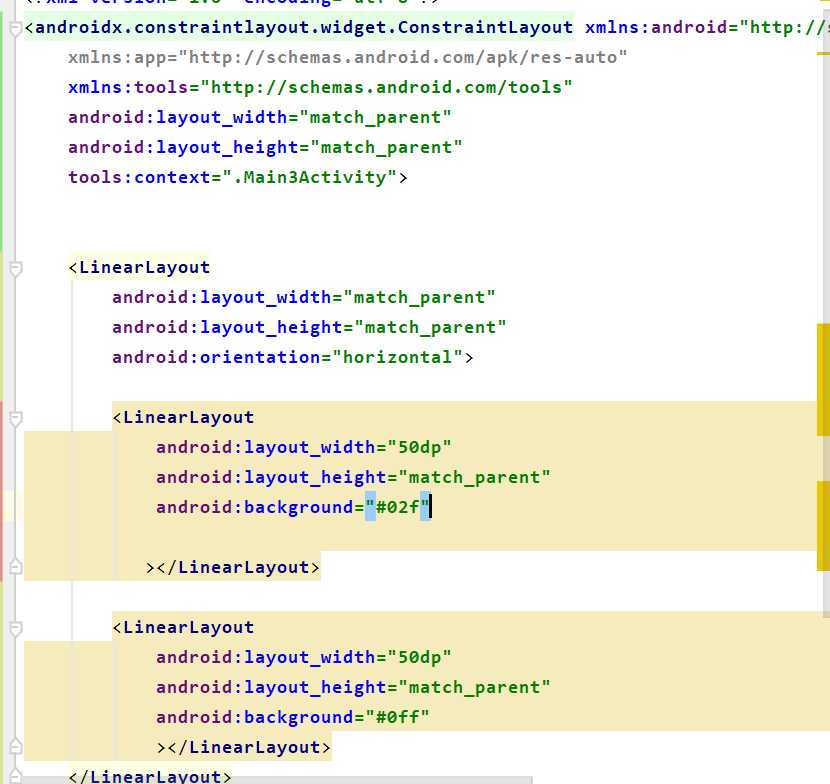
横向:android:orientation="horizontal"就是把数学本横摆着嘛,嘿嘿。
还有一种就是不写这个属性,就是一般的,自动定义区域的
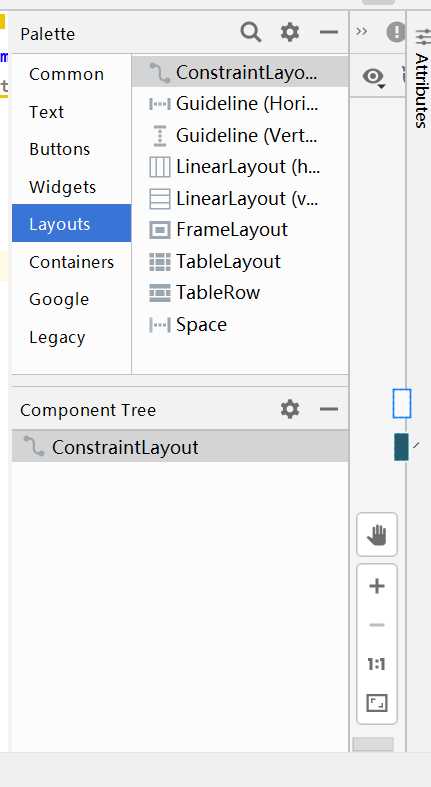
下面图中的LinerLayout就是线性布局,这个新牛崽值得拥有,哈哈,本牛崽就喜欢拖,拖下去代码就出来了
用垂直方向布局的话一般得嵌套线性布局哈
效果就这样:
是不是很像数学作业本啊,你们高数怕了吗?
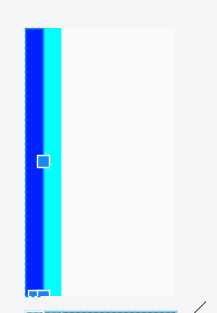
这就是简单的线性布局啦,
然后就是帧布局,帧布局,学长讲解的,我大概可以理解成是贴在最外面的,所以写代码的时候一般都是把你最想放在最外面的东西写到最后,它就会显示在最外面。
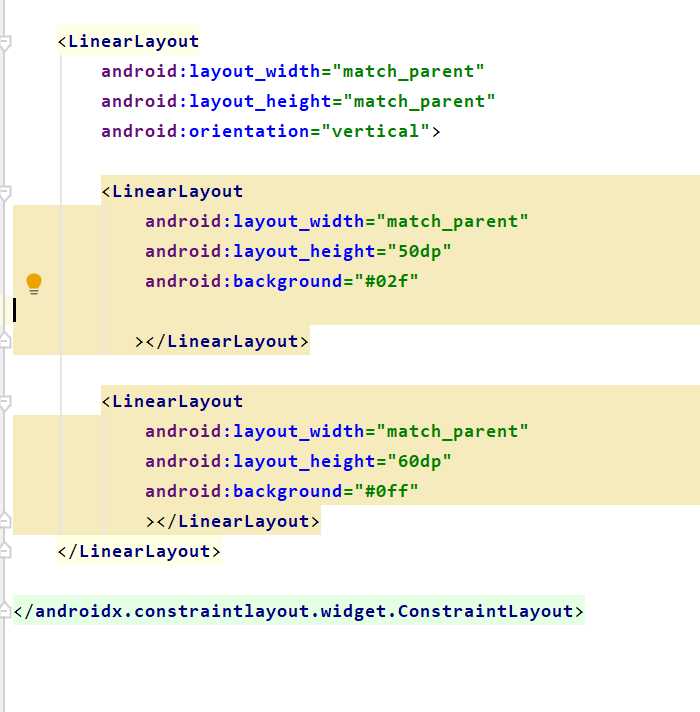
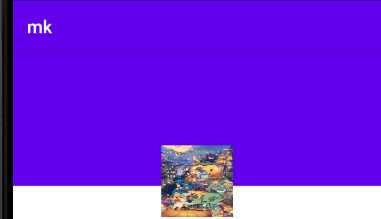
FrameLayout:这边直接嵌套线性布局来用了,看下面,记住特点,最下面写的布局是最外面这层,然后所有布局会堆起来,下面测试的颜色应该看得出来吧,绿色和红色。
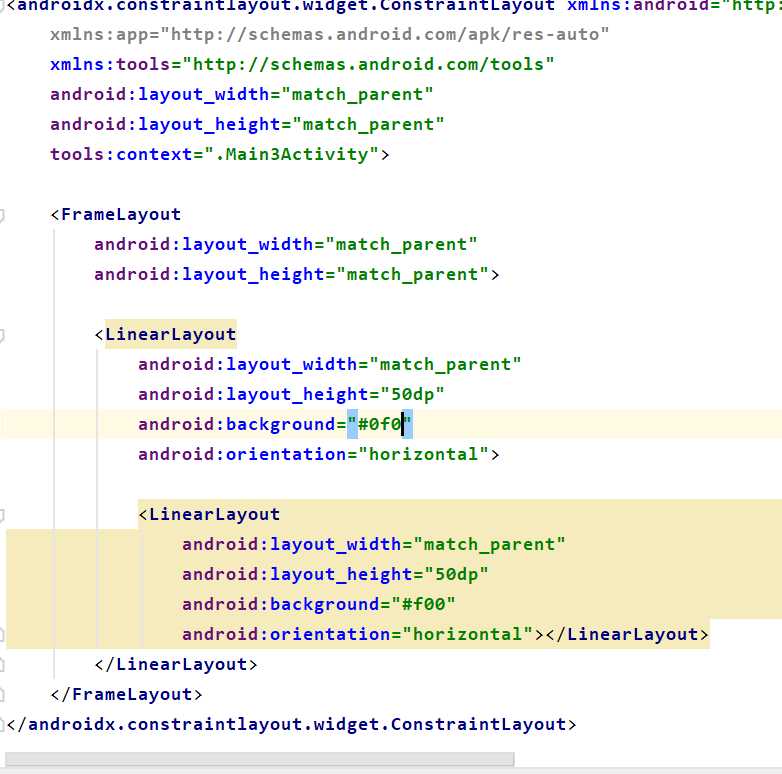
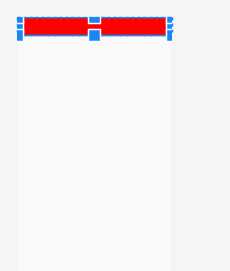
我们显示出的是红色,懂吧,它在下面,它最大。然后布局都堆在一起了。这不算线性布局和帧布局嵌套哈,只是帧布局包着线性布局罢了
现在就拿出我学到的镇店之宝吧。。。
就是一个布局嵌套:
一开始我也觉得挺难的,后来发现还不错,代码贴上:
其实我当时写的时候就分出来了,看着很长,知道思路就简单,记住,帧布局的东西,最下面的最大。
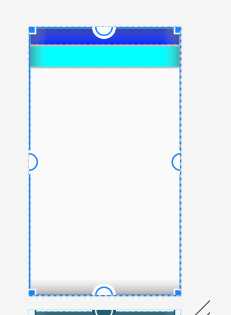
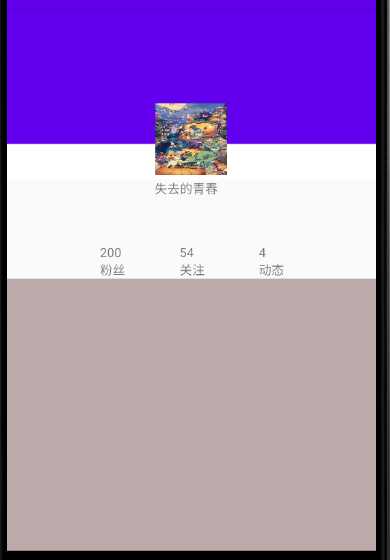
我的思路是,先放个垂直的线性布局,再放两个空线性布局,然后分别放入两个帧布局就把它分成两部分了
但是要注意的是,如果想做出这种情况,就得让两个线性布局堆叠,大的放最下面,就是白色块,蓝色块在中间,最上面放图片,贴在白色块的底部,就形成了居中分离,下面再放信息,信息也是这种铺地毯的方法。
<?xml version="1.0" encoding="utf-8"?>
<androidx.constraintlayout.widget.ConstraintLayout xmlns:android="http://schemas.android.com/apk/res/android"
    xmlns:app="http://schemas.android.com/apk/res-auto"
    xmlns:tools="http://schemas.android.com/tools"
    android:layout_width="match_parent"
    android:layout_height="match_parent"
    tools:context=".MainActivity">

    <LinearLayout
        android:layout_width="match_parent"
        android:layout_height="match_parent"
        android:orientation="vertical">


        <LinearLayout
            android:layout_width="match_parent"
            android:layout_height="wrap_content"
            android:orientation="vertical">
            <FrameLayout
                android:layout_width="match_parent"
                android:layout_height="wrap_content"
                android:layout_gravity="bottom"
                >
                <LinearLayout
                    android:layout_width="match_parent"
                    android:layout_height="190dp"
                    android:background="#fff"
                    android:layout_gravity="bottom"
                    >

                </LinearLayout>
                <LinearLayout
                    android:layout_width="match_parent"
                    android:layout_height="150dp"
                    android:background="@color/colorPrimary"
                    android:gravity="bottom">
                </LinearLayout>
//记住不要把图片用上面的线性布局包起来了,用帧布局包着才行,
                <ImageView
                    android:layout_width="80dp"
                    android:layout_height="80dp"
                    android:layout_gravity="center"
                    android:layout_marginTop="50dp"
                    android:background="@drawable/pgpg" />

            </FrameLayout>
            <FrameLayout
                android:layout_width="match_parent"
                android:layout_height="match_parent"
                >
                <LinearLayout
                    android:layout_width="match_parent"
                    android:layout_height="110dp"
                    android:gravity="bottom">


                    <LinearLayout
                        android:layout_width="match_parent"
                        android:layout_height="wrap_content">

                        <TextView
                            android:layout_width="wrap_content"
                            android:layout_height="wrap_content"
                            android:layout_marginLeft="104dp"
                            android:layout_marginRight="20dp"
                            android:text="200\n粉丝" />


                        <TextView
                            android:layout_width="wrap_content"
                            android:layout_height="wrap_content"
                            android:layout_marginLeft="40dp"
                            android:layout_marginRight="40dp"
                            android:text="54\n关注" />

                        <TextView
                            android:layout_width="wrap_content"
                            android:layout_height="wrap_content"
                            android:layout_marginLeft="20dp"
                            android:layout_marginRight="20dp"
                            android:text="4\n动态" />
                    </LinearLayout>

                </LinearLayout>

          //记住,千万别包裹住下面的了,这样他就不能独立的贴在最上面了
                <TextView
                    android:layout_width="wrap_content"
                    android:layout_height="wrap_content"
                    android:layout_gravity="top"
                    android:layout_marginLeft="165dp"
                    android:text="失去的青春">

                </TextView>
            </FrameLayout>
        </LinearLayout>


        <LinearLayout
            android:layout_width="match_parent"
            android:layout_height="29dp"
            android:layout_weight="2"

            android:background="#baa">

        </LinearLayout>
    </LinearLayout>

</androidx.constraintlayout.widget.ConstraintLayout>

做到这个地步就是本牛崽作业的成果啦!
是不是觉得很长很可怕,我刚开始也这么觉得,插入图片,应该都知道,把图片放到下面图中的drawable中,改个名字就好,然后用背景图片、图片视图、图片按钮都可以插入。
补充完了,线性布局和帧布局学会了吗?我刚开始也是云里雾里的,一番研究加上自己写随笔的总结,我已经学懂了。很提倡大家花半个小时左右来总结。这样就像讲课一样,能修养自己也能帮助别人,这就是传说中的双赢,但是会比较累。加油,牛崽向大牛进发。
标签:pgp img top 开始 一个 sch ntop 不能 理解
原文地址:https://www.cnblogs.com/aolong/p/12865254.html