标签:efi 主机 html 方便 setfacl ln -s ast service script
编译安装LNMP,并安装wordpress1、编译安装nginx1.16
(1)安装依赖环境,解压 nginx源码包:
#yum install gcc pcre-devel openssl-devel zlib-devel
#tar xvf nginx-1.16.1 .tar.gz
(2)编译安装
# ./configure --prefix=/apps/nginx --user=nginx --group=nginx -with-http_ssl_module --with-http_v2_module  --with-http_realip_module  --with-http_stub_status_module  --with-http_gzip_static_module  --with-pcre  --with-stream  --with-stream_ssl_module --with-stream_realip_module

#make && make install
(3) 创建软连接,方便nginx启动:
ln -s /apps/nginx/sbin/nginx /usr/sbin/nginx
(4)启动nginx:
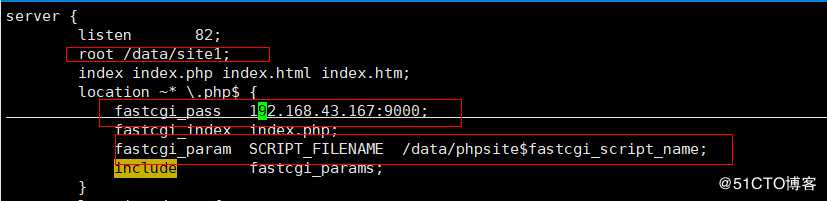
nginx (5)编辑nginx配置文件:
server {
        listen       82;
        root /data/site1;
        index index.php index.html index.htm;
        location ~* \.php$ {
            fastcgi_pass   192.168.43.167:9000;
            fastcgiindex  index.php;
            fastcgiparam  SCRIPTFILENAME  /data/phpsite$fastcgiscriptname;
            include        fastcgiparams;
        }
}
(6)重新加载nginx
nginx -s reload2、yum安装maridb
#yum -y install mariadb-server

 创建数据库和用户:
MariaDB [(none)]>  create database wordpress;
Query OK, 1 row affected (0.00 sec)

MariaDB [(none)]> grant all on wordpress.* to ‘wordpress‘@‘%‘ identified by ‘123456‘;
Query OK, 0 rows affected (0.00 sec)

MariaDB [(none)]>
MariaDB [(none)]> flush privileges;
Query OK, 0 rows affected (0.00 sec)
3、编译安装php7.3.5
(1)下载源码包
wget https://www.php.net/distributions/php-7.3.5.tar.gz(2)添加nginx用户,同nginx服务器nginx用户相同gid和uid,防止权限问题:
[root@php ~]# groupadd  -g 981 nginx
[root@php ~]# useradd -r -u 987 -g nginx -s /sbin/nologin nginx
(3)安装选相关依赖包:
yum -y install libxml2 libxml2-devel openssl openssl-devel curl-devel libjpeg-devel libpng-devel freetype-devel libmcrypt-devel libzip-devel pcre-devel openldap openldap-devel(4)编译安装
#./configure --prefix=/app/php --enable-mysqlnd --with-mysqli=mysqlnd --with-pdo-mysql=mysqlnd --with-openssl --with-freetype-dir --with-jpeg-dir --with-png-dir --with-zlib --with-libxml-dir=/usr --with-config-file-path=/etc --with-config-file-scan-dir=/etc/php.d --enable-mbstring  --enable-xml --enable-sockets --enable-fpm  --enable-maintainer-zts --disable-fileinfo --with-ldap --with-ldap-sasl

#make && make install
(5)准备相关配置文件:
[root@php php-7.3.5]# cp php.ini-production  /etc/php.ini
[root@php ~]# cd /app/php/etccd/
[root@php etc]# cp php-fpm.conf.default  php-fpm.conf
[root@php etc]# cp php-fpm.d/www.conf.default  php-fpm.d/www.conf
[root@php etc]#vim php-fpm.d/www.conf
user = nginx                                                                                                                                                                  group = nginx
listen = 9000
;listen.allowed_clients = 127.0.0.1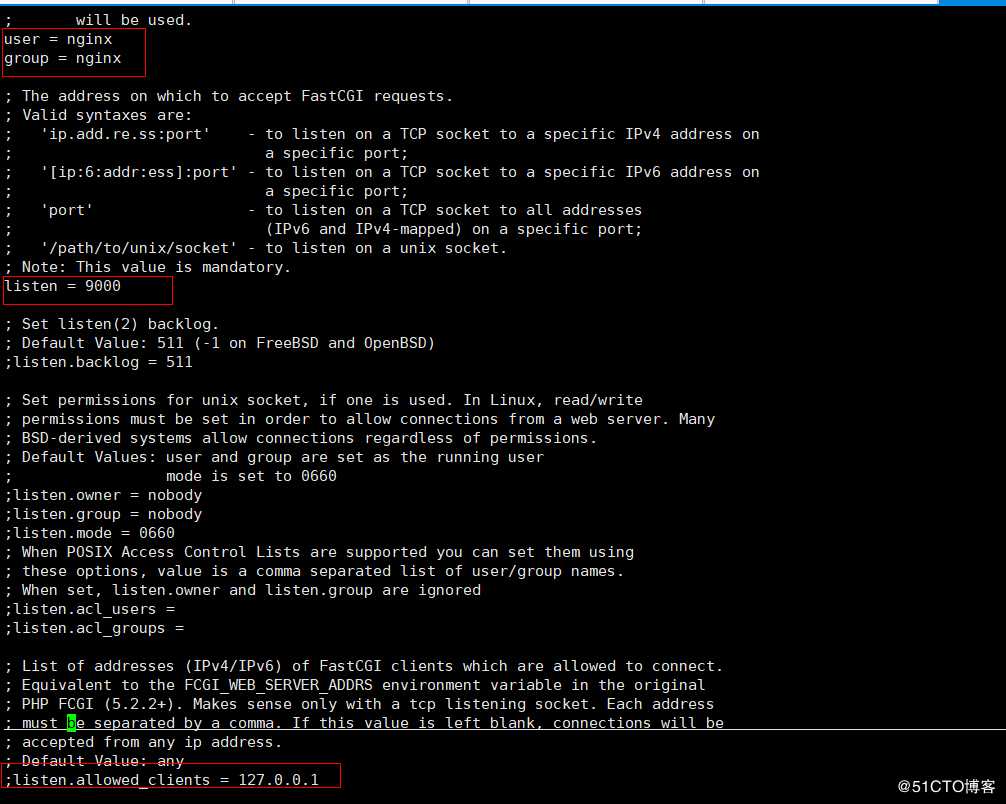
(6)启动php
[root@php php-7.3.5]# cp sapi/fpm/init.d.php-fpm /etc/init.d/php7.3.5-fpm
[root@php php-7.3.5]# chmod a+x  /etc/init.d/php7.3.5-fpm
[root@php php-7.3.5]# chkconfig --add php7.3.5-fpm
[root@php php-7.3.5]#service   php3.5.5-fpm start
4、部署wordpress :
(1)解压程序包:
[root@nginx ~]# tar xf wordpress-5.2.tar.gz -C /data/site1
[root@nginx ~]# tar xf wordpress-5.2.tar.gz -C /data/phpsite
(2)改wordpress的配置文件中数据库配置:
[root@rs2 ]#cd /data/site1/wordpress/
[root@rs2 wordpress]#mv wp-config-sample.php wp-config.php
[root@rs2 wordpress]#vim wp-config.php
[root@nginx wordpress]#setfacl -m u:nginx:rwx wp-admin
[root@nginx wordpress]#setfacl -m u:nginx:rwx wp-content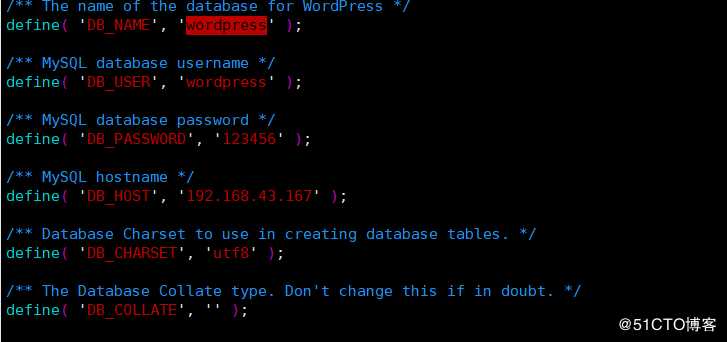 ![]
![]
5、重载nginx,
nginx -s reload
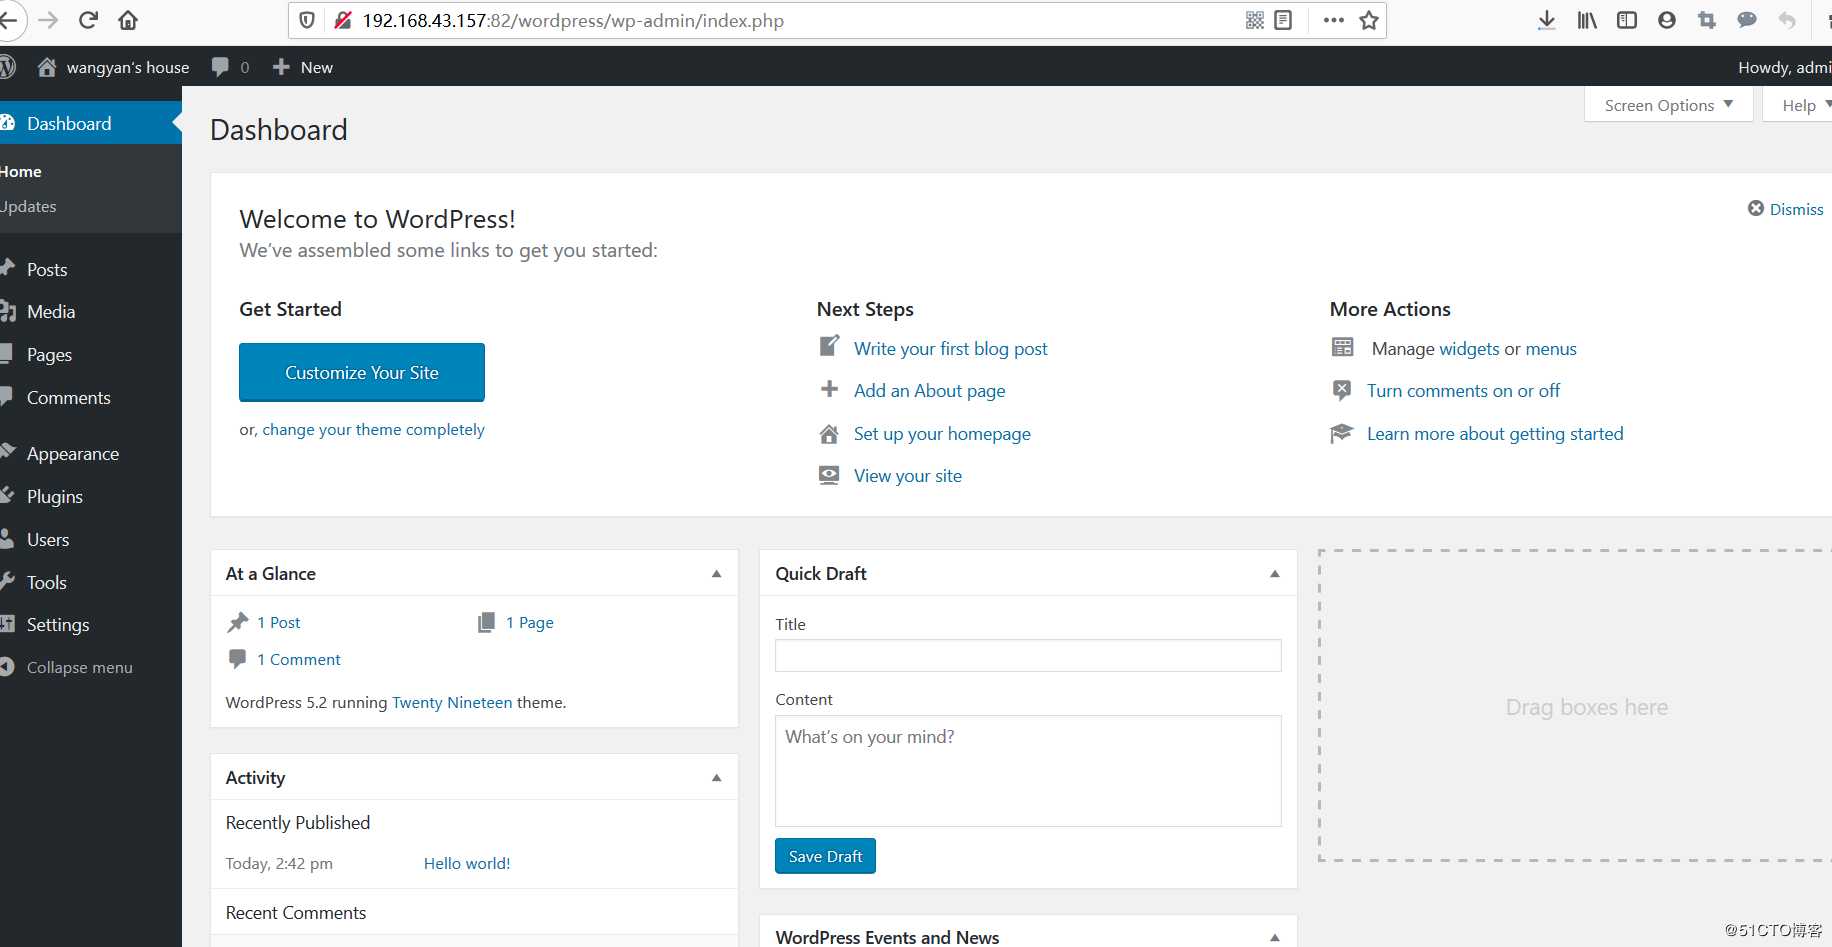
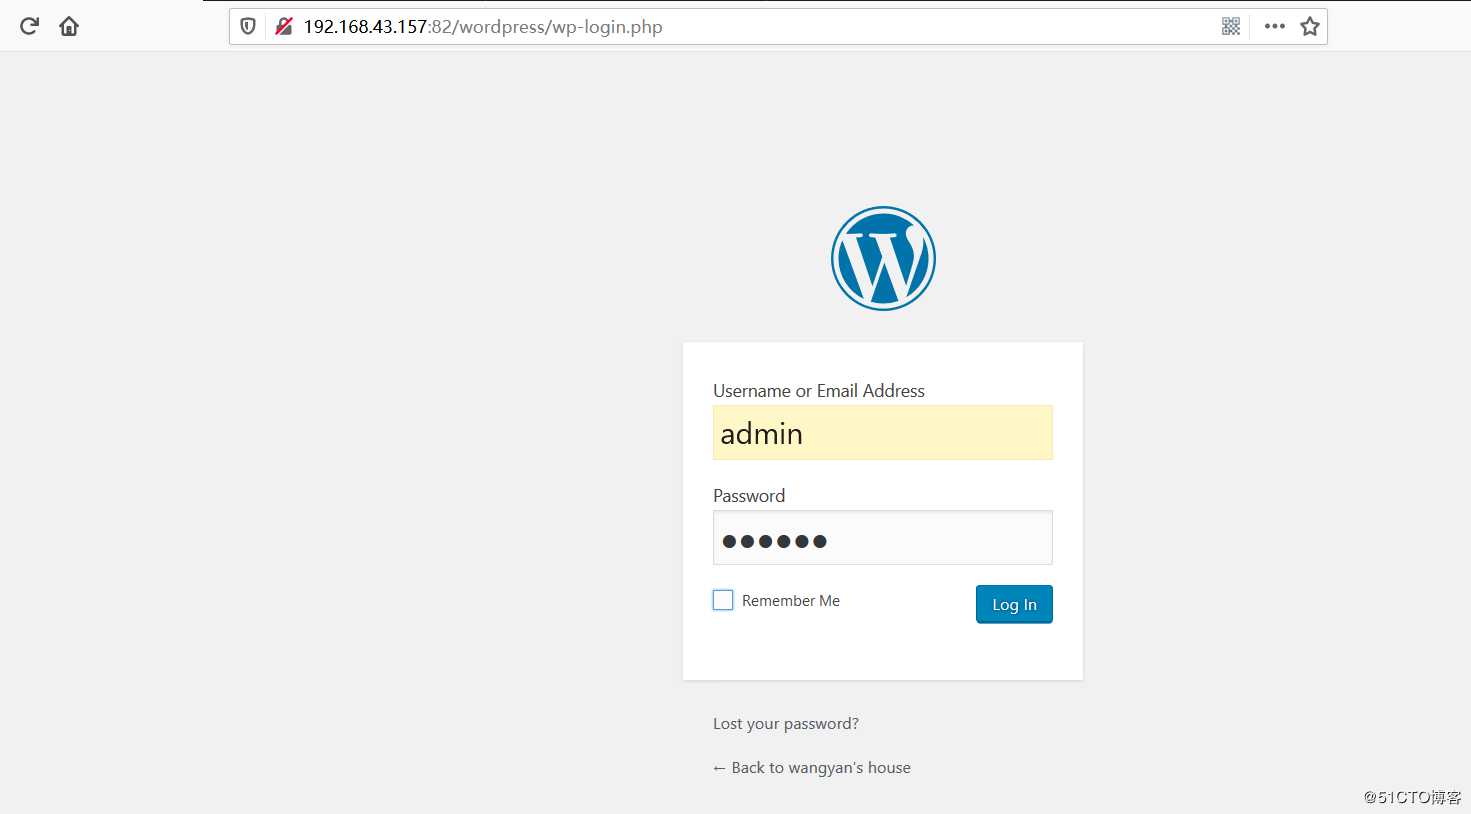
6、访问:
http://192.168.43.157:82/wordpress/wp-admin/install.php
http://192.168.43.157:82/wordpress/wp-login.php
标签:efi 主机 html 方便 setfacl ln -s ast service script
原文地址:https://blog.51cto.com/5440126/2498118